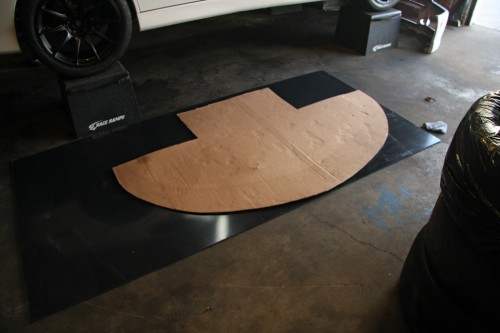
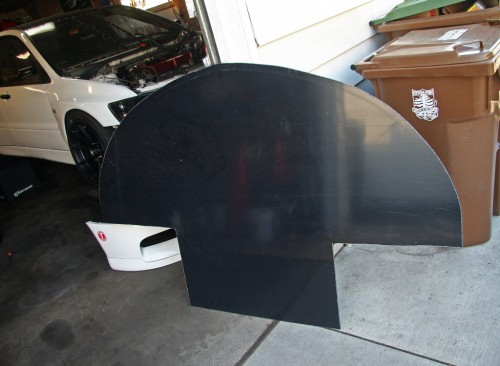
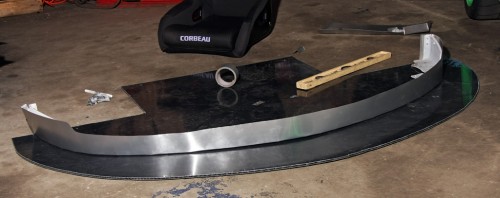
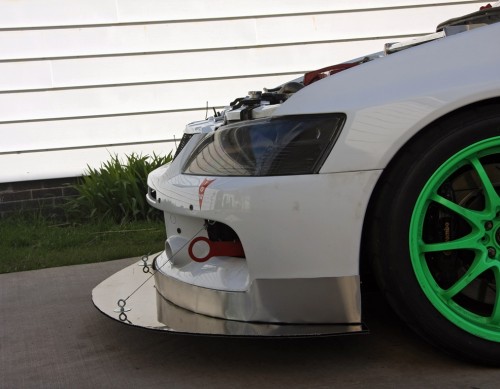
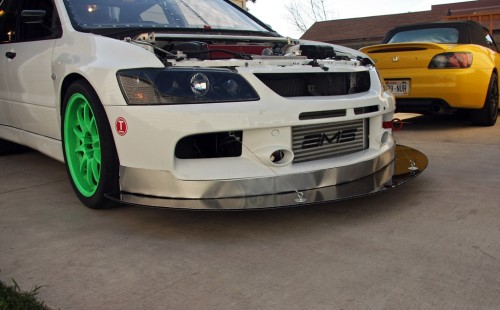
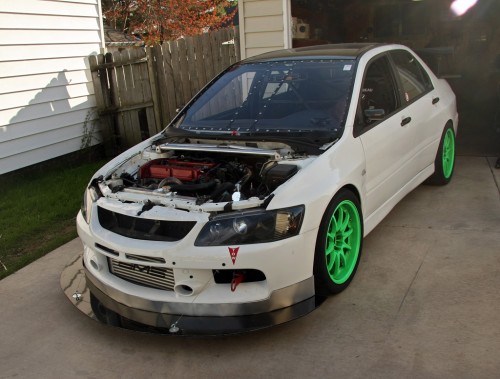
Ok now that we have the template, let’s commence the cutting! I picked up a 4×8 sheet of alumilite from a local sign shop for a bit over $100. It’s very strong for its weight and much cheaper than a full carbon setup, plus easier to work with.
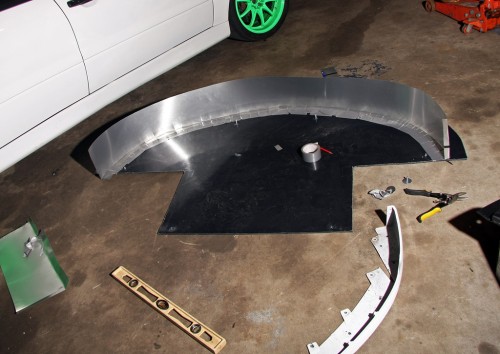
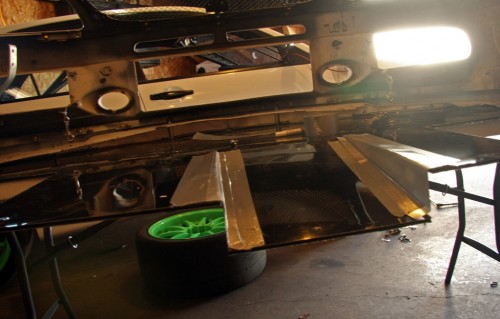
It would be nice if I could just bolt up the alumilite to the bumper as is, but that leaves the splitter at an upwards angle. The goal is to keep the splitter parallel with the ground. To do this, we need to make an air dam.
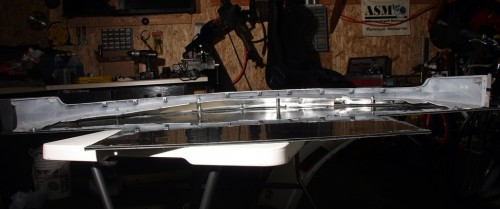
With the splitter mounted directly to the bumper, the front tip was about 2.5 inches higher than the back. After several hours walking around home depot, the best thing I could find was some aluminum fascia. Its flimsy but it should do the trick.
Cutting the template:
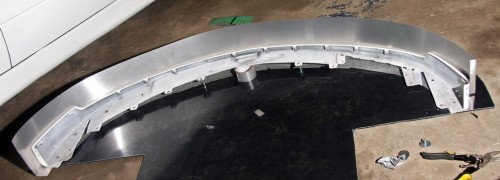
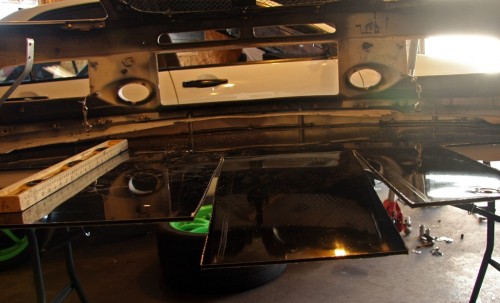
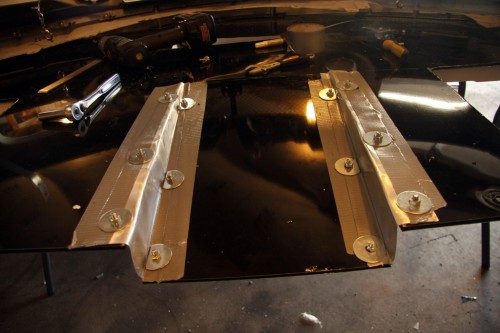
I cut some pieces of alumilite to sandwich the aluminum air dam on the bottom. I then made some spacers to mount the lower lip of the bumper to the splitter.
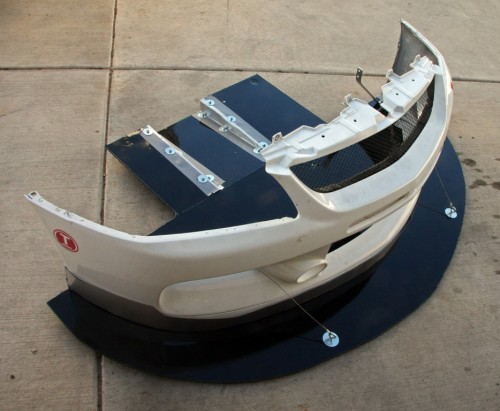
Bumper mounted:
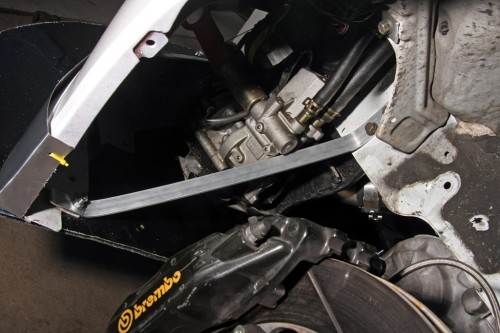
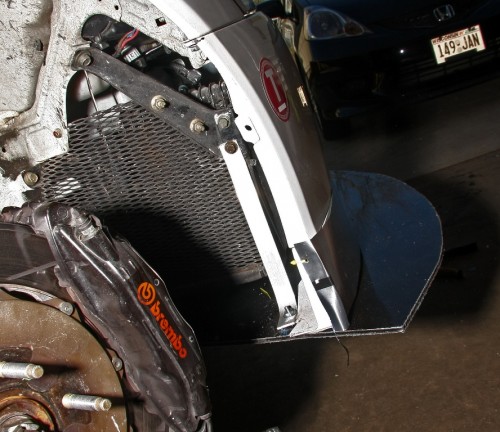
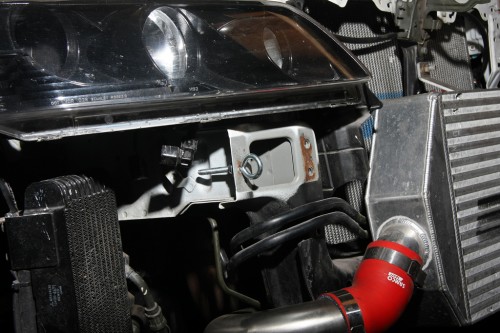
Now for bracing. I picked up some flat aluminum and found some locations to brace the splitter. I also used the factory tie bar locations for the rear.
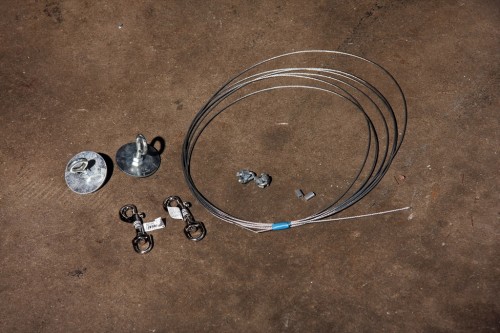
Instead of using really long (and expensive) splitter support rods, I found some steel cable and a few other things at the local hardware store. I wanted this to be somewhat painless process for removing and installing because it surely won’t make it onto the trailer with the splitter installed.
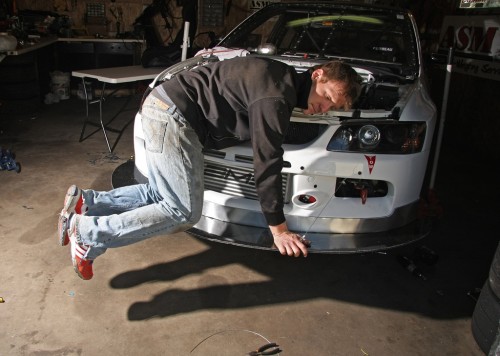
Now, the “will it hold you on it” test that everyone says it needs to pass. Well, it did!
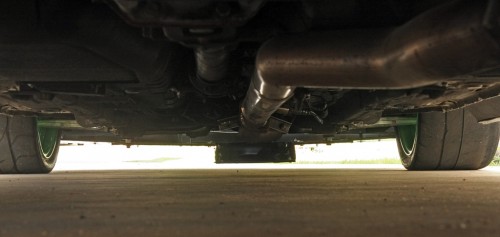
I decided to give the exhaust some more clearance and allow for some air to escape from the engine bay. So I made a small cut out. After doing so and test fitting (for the 50th time), I probably should not have dropped the cutout so far down. It’s probably going to hit the ground for those times I cut in to far over the rumble strips. Oh well….
All finished up:
I will have a part 3 in a month or two once I have some real track testing with it. stay tuned!

