Maybe you’re not aware but here in Wisconsin, the lakes freeze over during winter supplying us with a large open area for us to create our own race track. Most of us started with using normal snow tires, but as we fell in love with this sport, we got more serious. We started building studded tires with our old, worn out, race tires from summer. Every year that goes by, we find new ways to improve upon our current studded tires. Longer studs, more studs, new tires, sharpening studs, the list goes on….
Here is the making of my latest studded tire.
First, let’s take a look at my old studs from about 4 years ago:
These old studs used 1 inch long, 1/4 diameter grade 8 bolts and had about 160 bolts per tire.
Now, out with the old, in with the new.
I purchase 4 new Fuzion UHP All Season Tires to start with. Having some tread is better for the times when you get a little snow over the ice. Some have used snow tires, but 2 things kept me from going that route. 1, the price, and 2, snow tires generally have a soft sidewall. Soft sidewalls are good if traction is low, but I think we all know these will have a bit more traction than what snow tires were designed for.
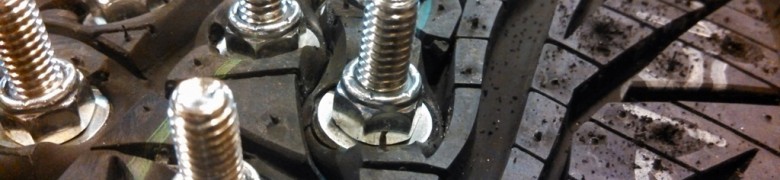
Start the drilling. Using a 1/4in size drill bit, I started drilling 260 holes in each tire. After the holes were made (in a specific pattern), we push the bolts through (not as easy as it sounds, get ready for your palm to hurt) using a drill/impact. This time instead of using the smaller bolts like the old studs, we’re using 5/16in bolts by 1.5in long. The bigger diameter gives the bolts more sheer strength as the smaller bolts were snapping off at only 1.25in lengths. We also use 2 washers on the inside (a small then a big) to give the stud more support and to keep it from folding over. To help keep the bolts from leaking air, we smother the bolt with Butyl windshield adhesive. This stuff does a really nice job as it doesn’t cure to a solid and stays nice and pliable.
Making an assembly line and having a few very nice friends will really speeds up this process.


Then using another washer, we put on the nylon lock nuts and tighten it down until the tread gets a bit deformed. This is important, if not tightened down enough, the tires will leak.


Now that we’ve spent a few late nights in the garage and all tires have bolts in them, we start the sharpening process. Using a snowmobile stud sharpener, we go over every single bolt (yes 260 X 4) and put a nice point to it. Sharpening is extremely important, unsharpened bolts will (what we call) Stud-plain, and not bite into the ice at all.

And now for the next 2 weeks, you will cry every time you see a drill. But its sooo worth it. The grip these tires offer is outstanding. Several logs of the Traqmate show a sustained 1.2g lateral load. Some courses can be driven 100% flat out, the studs have so much grip they will actually bring down the rev’s even at 100% throttle.
Update from 2015 season-
Tires are still holding up great. They’ve started to leak a bit more, so we went over each bolt and snugged them up. This helped a LOT! Went from losing 1 psi every 15 minutes to 1 psi every 4 hours. We also wanted to increase rear grip. It was a struggle to keep up with the AWD cars on the tighter/slower courses.
Left side is the original 260 studs (front wheels), right is the additional 54 studs (rear wheels).

Some pictures having fun with them-

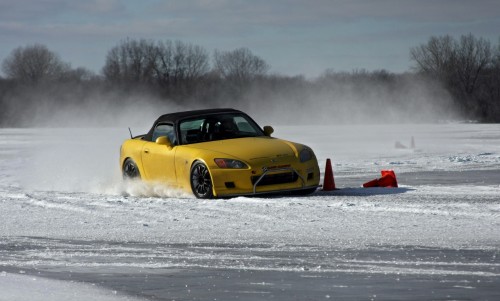
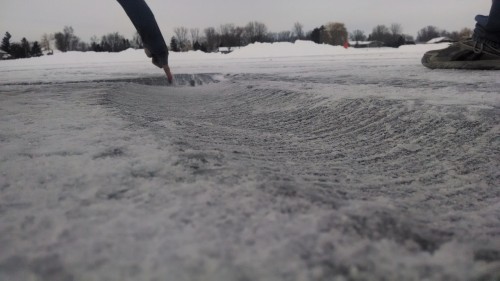
How much ice these can shred in one quick little donut:
For info on Ice-RallyX events, go to www.cwscc.com.
Enjoy this Ice-RallyX Video from BoostedFilms: