
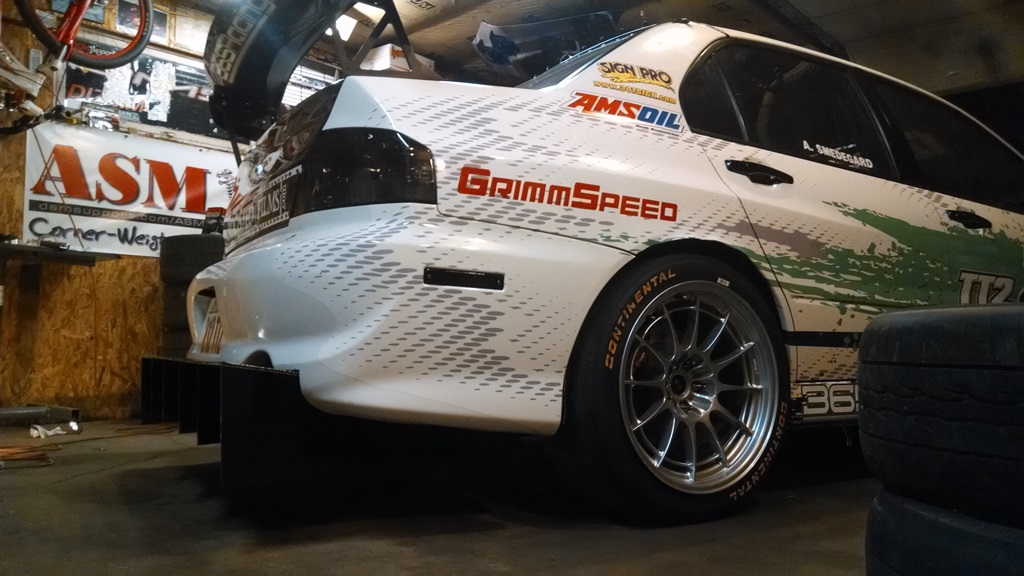
For the past few seasons, I’ve been running the off-the-shelf APR rear diffuser. While it worked ok and did keep the rear bumper from becoming a parachute, it could be improved, especially for track only use.
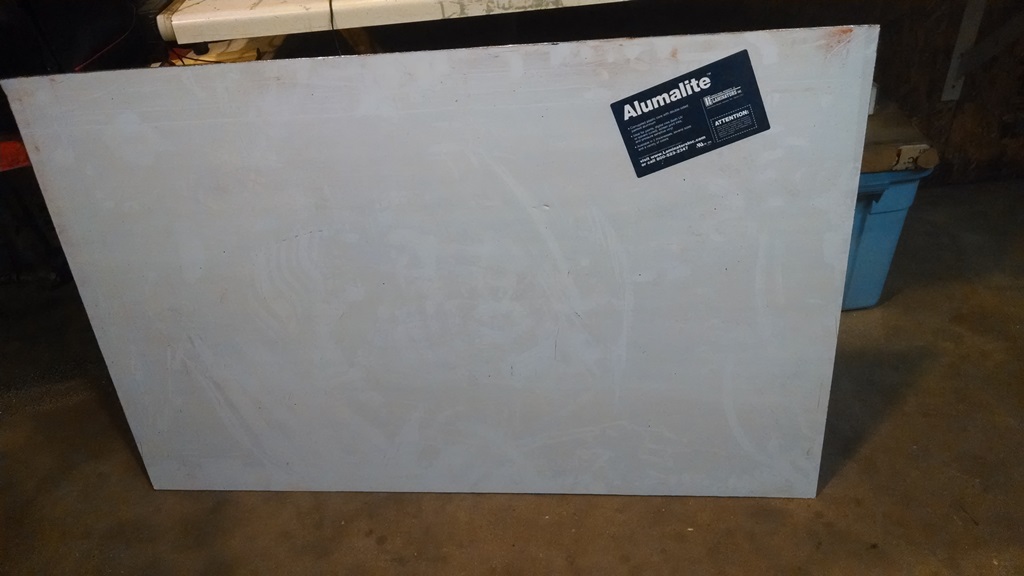
If you’ve read my Front Splitter Build, you’ll understand why I like to use allumilite. Cheap, easy to work with, strong, and for the most part, light weight.
Now before I get criticized about how I built my rear diffuser, I built this to the best of my knowledge. I’m sure its not 100% scientifically perfect but with all my fluid dynamic reading and internet forum’ing, this is what I came up with. If you can do it better, then please DO IT (and send me pictures).
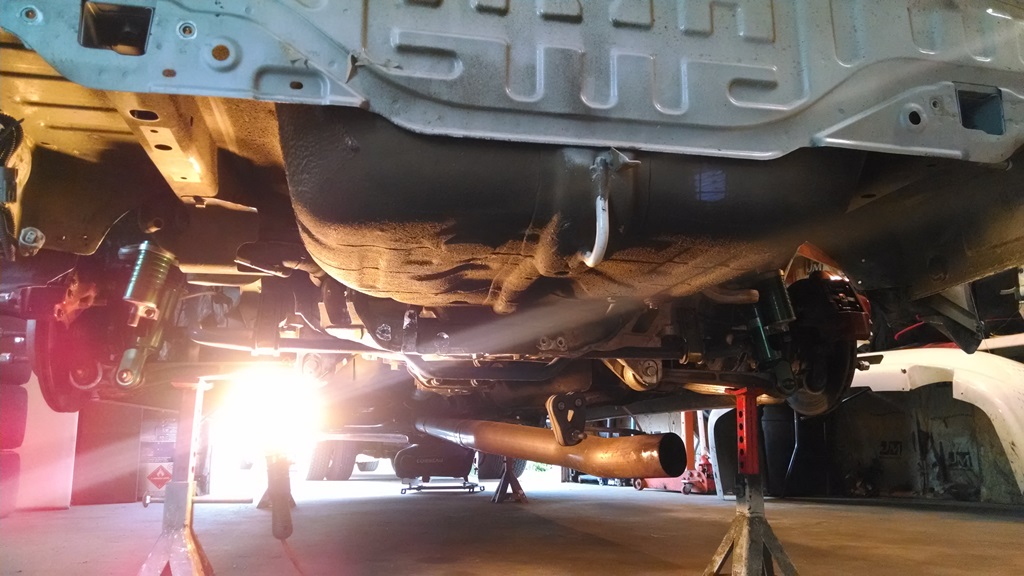
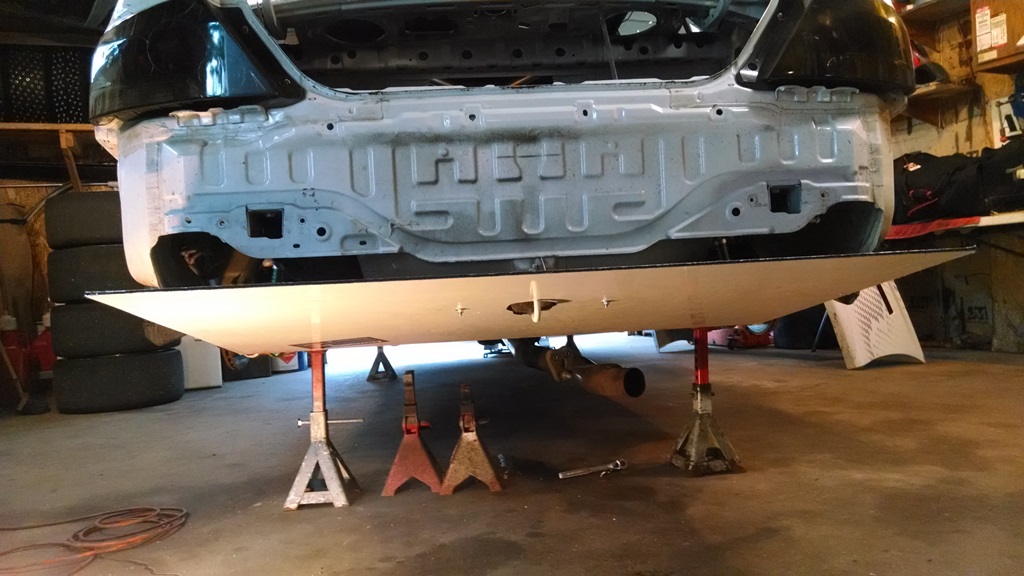
The point of the rear diffuser is to create a low pressure and actually “suck” the air out from under the car. The air also needs to come out nice and clean to keep it fast moving. What we don’t want is a bunch of turbulent air tumbling and rolling all over the place. So to start with, I took a few measurements and began cutting.
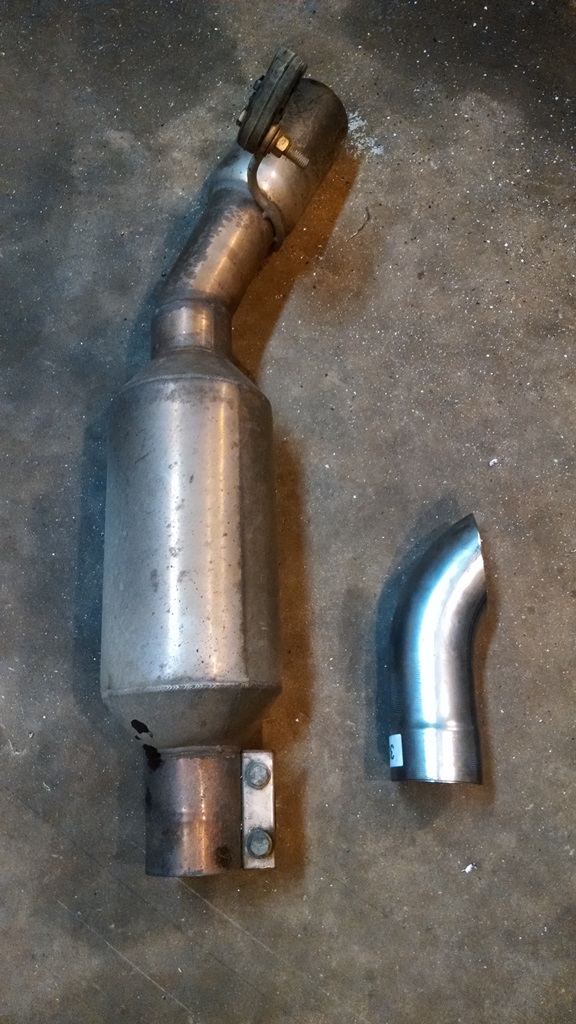
I also had to make room for this big sheet of allumilite and ditch the exhaust muffler. Also saved me a few pounds. Hopefully its not too much louder.
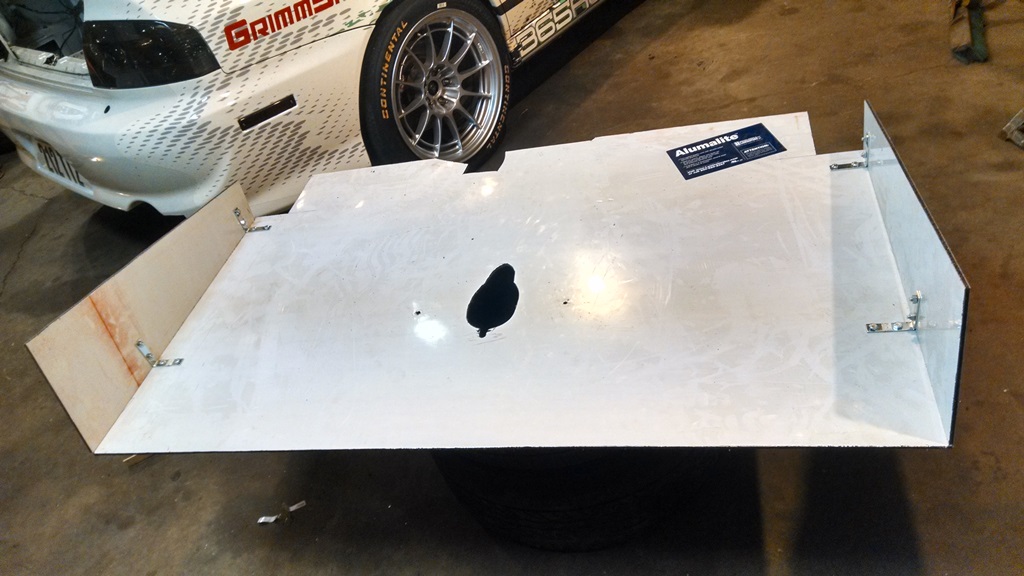
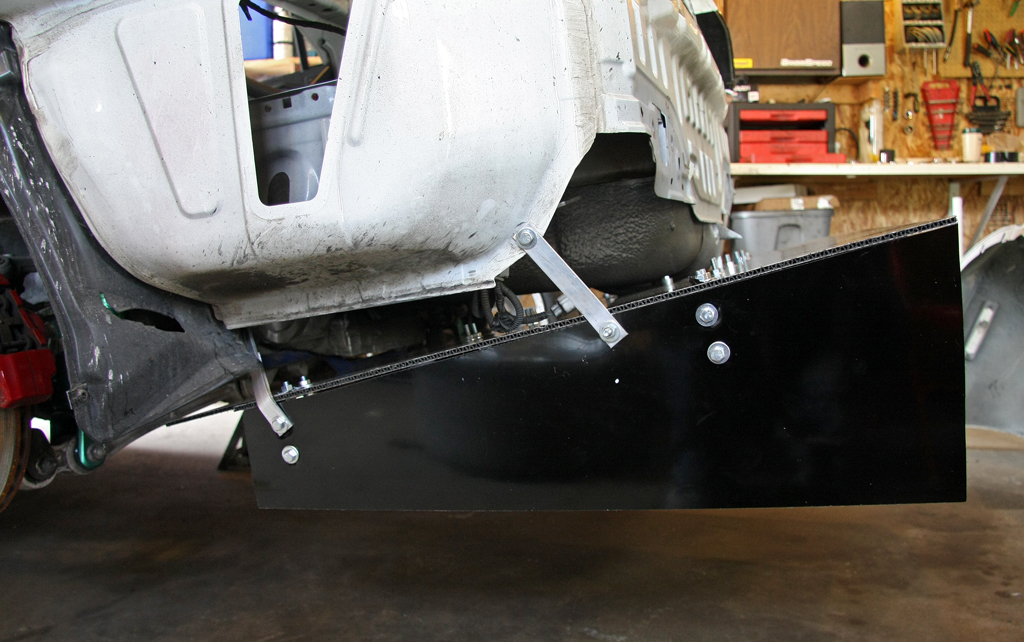
I thought about cutting off the OEM tow hook to make more room, but after thinking about it for a while, I decided to keep it and cutout part of the main panel and utilize the tow hook. This turned out to be a great idea.
Drilled 2 holes through trunk floor for mounting. (I’ll make attachment brackets last)
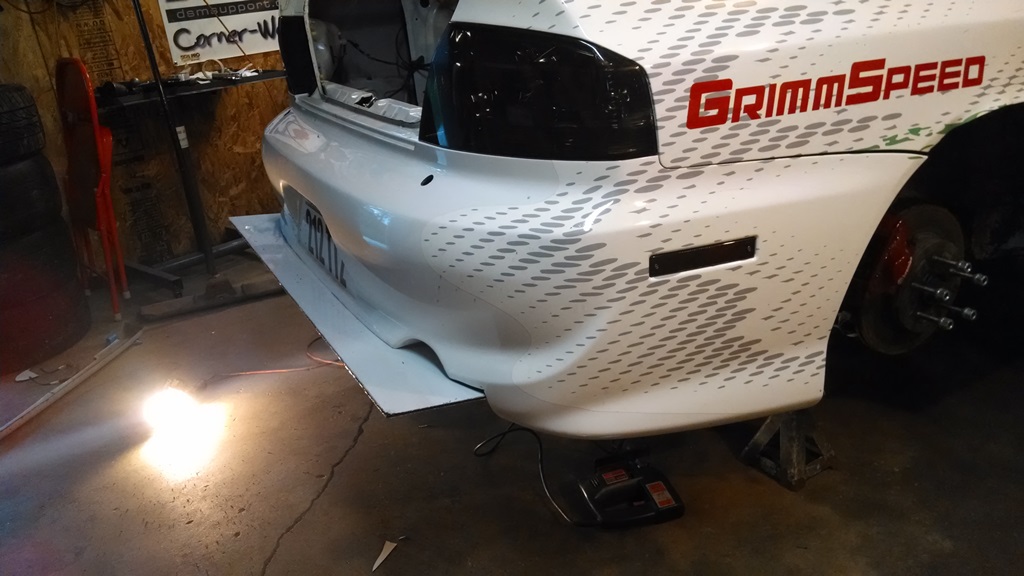
At this point I was ready to cut part of the rear bumper off. I took several measurements with the diffuser panel attached, then put the rear bumper back on, made some guesses, and instead of measuring again, I just cut it. I always get lucky!

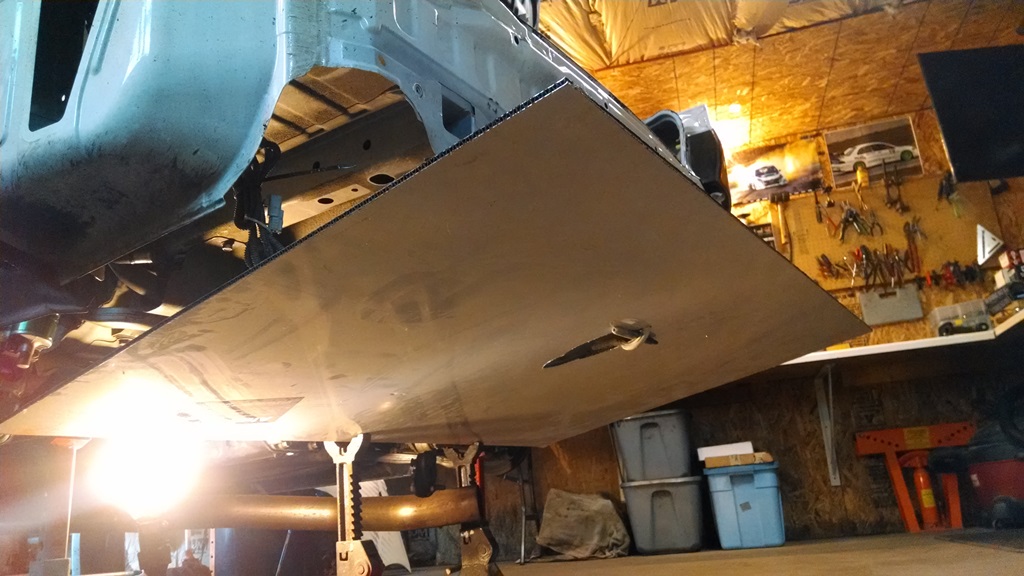
and another test fit:
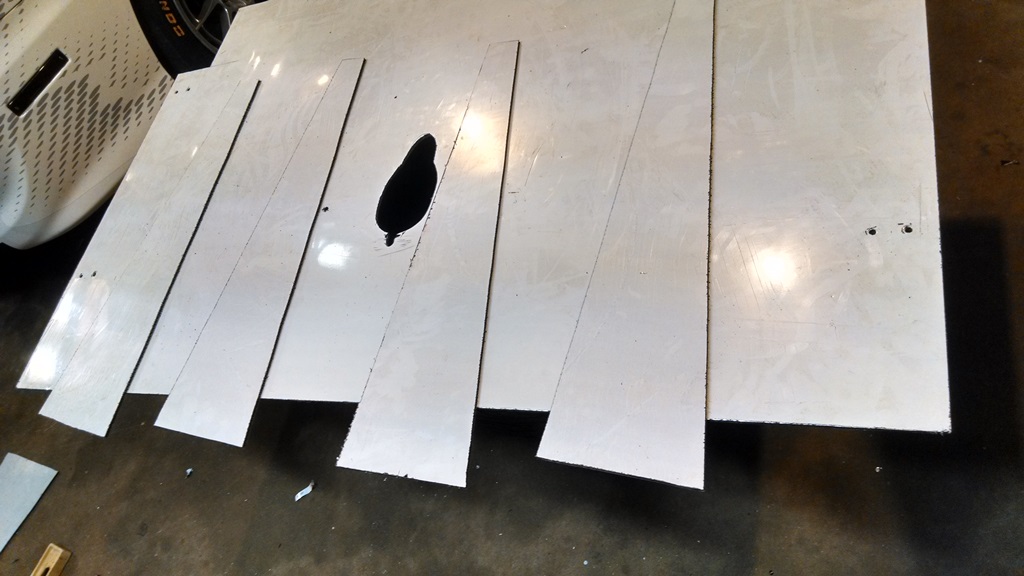
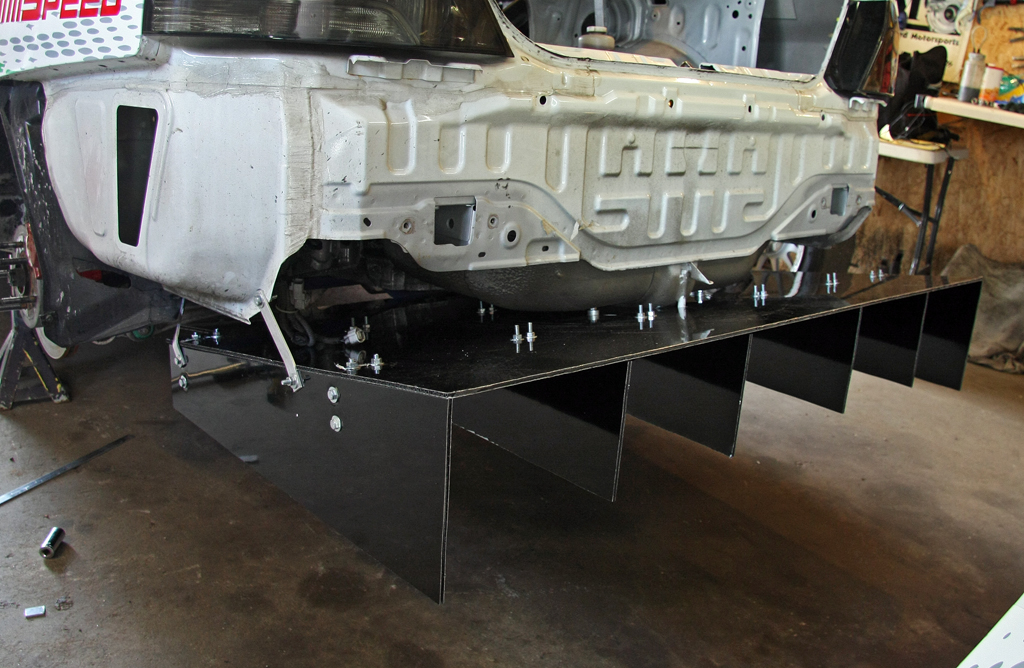
The next step was boxing it in. Pretty straight forward, measure and cut. I found some simple 90* brackets from the Farm & Barn for 95cents each. I also stocked up on a crap ton of nuts/bolts in various sizes. This saves multiple trips to the store.

Also you can see I made a few trims for exhaust hanger and wheel clearance.
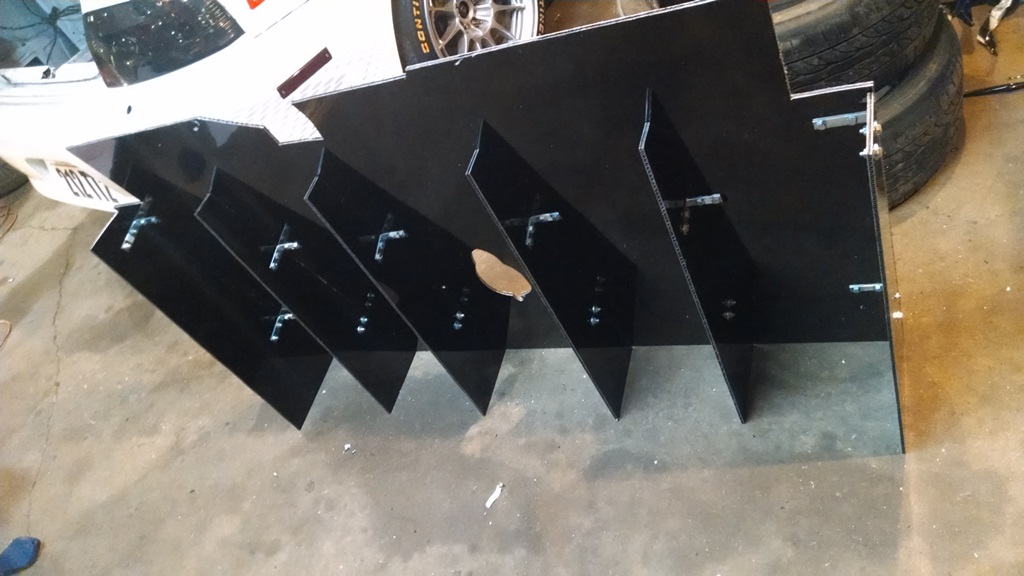
And last but not least, the Strakes. These helps increase the efficiency of the diffuser.
and before bolting it together, I removed the protective layer from the allumilite.
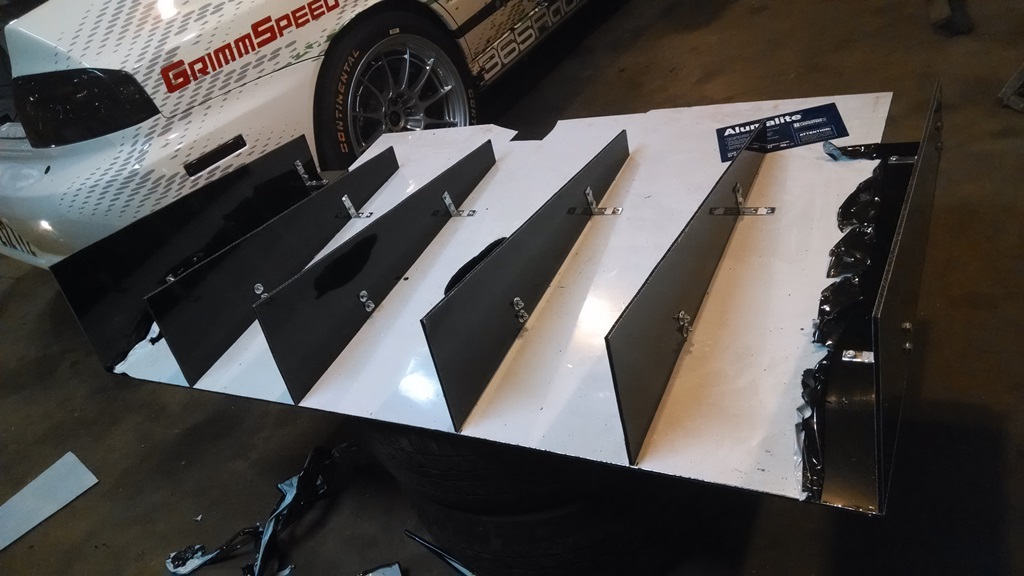
Overall its not that heavy. Exact weight to come.
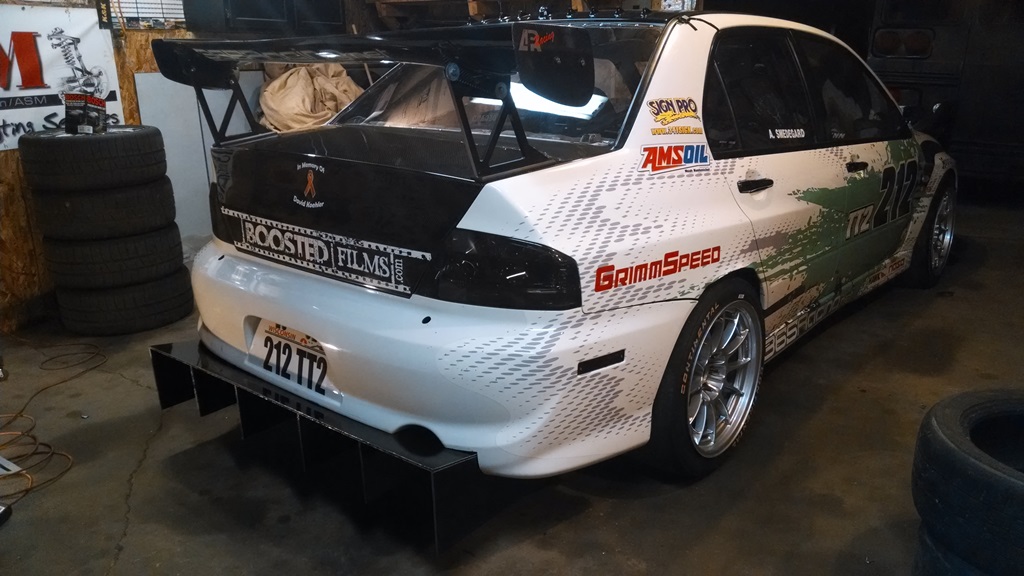
and another test fit:
and the functional tow hook:
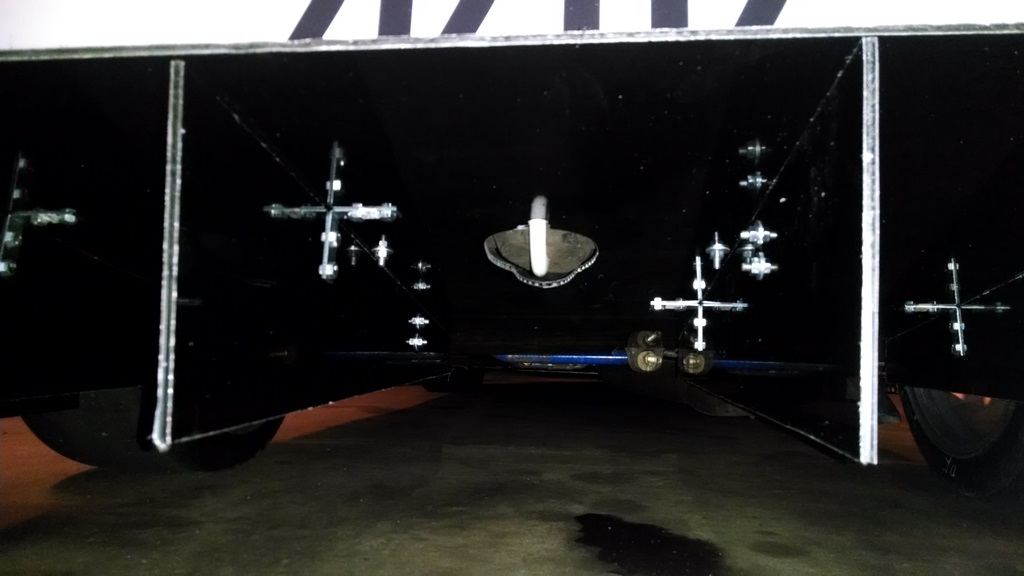
and last but not least, some rigid mounting brackets. made with aluminum of course for light weight.
With just 6 total mounting points, its very strong and stable. First test event planned is it 2 weeks. Now to get everything else ready on the car….