Skip navigation

Category Archives: Blogs

All technical write-ups, reviews, event coverage, and anything else.

Well here it is.  One of the most sought after DIYs for the LS-Z swap.  Credit for the idea goes to Mike Jordan.  Words and pictures by me, Eric Koehler

**Disclaimer: Read through the whole thing first before you start doing this. This is not a perfect retrofit.  As I will point out later on, the sweep angle between the stock gauge and this replacement gauge are not quite perfect which leads to the tach not reading 100% accurate.  I consider this a “get me by” for the moment.  With further research/testing the could work out alright should someone choose to take there.**

You are going to be using the “guts” of the donor gauge and retrofitting them to your stock cluster.

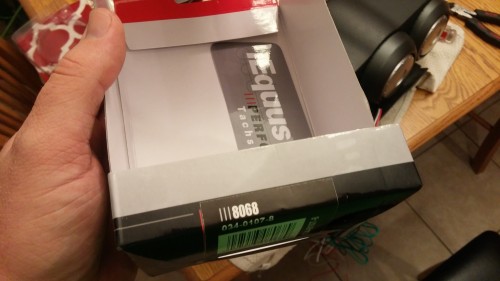
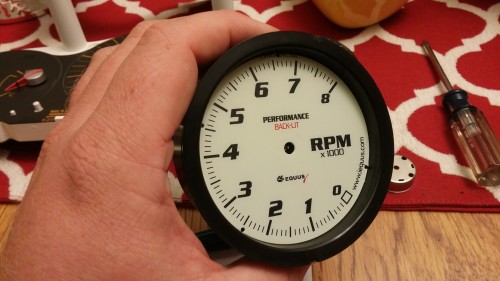
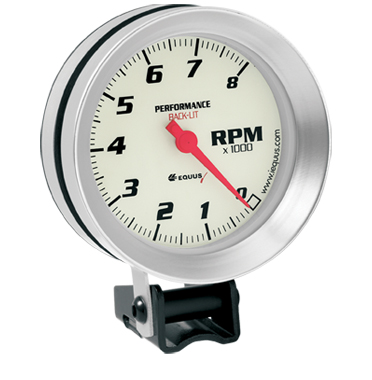
Equus Tachometer p/n: 8068  $79.99 at AutoZone (This is the only tach I know will work for this at this time.  I originally had the cheaper $40 chrome bezel version Equus gauage.  THAT ONE WILL NOT WORK)

8068_b120151111_200507


Step 1: Remove stock gauge cluster from car and remove all plastics.  If you need some help, check out this YouTube vid How To Remove 350Z Gauge Cluster

Step 2: Disassemble the gauge cluster.  Take your time, nothing takes a lot of yanking to get off.  Make sure you have all the little screws removed .  You will get it down all the way to just the gauge face and circuit board.

Step 3: Remove the factory 350Z tach needle.  Mine was on there pretty tight.  Be sure to pull straight up so you don’t break it.

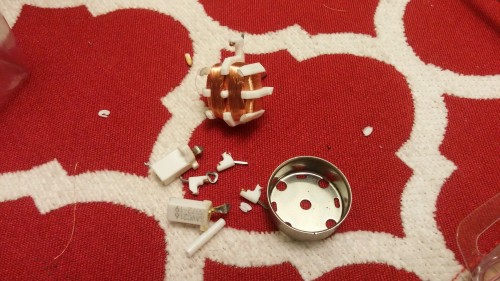
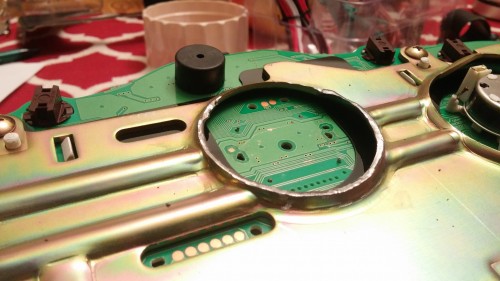
Step 4: Remove factory tach motor.  It is attached to the circuit board.  I just broke the legs off and wiggled the parts until they broke off.  Your stock cluster and circuit board is now ready

20151111_200534

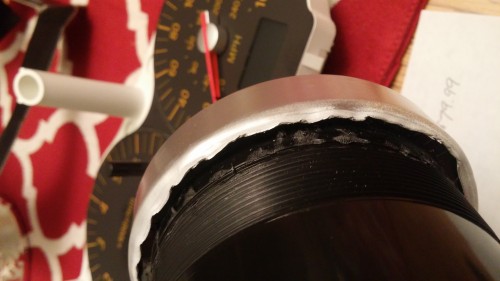
Step 5:  Now you’re going to destroy that $80 tach you bought.  This is the point of no return on the aftermarket tach.  You go past this step, you will not be able to return it.  Take a flat head screw driver and pry up the metal bezel from the back side of the tach.  Its just thin metal crimped/folded over the plastic housing.  Keep prying up all the way around, eventually it will come off.

20151110_202655

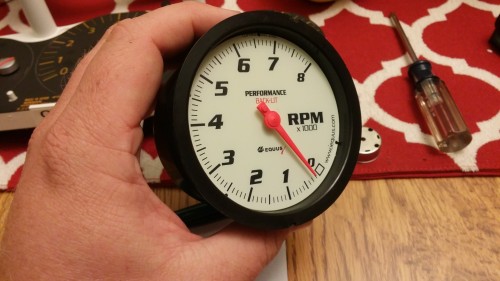
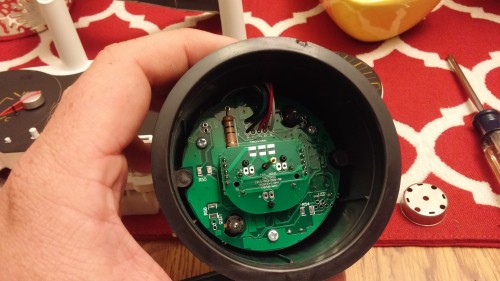
Step 6:  With the Equus bezel and window removed, pull the needle (straight up) off the Equus gauge.  Then you can remove the Equus white face gauge as well to expose the guts.

20151110_203254 20151110_203308 20151110_203321

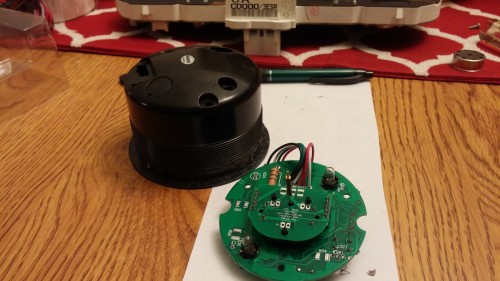
Step 8: There are 3 small screws holding the circuit board in.  Remove those.

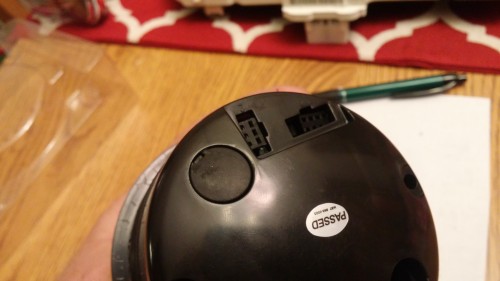
Step 9: Squeeze the tabs on the wire connectors to remove them from the housing.

20151110_203434 20151110_203520

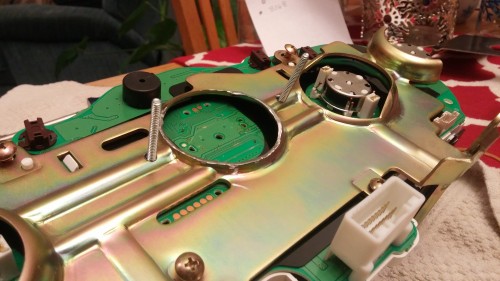
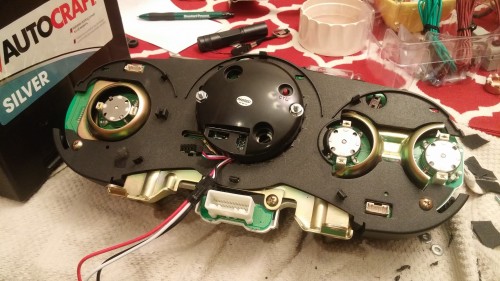
Step 10:  Now you are going to modify the metal bracket you removed from the back of the circuit board.  You need to do this to make clearance for the smaller raised circuit board on the aftermarket tach motor.

20151110_224131

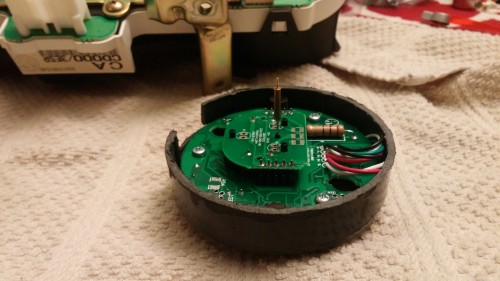
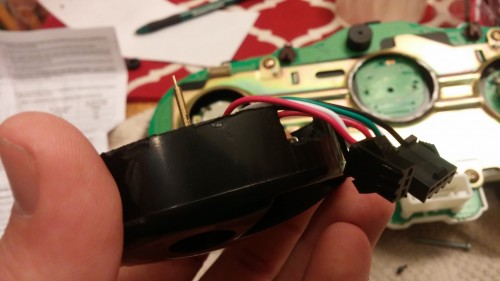
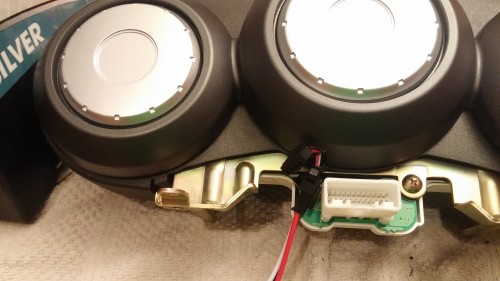
Step 11:  Trim the Equus black gauge housing down.  You want to trim this down enough that when you reinstall the circuit board into the black housing, then lay its on top of the metal bracket, that the stock needle is at the proper height sticking through the stock gauge face.  I trimmed mine down so that the housing is still slightly above the screw bosses at 3 and 9 o’clock on the housing.  You will have to trim a clearance hole for some items on the circuit board.  You will also want to cut a clearance hole for the wires to come through.  You will not be clipping them back into the housing.

20151110_224849 20151110_22490920151111_171753

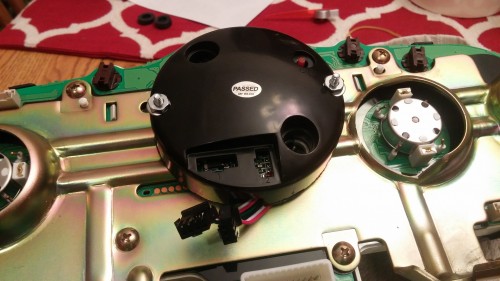
Step 12:  To attach the modified Equus tach to the gauge cluster we are going to use those two screw bosses at the 3 and 9 oclock positions.  Put your modified Equus housing with the tach drive shaft through the circuit board.  Double and triple check this height, and make sure the 350Z needle works with the depth you have set.

Drill holes all the way through those screw bosses large enough for a #6 screw.  Use those holes to mark the position on the metal bracket that you need to drill.  A #6 x 1.25″ long screw was the perfect length.

20151111_172522

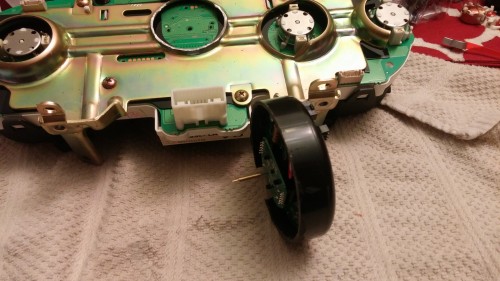
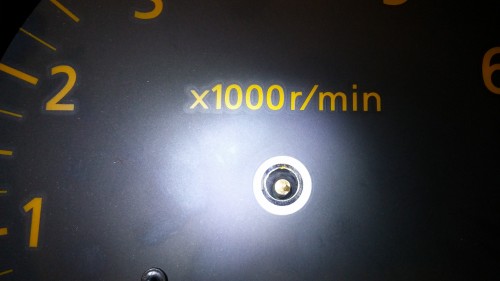
Step 13:  Attach your modified Equus housing to the metal bracket and tighten down.  Take extra care to make sure the tach needle drive shaft is centered in both the circuit board and the gauge face.

20151111_173408 20151111_173520

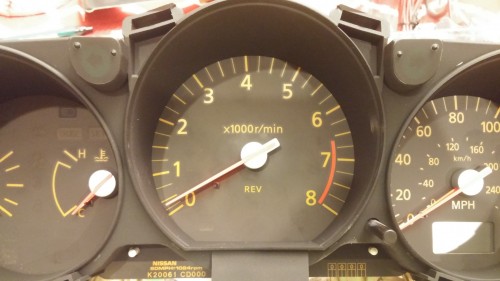
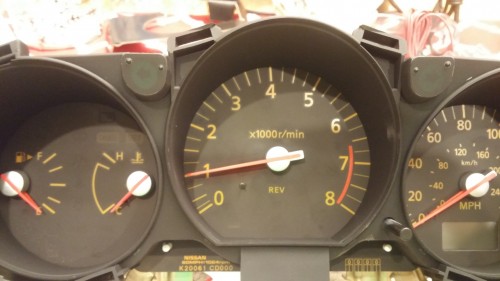
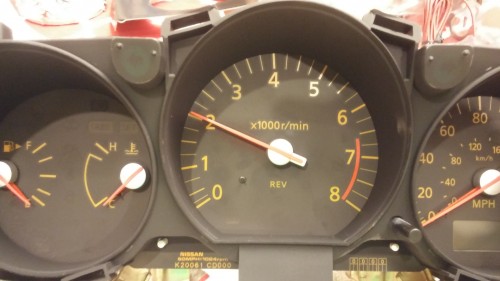
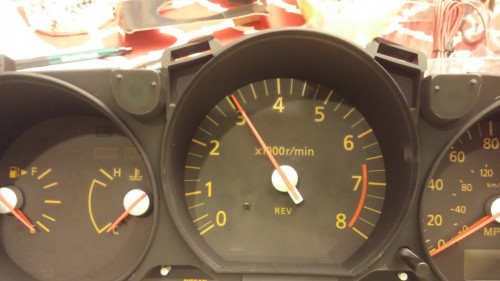
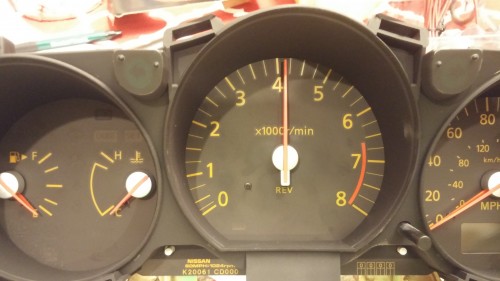
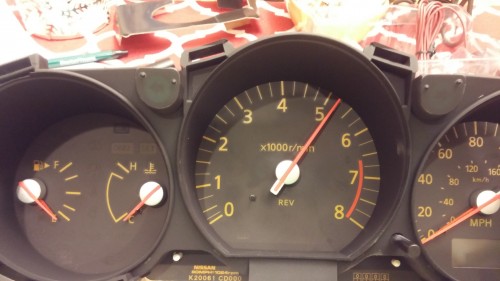
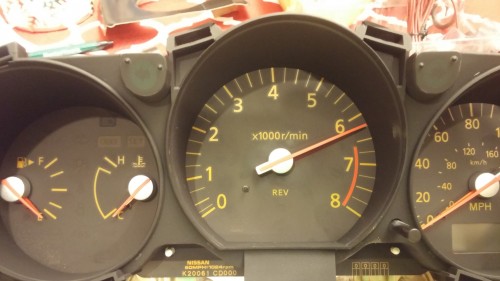
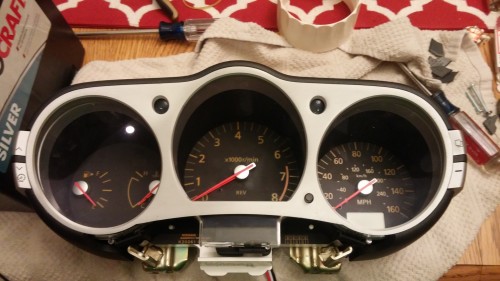
Step 14: At this point you will now set the needle on the gauge face.  You will need a 12V battery.  This Equus tach has a self zeroing feature that every time it gets power, its does a gauge sweep.  connect the red/black/white/ wiring harness.  Connect the red and black wires to the battery, and you will see the tach motor doing its zeroing/sweep.  When it returns to its “zero” position remove power.  At this point you will want to push the factory tach needle on.  If  you place the needle against the “zero” needle stock on the gauge face this is what happens:

500 rpm:20151111_183312

1000 rpm:20151111_183147

2000 rpm:20151111_183202

So far so good, right?  Lets continue

3000 rpm:20151111_183216

4000 rpm:20151111_183224

5000 rpm:20151111_183232

6000 rpm:20151111_183243


This was done using the “set the no. of cylinders” method with the gauge.  As you can see this tach motor doesn’t exactly match.  This bothers me.  I’m not sure how to fix it.  I’ve ruined $80 at this point so I’m going to use this for a little while.  Also, the sweep of the Equus tach is a much larger range, so the needle runs into the bottom of the gauge cluster.  Someone could try cutting some clearance into the bottom plastic if they wanted.  I wasn’t sure I was ready to start cutting my gauge cluster up yet, so I didn’t do it.

Don’t forget to set the Equus tach to the 8 cylinder setting after playing with the needle setting.


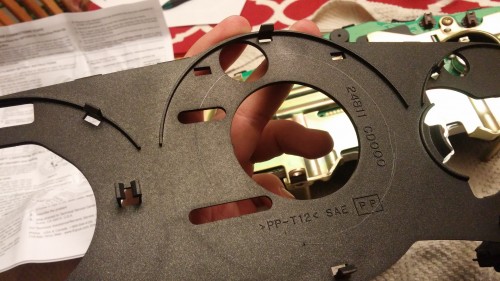
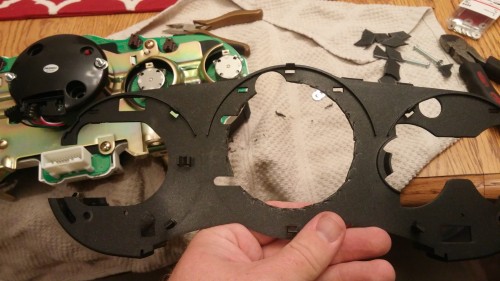
Step 14: you’ll need to clearance the black plastic housing for the back of the stock gauge cluster.  Pretty easy.

20151110_224143 20151111_174447 20151111_181427

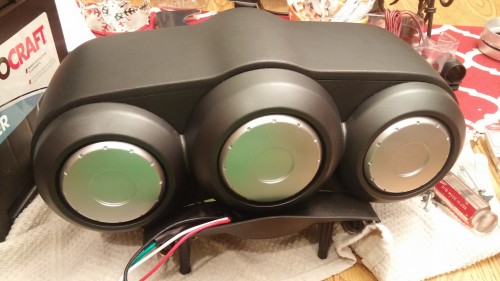
Step 15: Reassemble.  That’s it.  Put it all back together and wire it into the car.  You’ll have to cut a small hole for the wires from the tach to come out the back of the pods.  This position worked, but i’d move it up to more the 8 oclock position if I were to do it again, as its a little tight to the plastic column cover.

20151111_190239 20151111_192814 20151111_193436

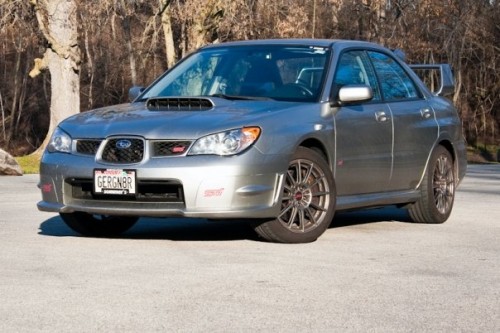
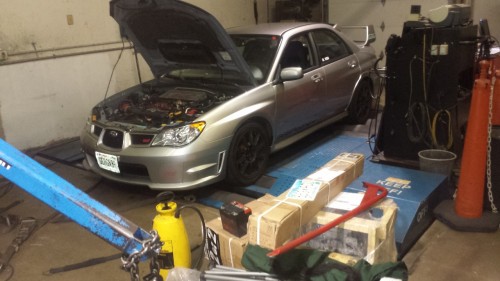
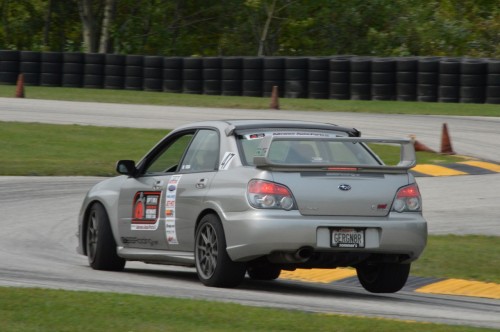
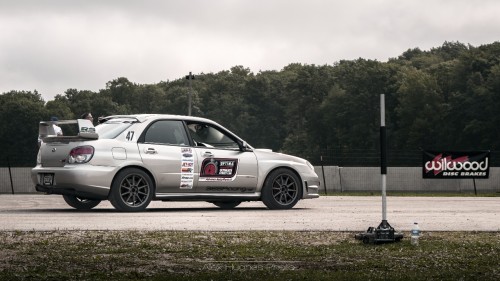
This was supposed to come out prior to the Optima Battery’s Search for the Ultimate Street Car event at Road America this past weekend but life and car prep got in the way. So let’s first start out with a brief history of my 2006 Subaru Impreza WRX STi. I bought this car in 2007 with 17000 miles on it with no real plan of getting into motorsports, sure dreams of driving fast and being a “racecar” driver ran through my head but I had no idea what that actually meant then. I drove the car around, thought it was pretty cool, I was content. A lot of my motivation through college was watching Fast and the Furious and saying “some day, keep going get through school and you’ll have your own car.”  As luck would have it I graduated, got myself a real job, and found that very car. Lets fast forward a little to the day I meet up with a bunch of car people at the local Taco Tuesday and they convinced me to attend a lapping day at the go kart track in Shawano, WI, USAir. Holy cow I’m going to be that “racecar” driver. From here everything took off, auto-x every weekend with a track day here and there with no real clue what I was doing.
1_jdmwheels
Here’s a picture of when I thought I had reached the top with some JDM STi wheels, which have since been sold to fund racing!

Little by little this car started to get upgrades, as my skill progressed so did the car. First up tires and brakes, everyone kept telling me to learn to drive the car so I did. Then I drove Andy’s STi on Ground Control Suspension and couldn’t believe how well it handled, that was then the next upgrade, his suspension on my car. The car got a Cobb AccessPort and remained Stage 1 (very slight upgrade) and a Crawford Performance cat back exhaust. I drove it like this for some time but eventually I needed some more power and being the conservative person that I am, I ordered up a Moore Performance 3 piece downpipe and used the off the shelf Cobb map on the AccessPort. The car came alive with this, in my opinion. Now I was really flying, still not really knowing what I was doing on track. With more practice and studying and a lot of ice racing I started to learn the basics of car control and how to make the car do what I wanted on track. Within the last year and a half was the biggest progression in my driving abilities. With good tires and brakes, some slight tweaks to the suspension, adding stiffer springs and 24mm WhiteLine Sway bars, and the driver mod progressing it was again time to move up to more power. In steps the man, the myth, the legend, Ronnie Soliman of RS Motors took the Stage 2 tune and one up’d it with his custom tune, holy cow what a difference.
I started running some really fast times for a near stock car making 283hp/297tq. Not enough power to keep up with the big dogs at the track but enough to be respected. I kept hearing, “Man, I can’t wait to see you with some power”. “Mike, man up and get a faster car”. This was all true, I just couldn’t physically keep up with the faster cars due to lack of power so I threw my conservative ways out the window with the support of the RS/365Team behind me (it was more like “Mike you’re doing this now”). So here’s the part of the article everyone has been waiting for from my secretive posts the last few weeks. What transpired over the last two months was far greater on the car than the last 7 years. All the upgrades from those years and weekends full of driving finally lead up to what you are about to read below.

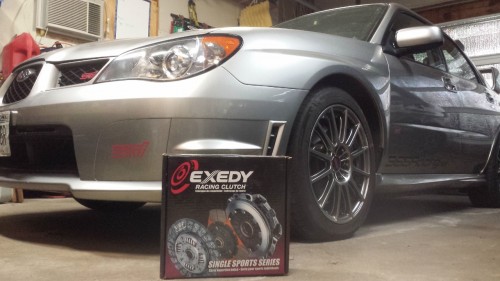
First up was the Stage 1 Exedy HD Clutch for the new power.
2_clutch (1280x720)

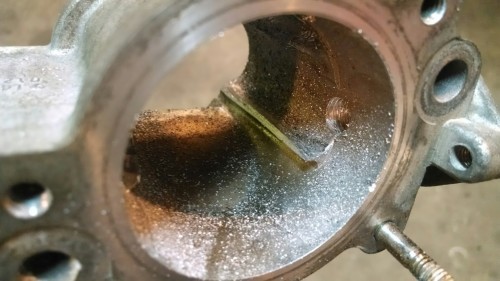
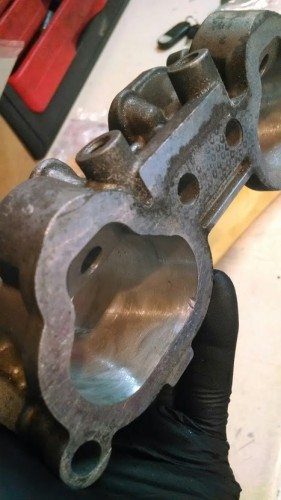
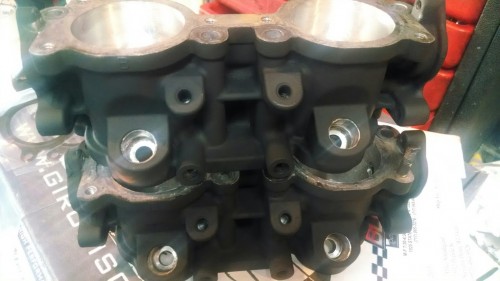
Then to handle the fuel load for the new build we went with the WRX fuel rail and TGV’s in place of the STi system so that it retained stock fitment and I could run top feed 1100cc Fuel Injector Clinic injectors. I ported my own TGVs from the WRX. Also the typical Walbro fuel pump was installed.
IMG_20150731_205932867

IMG_20150731_194706550

IMG_20150805_183012401

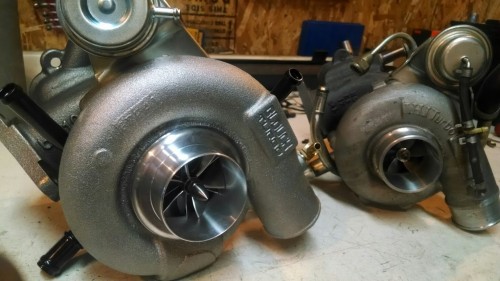
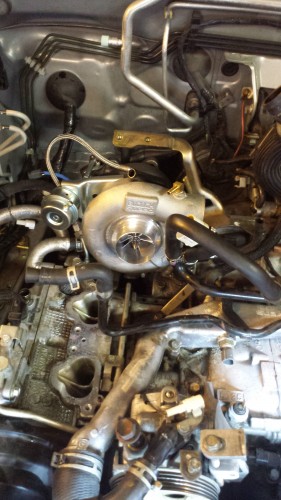
Lastly, the most important piece of the puzzle, the turbocharger. After some back and forth discussions I settled on the Blouch Performance Turbo – Dominator 3.0XT-R Ball Bearing with the 10cm hotside and stock size inlet.
IMG_20150803_194740546

And on the car:

5_installed

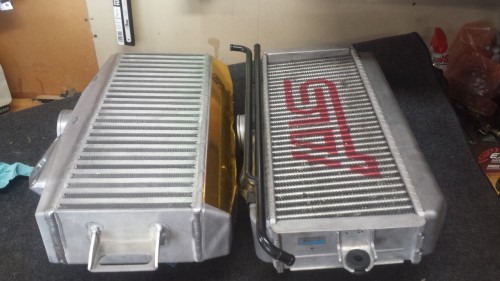
After some dyno pulls and some testing at a local Time Attack we determined the stock intercooler was far too small and heat soaked way to fast so a GrimmSpeed Top Mount Intercooler was sourced.

6_intercoolers (1280x720)

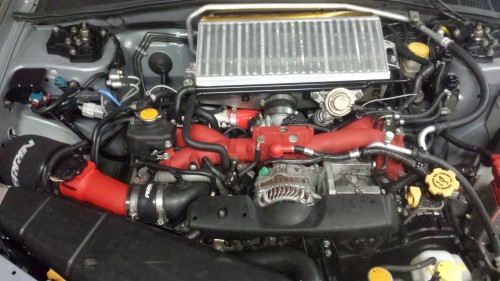
On the car and you’ll also notice the Perrin Big MAF intake.

7_engine bay (1280x720)

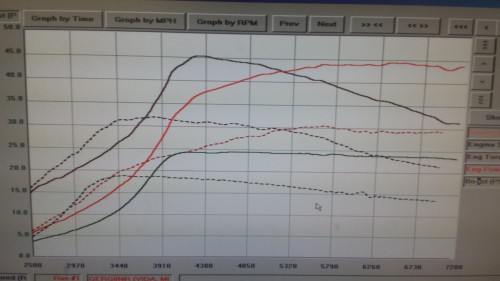
So with all of these changes you are probably wondering what the car makes for HP now. Well it makes a lot more and is an absolute blast to drive. On my first test run at the MN Time Attack it took 2nd Fastest Street Tire Time and 4th fastest overall out of 34 cars. I then swapped intercoolers and ran an autox with the Milwaukee SCCA at Miller Park taking a 1st in the Tire Limited class out of 13 drivers. So here’s what the car is making, 408hp/414tq behind the magic of Ronnie Soliman at RS Motors.

On the dyno:

8_On the dyno (1280x720)

Here is comparison of my stock turbo run of 283hp/297tq to the Blouch Dominator 3.0XT-R of 408hp/414tq on the same Dyno :

9_dyno graph (1280x720)

Now fast forward to this past weekend with Optima’s Search for the Ultimate Street Car at Road America.

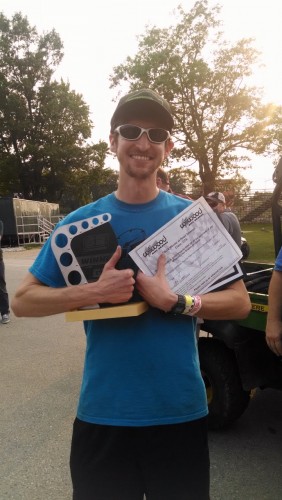
1st Place in GTS class, winning an invite to the Las Vegas Invitational in November.

IMG_20150830_172519570 (721x1280)

Autocross pictures by Austin B.

20439602934_155cc37fab_o (1280x851)

20875575419_128847575a_o (1280x851)


Picture by Alex Hughes
20837285090_6d134f368f_o (1280x720)

Special Thanks goes to Ronnie at RS Motors and Blouch Turbo.

Visit Us On FacebookVisit Us On YoutubeVisit Us On Twitter