Skip navigation

Category Archives: Product Reviews

This is where we post up reviews of products we’ve used/tried. Anything from tires to turbos.

This was supposed to come out prior to the Optima Battery’s Search for the Ultimate Street Car event at Road America this past weekend but life and car prep got in the way. So let’s first start out with a brief history of my 2006 Subaru Impreza WRX STi. I bought this car in 2007 with 17000 miles on it with no real plan of getting into motorsports, sure dreams of driving fast and being a “racecar” driver ran through my head but I had no idea what that actually meant then. I drove the car around, thought it was pretty cool, I was content. A lot of my motivation through college was watching Fast and the Furious and saying “some day, keep going get through school and you’ll have your own car.”  As luck would have it I graduated, got myself a real job, and found that very car. Lets fast forward a little to the day I meet up with a bunch of car people at the local Taco Tuesday and they convinced me to attend a lapping day at the go kart track in Shawano, WI, USAir. Holy cow I’m going to be that “racecar” driver. From here everything took off, auto-x every weekend with a track day here and there with no real clue what I was doing.

1_jdmwheels
Here’s a picture of when I thought I had reached the top with some JDM STi wheels, which have since been sold to fund racing!

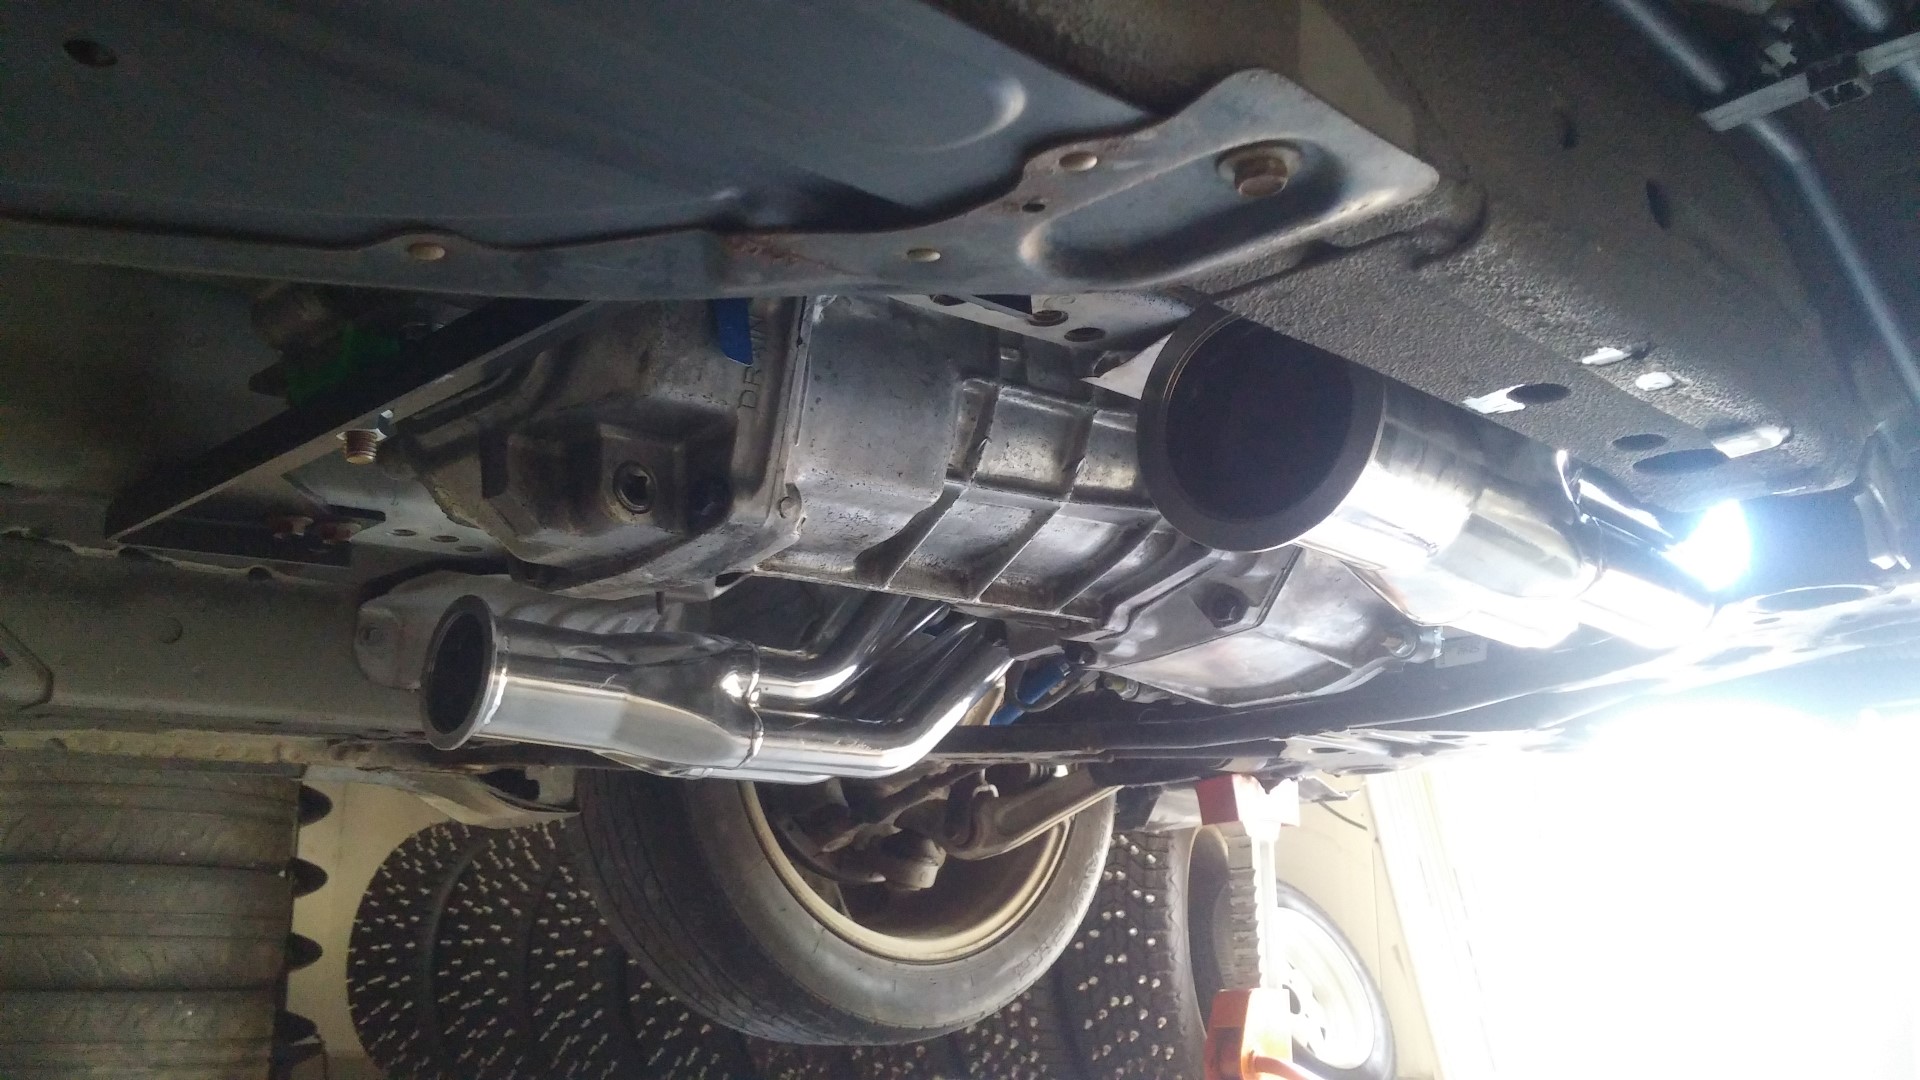
Little by little this car started to get upgrades, as my skill progressed so did the car. First up tires and brakes, everyone kept telling me to learn to drive the car so I did. Then I drove Andy’s STi on Ground Control Suspension and couldn’t believe how well it handled, that was then the next upgrade, his suspension on my car. The car got a Cobb AccessPort and remained Stage 1 (very slight upgrade) and a Crawford Performance cat back exhaust. I drove it like this for some time but eventually I needed some more power and being the conservative person that I am, I ordered up a Moore Performance 3 piece downpipe and used the off the shelf Cobb map on the AccessPort. The car came alive with this, in my opinion. Now I was really flying, still not really knowing what I was doing on track. With more practice and studying and a lot of ice racing I started to learn the basics of car control and how to make the car do what I wanted on track. Within the last year and a half was the biggest progression in my driving abilities. With good tires and brakes, some slight tweaks to the suspension, adding stiffer springs and 24mm WhiteLine Sway bars, and the driver mod progressing it was again time to move up to more power. In steps the man, the myth, the legend, Ronnie Soliman of RS Motors took the Stage 2 tune and one up’d it with his custom tune, holy cow what a difference.

I started running some really fast times for a near stock car making 283hp/297tq. Not enough power to keep up with the big dogs at the track but enough to be respected. I kept hearing, “Man, I can’t wait to see you with some power”. “Mike, man up and get a faster car”. This was all true, I just couldn’t physically keep up with the faster cars due to lack of power so I threw my conservative ways out the window with the support of the RS/365Team behind me (it was more like “Mike you’re doing this now”). So here’s the part of the article everyone has been waiting for from my secretive posts the last few weeks. What transpired over the last two months was far greater on the car than the last 7 years. All the upgrades from those years and weekends full of driving finally lead up to what you are about to read below.

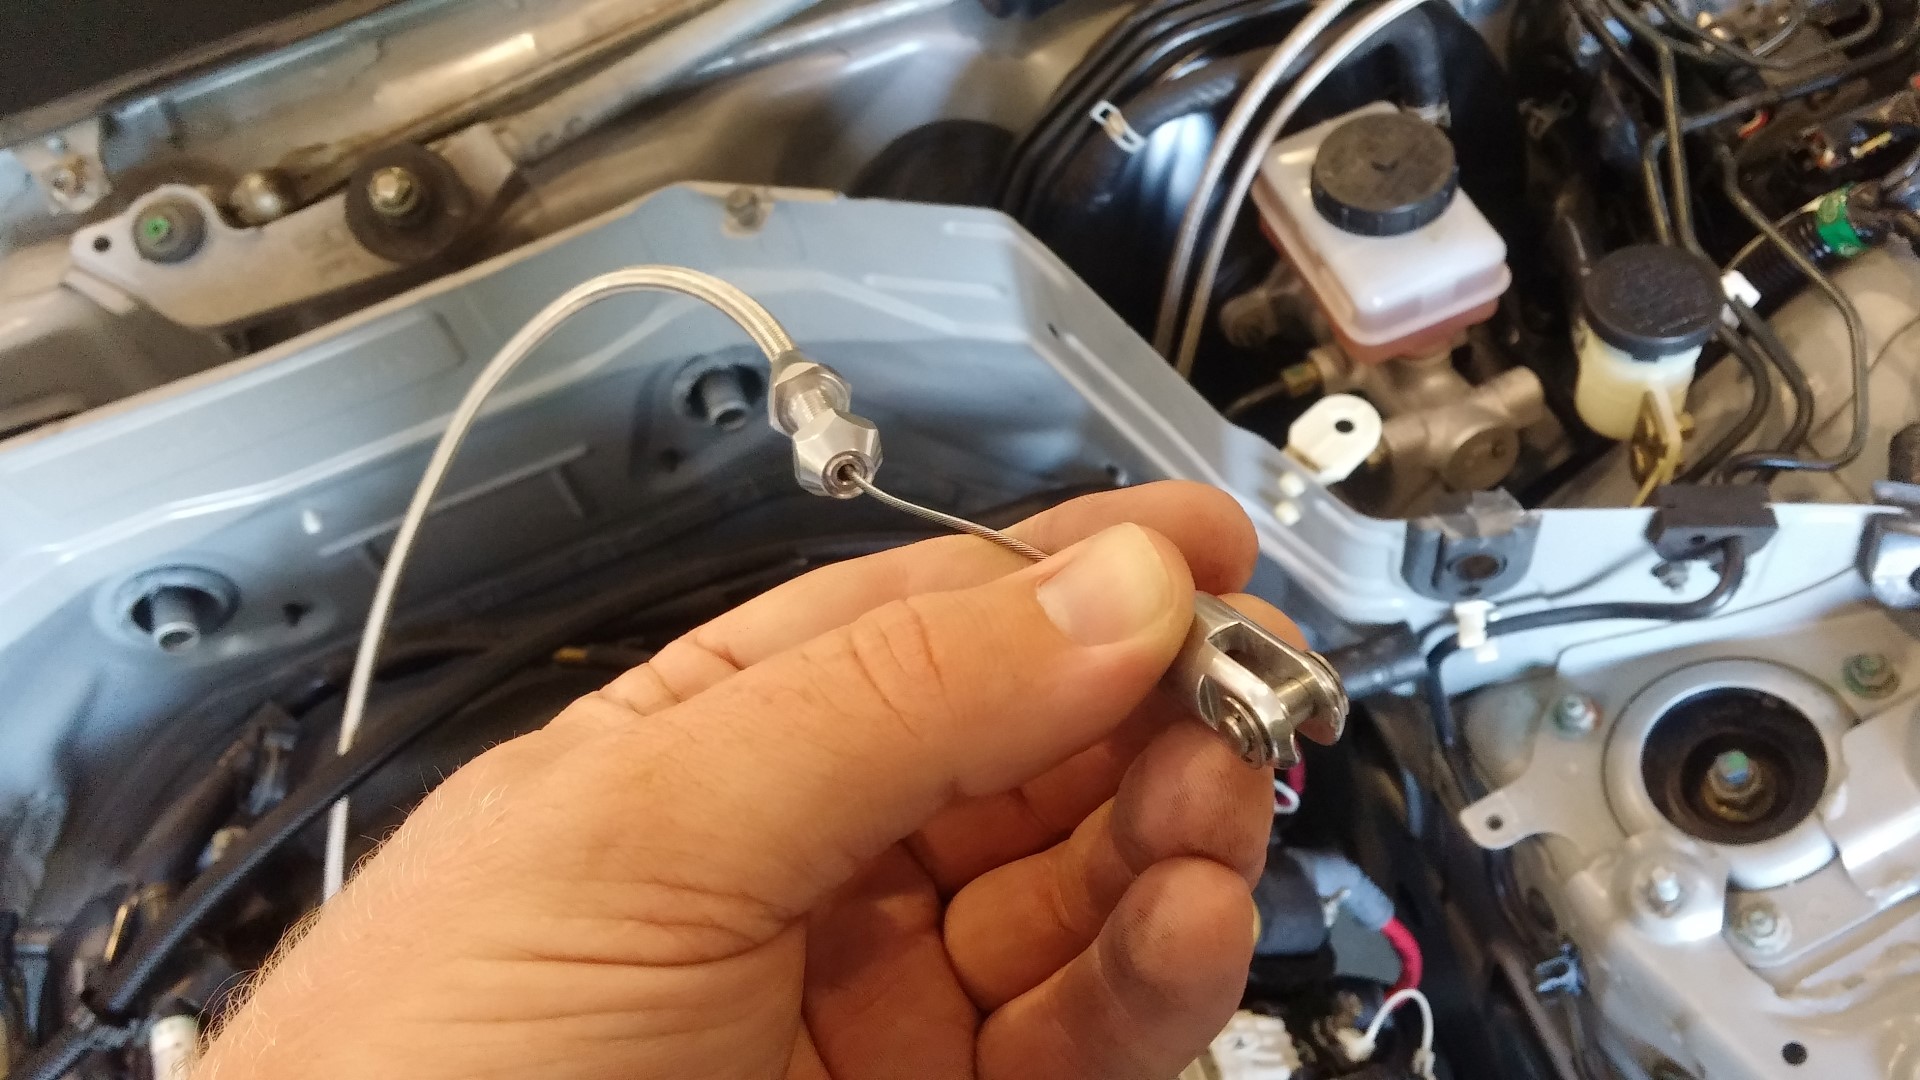
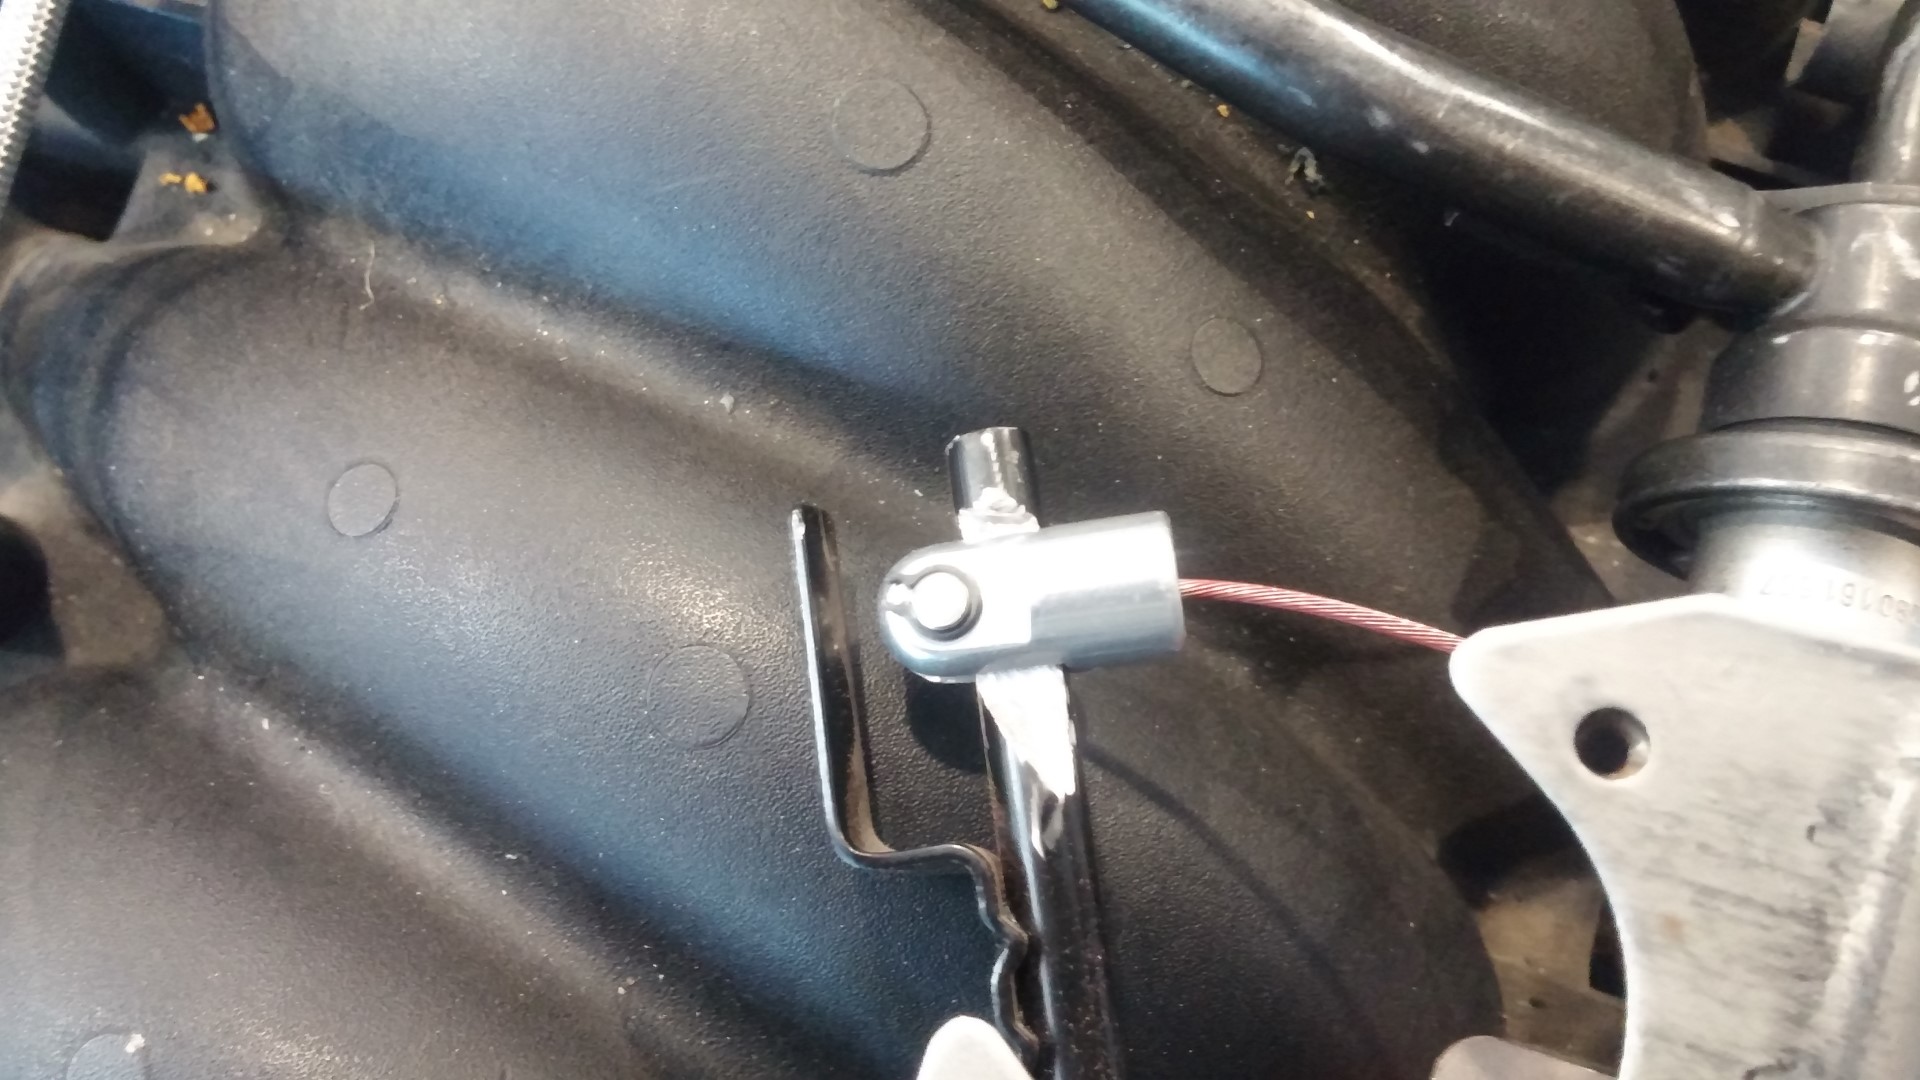
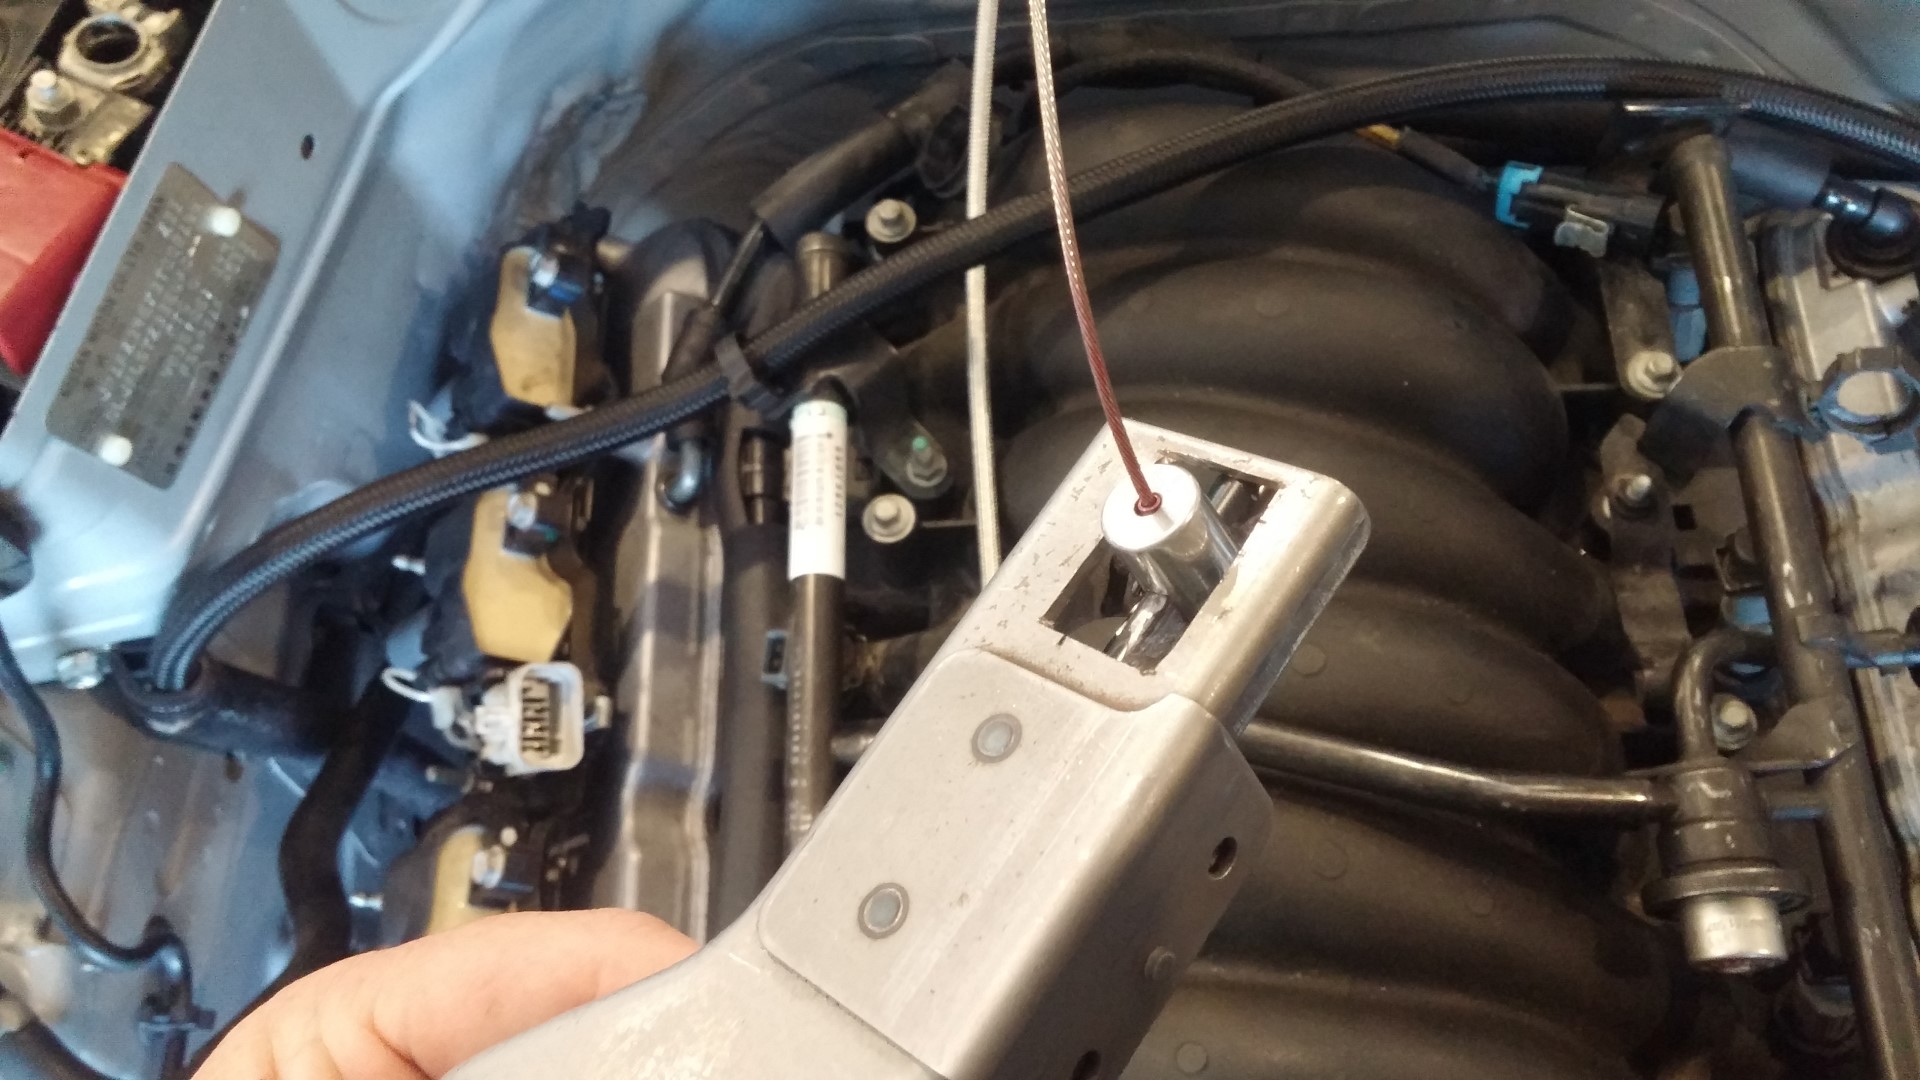
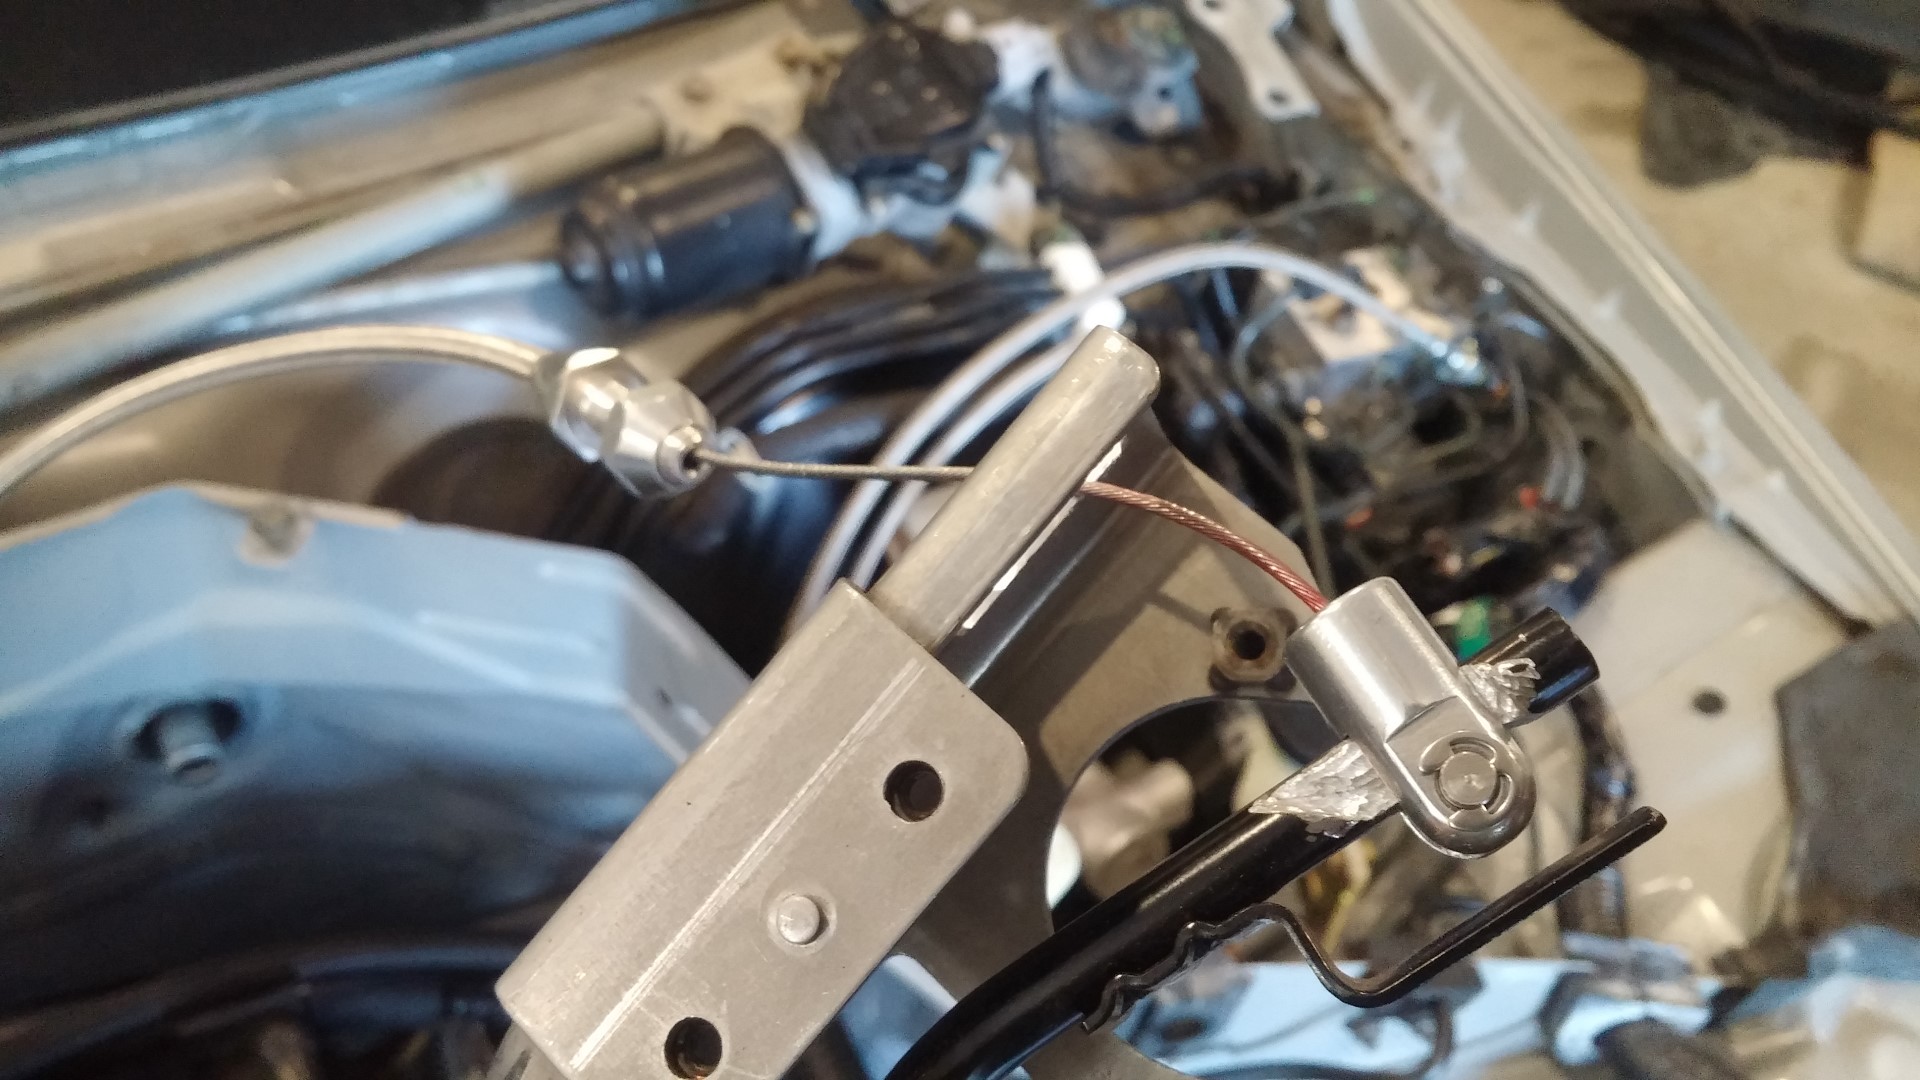
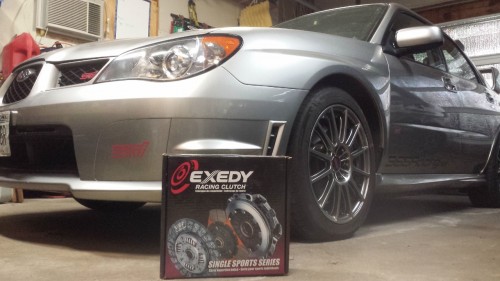
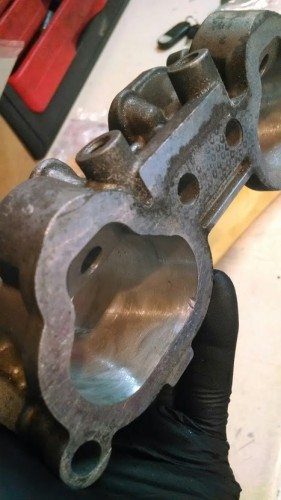
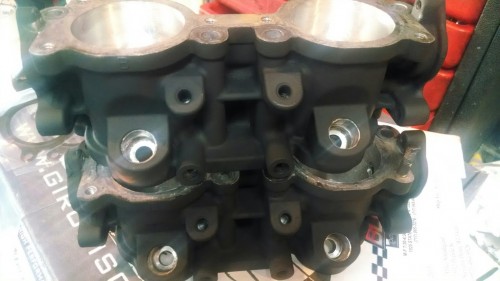
First up was the Stage 1 Exedy HD Clutch for the new power.

2_clutch (1280x720)

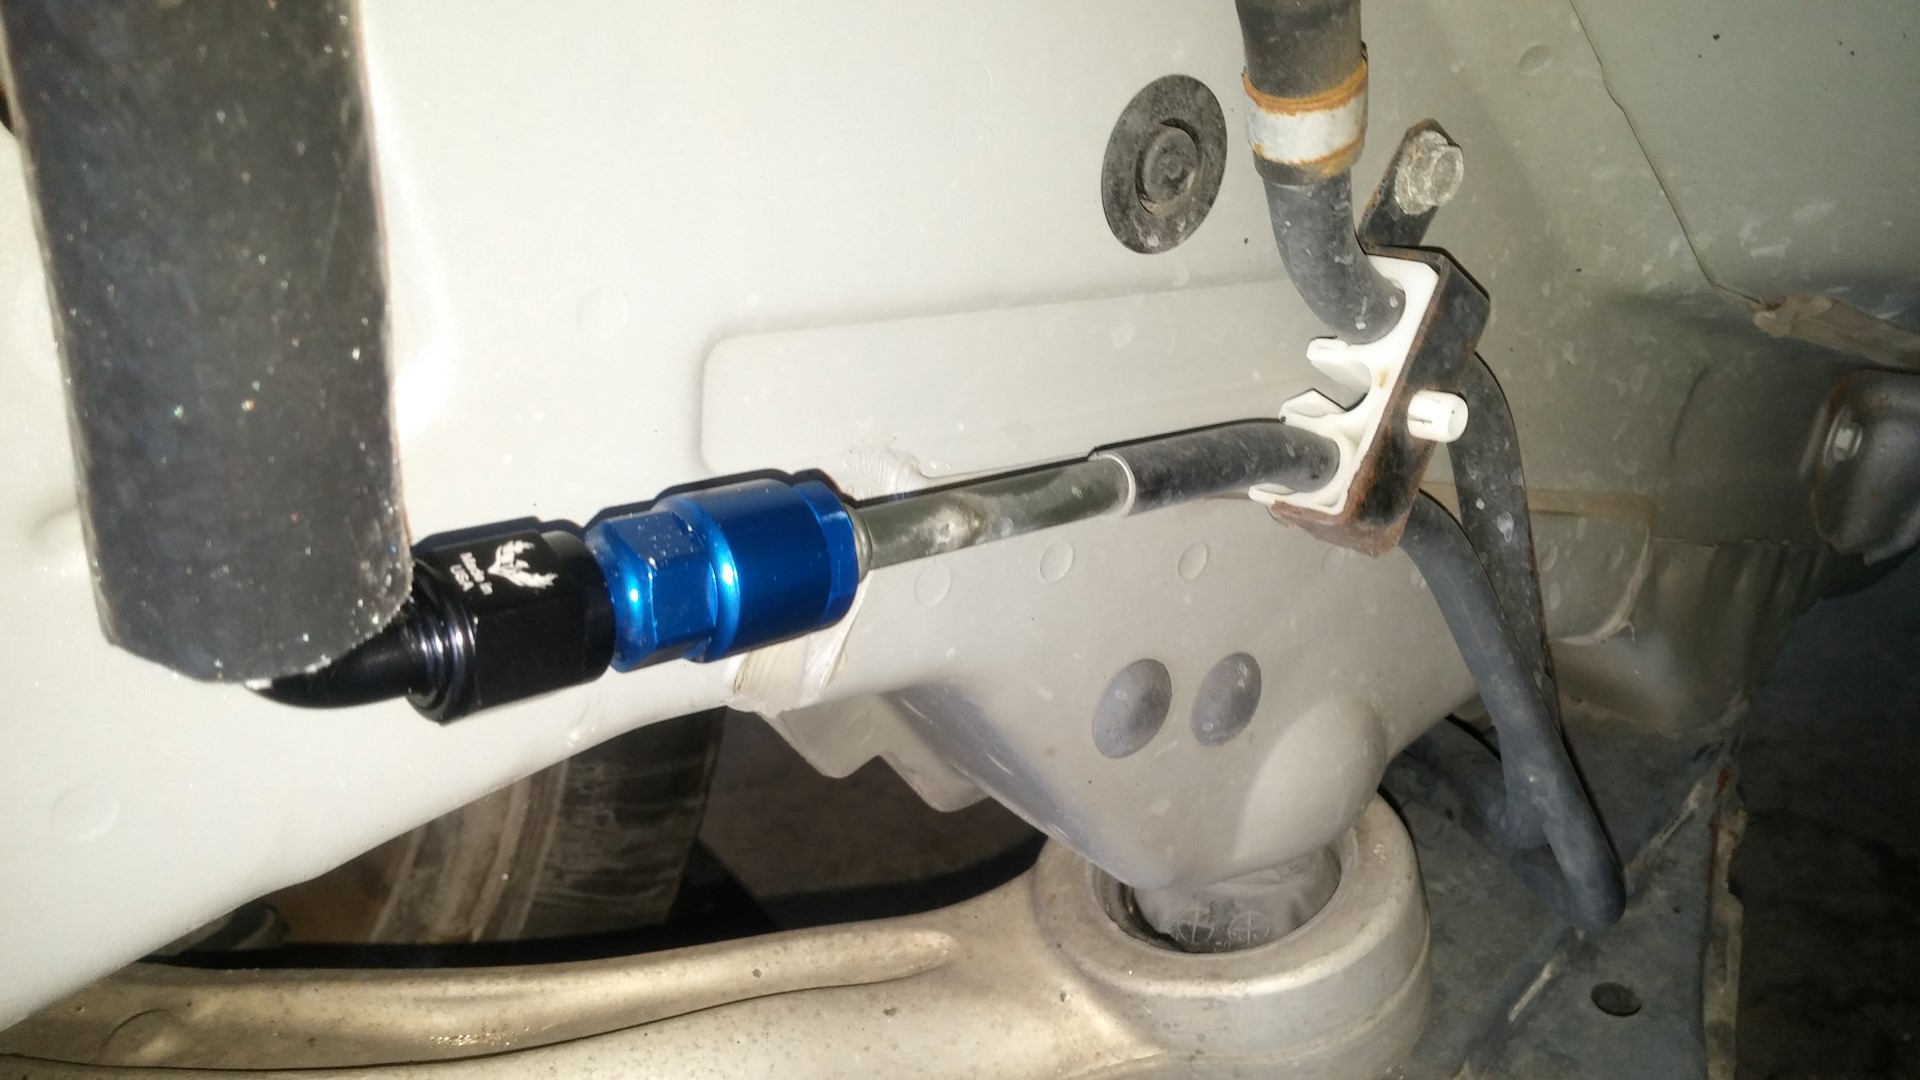
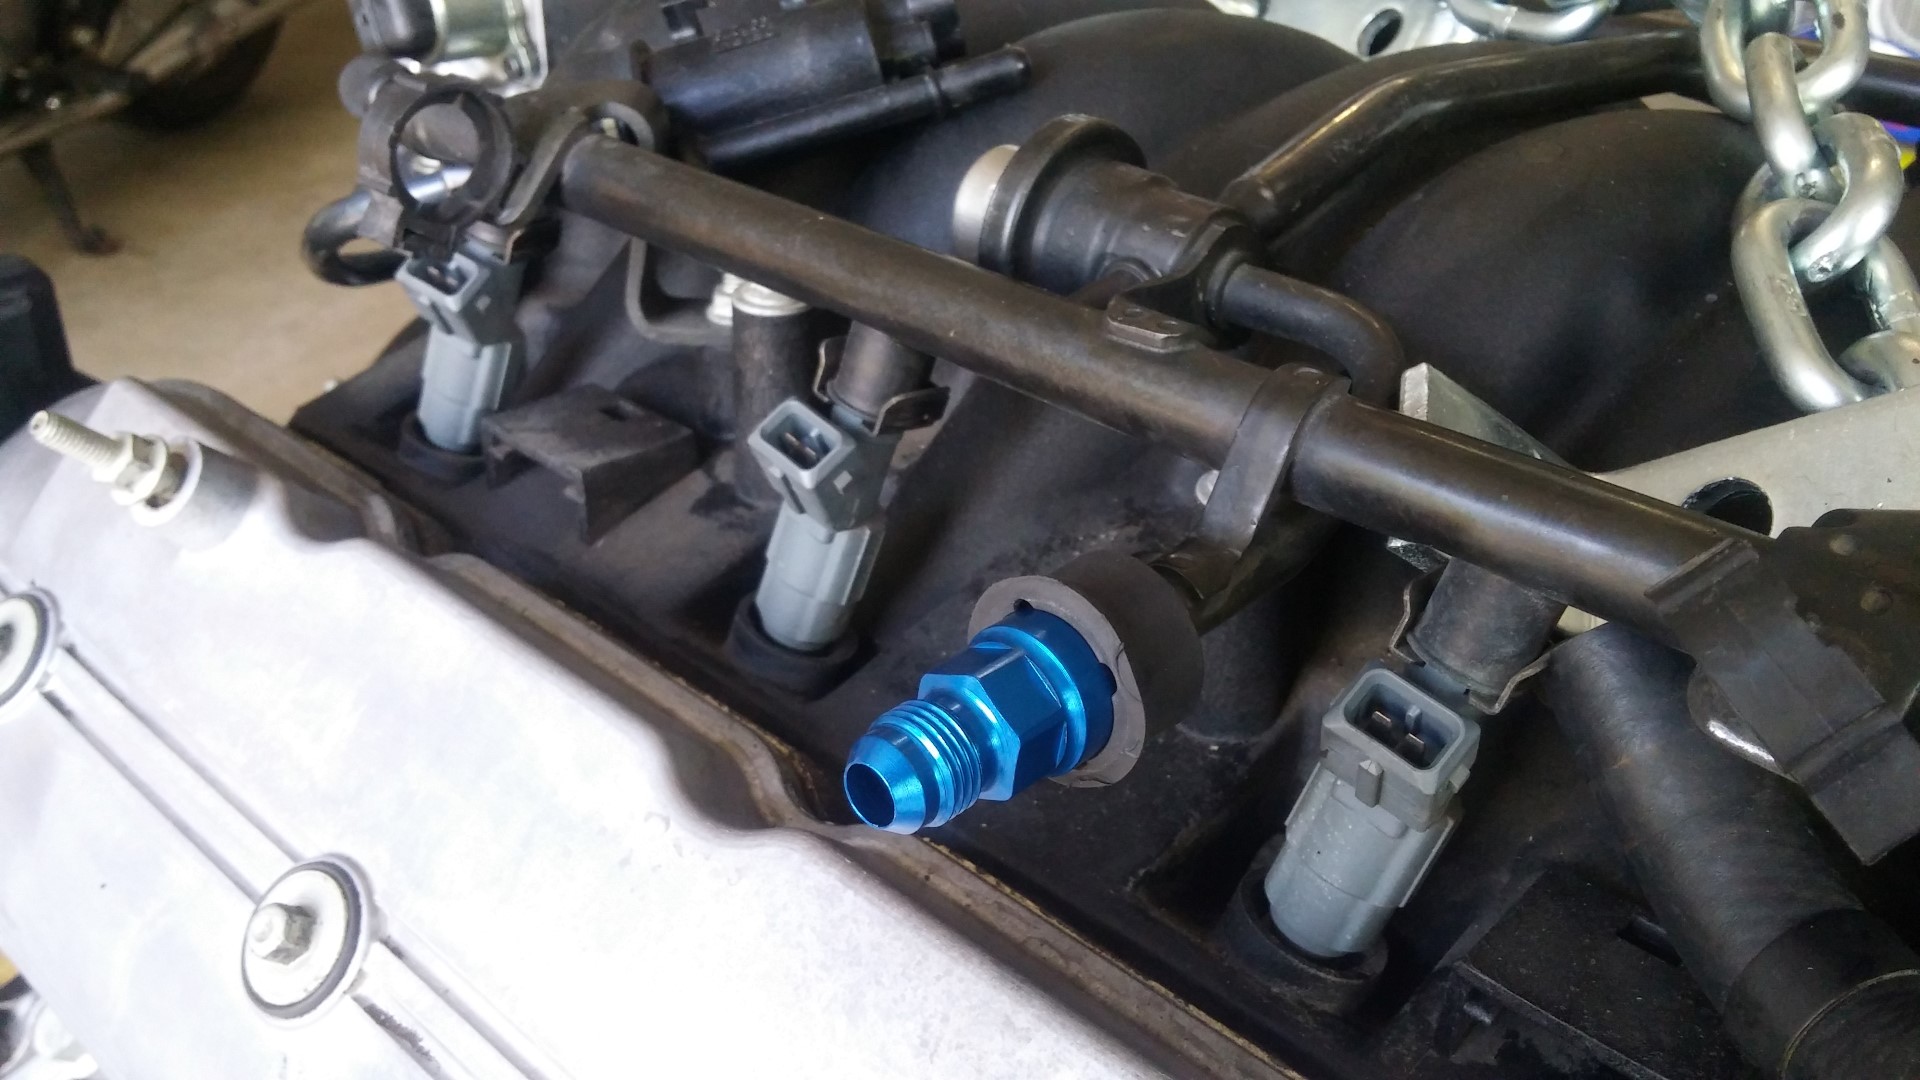
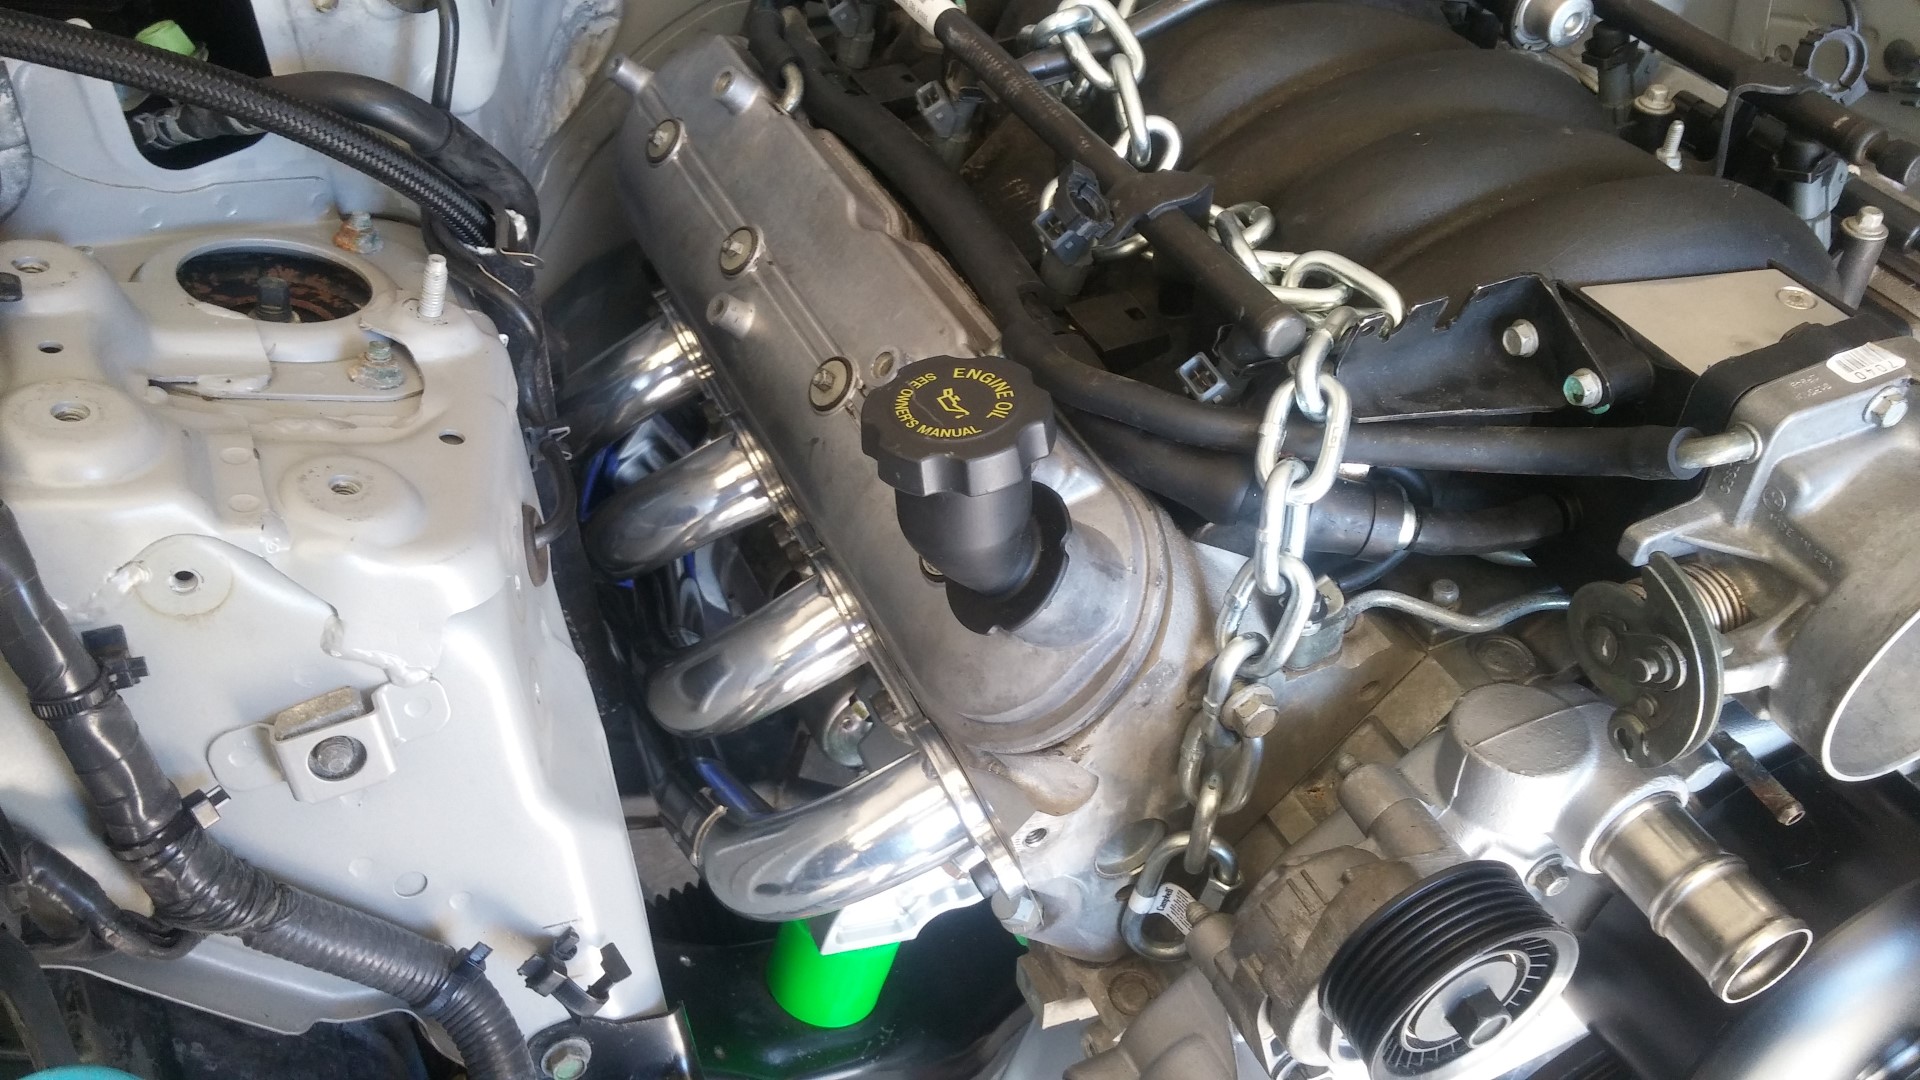
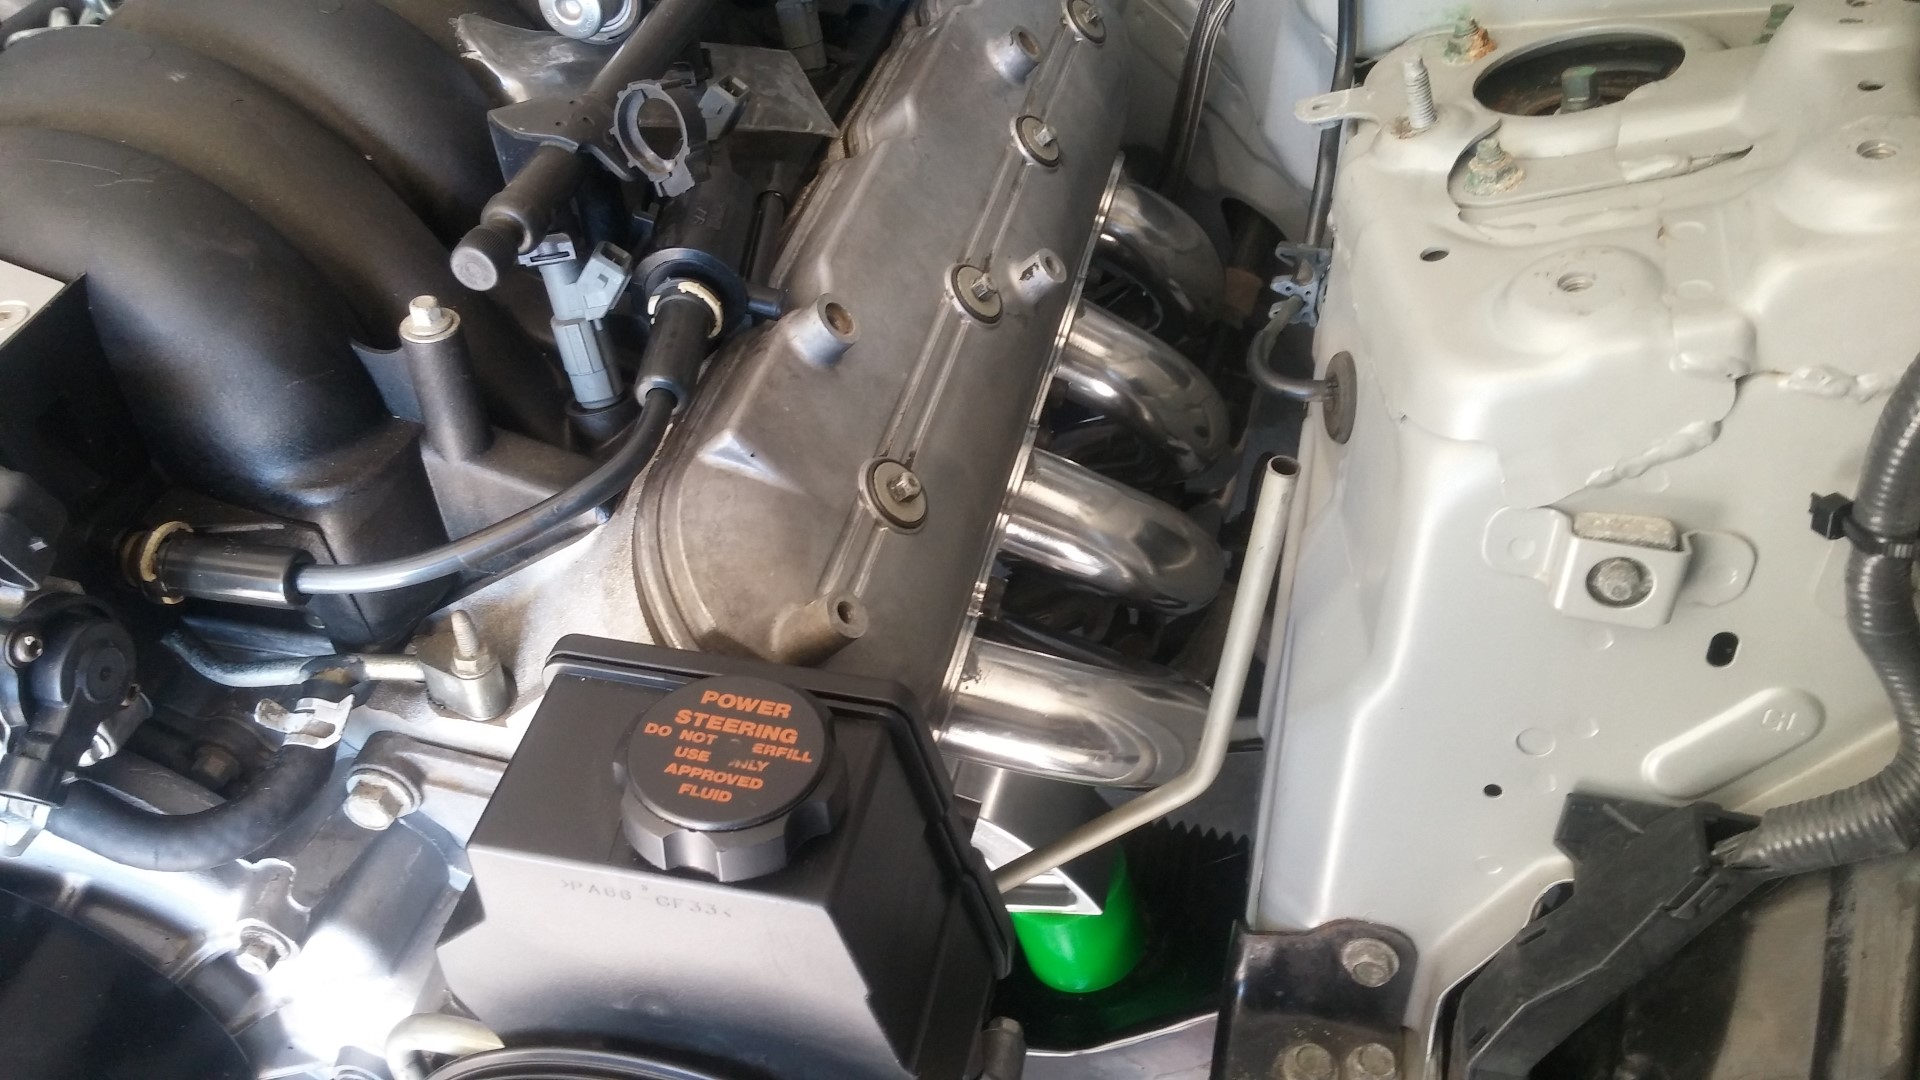
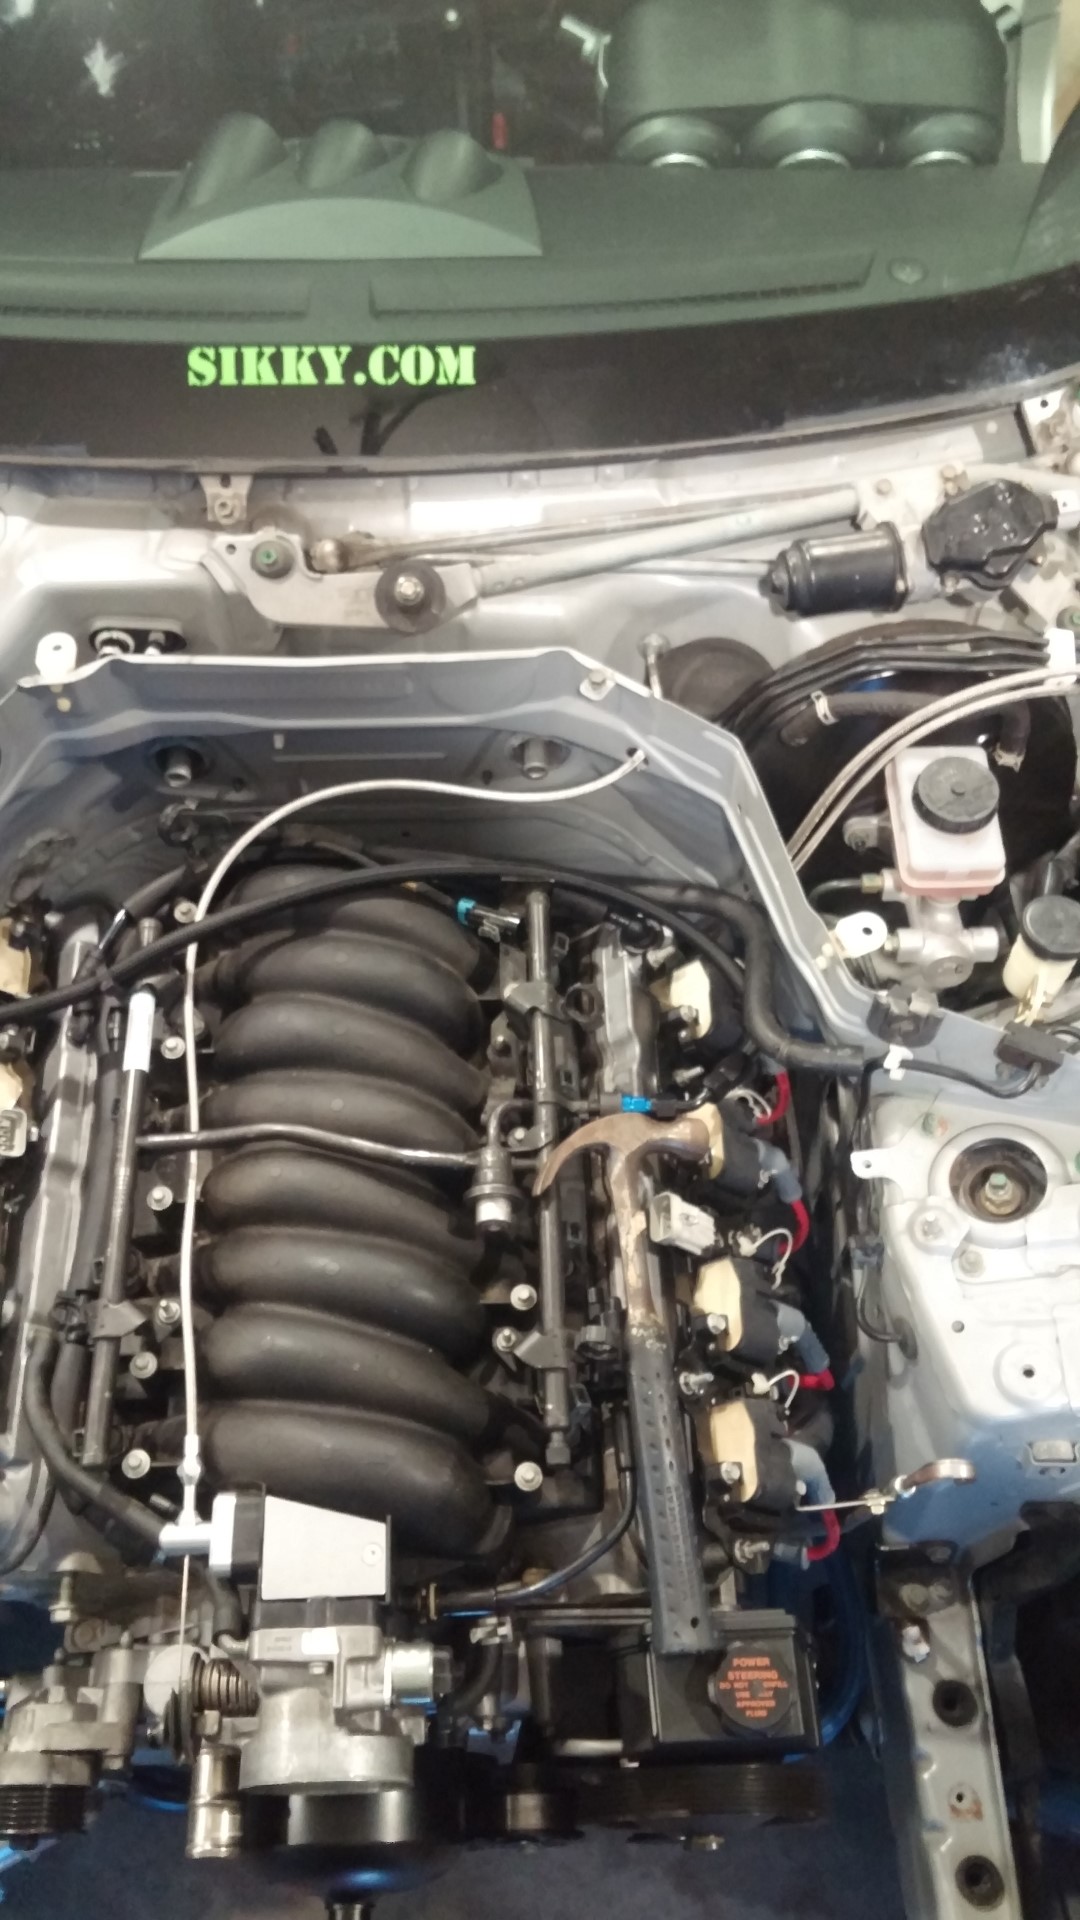
Then to handle the fuel load for the new build we went with the WRX fuel rail and TGV’s in place of the STi system so that it retained stock fitment and I could run top feed 1100cc Fuel Injector Clinic injectors. I ported my own TGVs from the WRX. Also the typical Walbro fuel pump was installed.

IMG_20150731_205932867

IMG_20150731_194706550

IMG_20150805_183012401

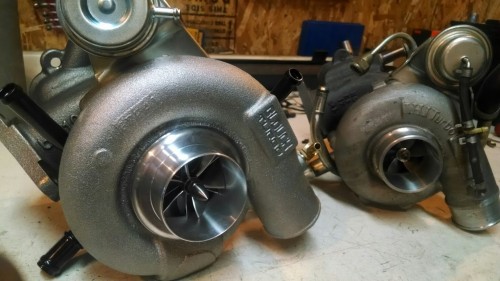
Lastly, the most important piece of the puzzle, the turbocharger. After some back and forth discussions I settled on the Blouch Performance Turbo – Dominator 3.0XT-R Ball Bearing with the 10cm hotside and stock size inlet.
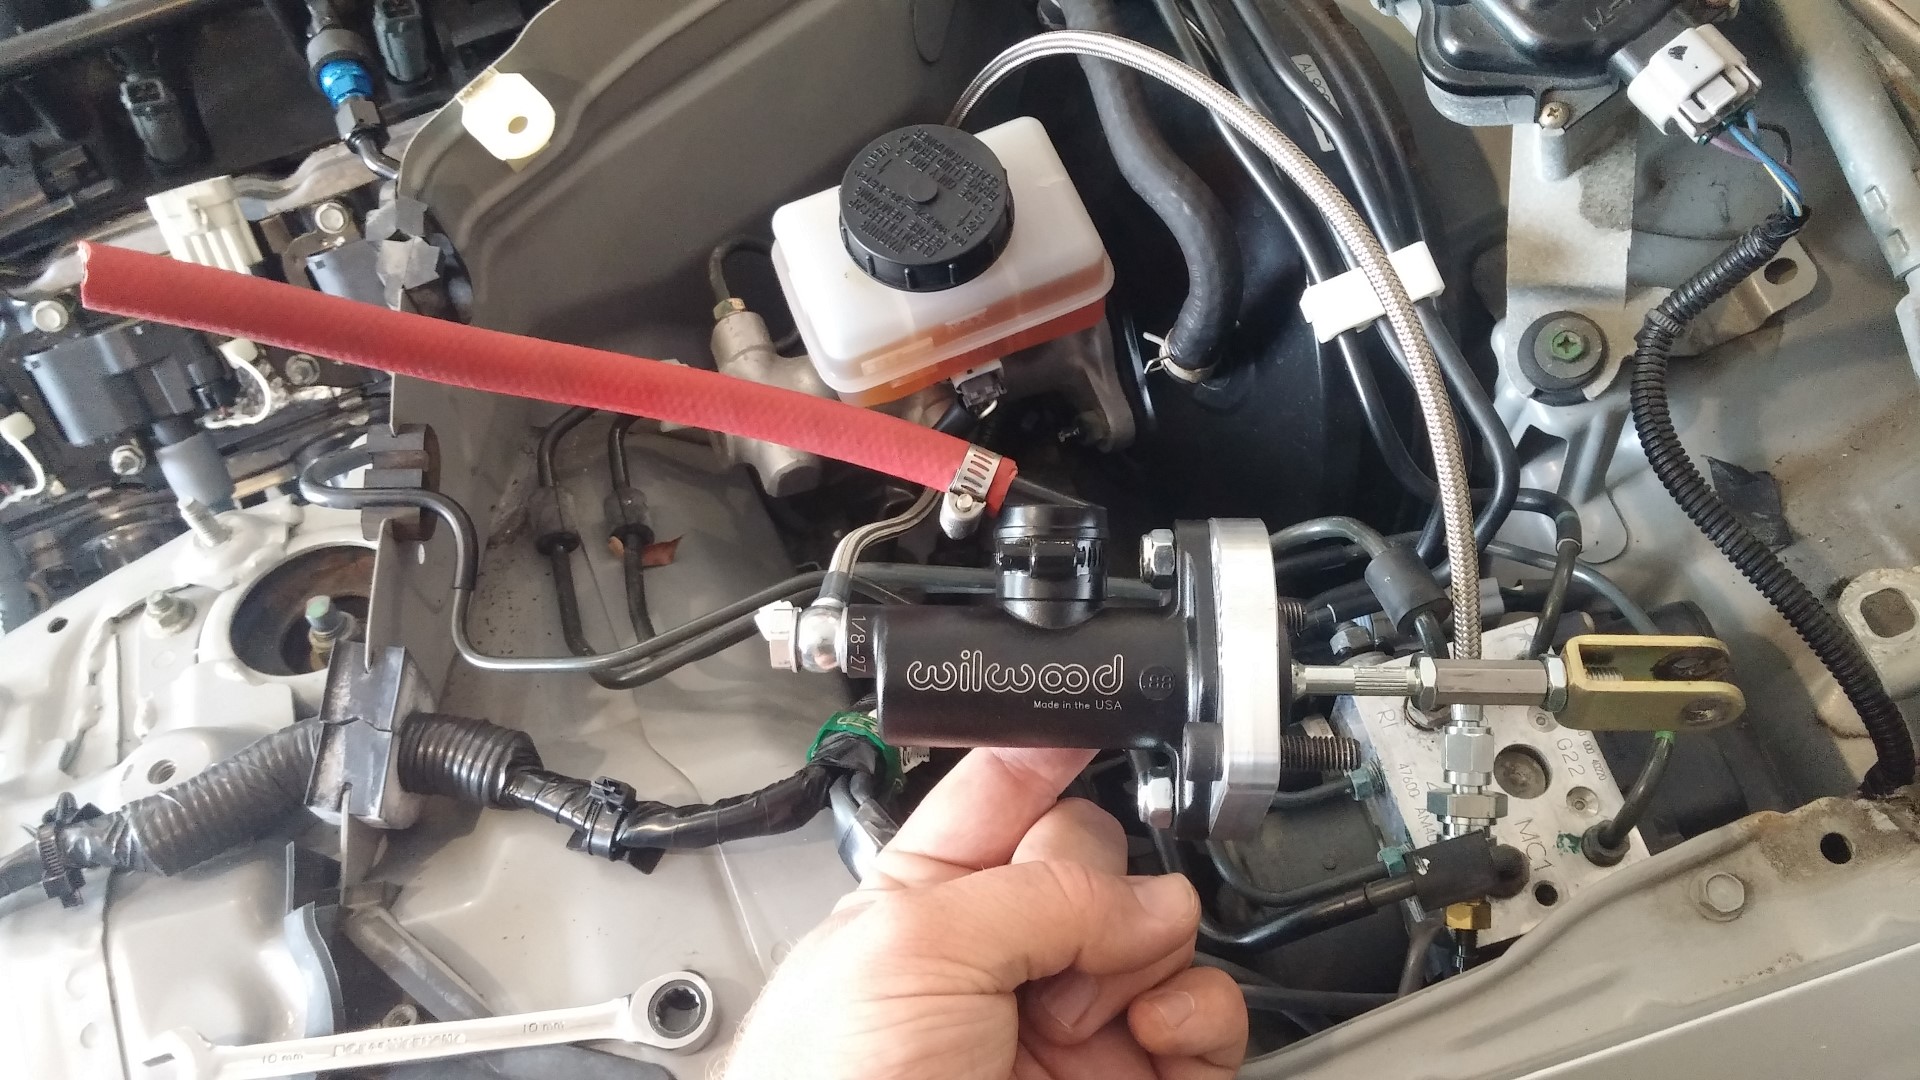
IMG_20150803_194740546

And on the car:

5_installed

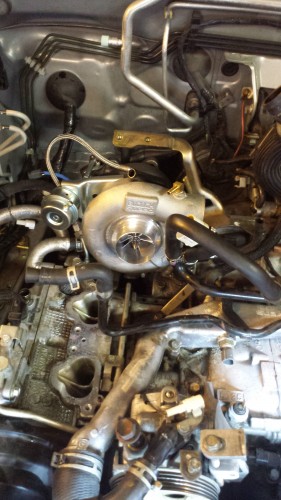
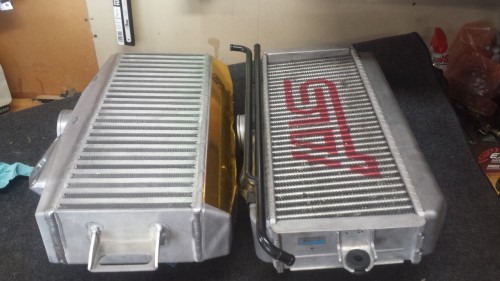
After some dyno pulls and some testing at a local Time Attack we determined the stock intercooler was far too small and heat soaked way to fast so a GrimmSpeed Top Mount Intercooler was sourced.

6_intercoolers (1280x720)

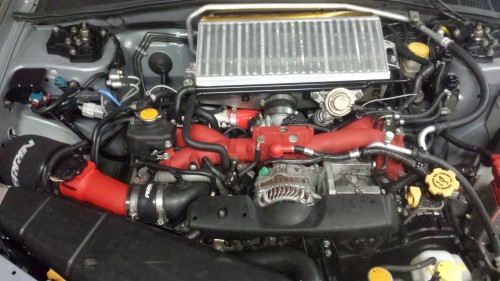
On the car and you’ll also notice the Perrin Big MAF intake.

7_engine bay (1280x720)

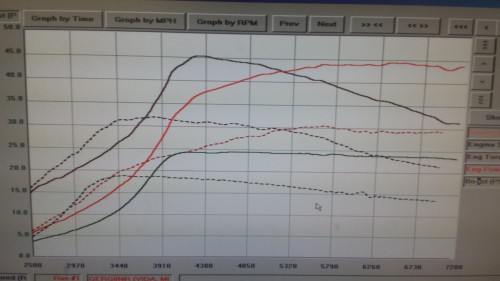
So with all of these changes you are probably wondering what the car makes for HP now. Well it makes a lot more and is an absolute blast to drive. On my first test run at the MN Time Attack it took 2nd Fastest Street Tire Time and 4th fastest overall out of 34 cars. I then swapped intercoolers and ran an autox with the Milwaukee SCCA at Miller Park taking a 1st in the Tire Limited class out of 13 drivers. So here’s what the car is making, 408hp/414tq behind the magic of Ronnie Soliman at RS Motors.
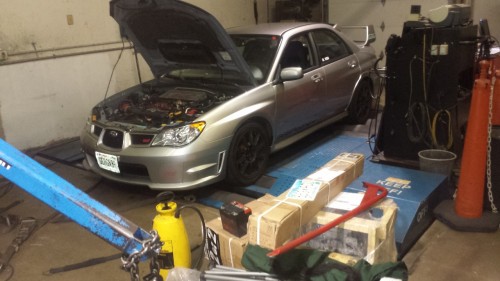
On the dyno:

8_On the dyno (1280x720)

Here is comparison of my stock turbo run of 283hp/297tq to the Blouch Dominator 3.0XT-R of 408hp/414tq on the same Dyno :

9_dyno graph (1280x720)

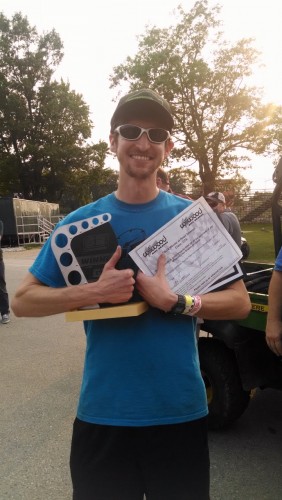
Now fast forward to this past weekend with Optima’s Search for the Ultimate Street Car at Road America.

1st Place in GTS class, winning an invite to the Las Vegas Invitational in November.

IMG_20150830_172519570 (721x1280)

Autocross pictures by Austin B.

20439602934_155cc37fab_o (1280x851)

20875575419_128847575a_o (1280x851)


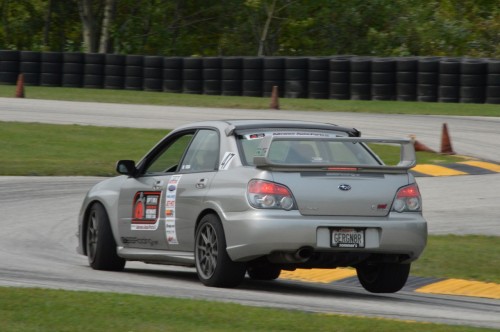
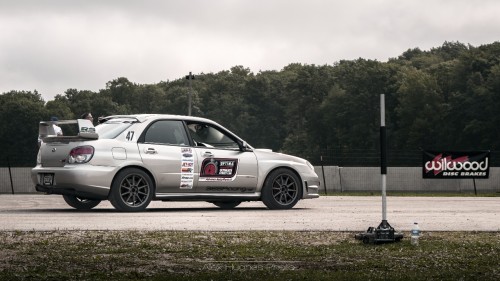
Picture by Alex Hughes
20837285090_6d134f368f_o (1280x720)

Special Thanks goes to Ronnie at RS Motors and Blouch Turbo.

While everyone is thrashing to get ready for the Optima Ultimate Street Car event at Road America this weekend, I figured it was a good time to catch you up on the LS-Z build.  I don’t get to compete this weekend.  My sister decided to get married this weekend and I like still getting Christmas presents from her so I better go :) (how dare she pick her wedding on a race weekend!)

Warning: This will be the longest, most picture intensive update I do.  Sit back and enjoy.


When I left you last, the engine and transmission were ready to be put into their new home.  Now its getting exciting!  One of the reasons I took on this project was because of how “easy” Sikky made this swap.  It really did not disappoint putting the drivetrain in for the first time.  Andy and Mike came over one evening, grilled some food, had some drinks and set the motor and drivetrain in its home for the first time.  It slid in with little hassle.  A little clearance with a hammer on the false firewall for one of the valve cover/coil pack mounting bosses and everything was happy.  Welcome home little LS motor! Fits like a glove!

20150725_204339

20150725_210318

Well now the motor and transmission are in, we can start making all the connections and hooking up all the lines.  The first items I had to install were the new AN fitting adapters to the stock 350Z fuel lines.  At “stock” LS1 power levels, the Z’s returnless fuel system is sufficient.  Later on I will have to switch that up, but for now it will do the job.  I actually did this while the motor was back out, as the stock line will be difficult to reach with the headers in the car.

Stock Z fuel line against passenger side frame rail with AN adapter installed

20150728_183244

AN adapter on the LS fuel rail

20150728_183302


Now the headers were ready to go in.  It was a good thing I didn’t take the engine hoist back to ASM yet, as I had to finagle the motor out and side to side to get the headers around the chassis, steering linkage, etc.  I think this is the case with just about any long tube header set up though.  They look and fit great once they were in their home.

20150801_115955

20150801_115945

20150801_154052

While we’re under the car now, we can bolt up the transmission brace, along with install the new driveshaft.

20150801_153946

20150801_153927

Everything lined up perfect.  Absolutely no fighting anything to bolt in.  Transmission mount was exactly where it needed to be as well as all the drive shaft ends.  This is going well!

Back up top, it was time to put the coil pack bracket and coils back on.  The stock spark plug wires were replaced by some MSD Super Conductor wires.  They are pretty well known for being some of the best plug wires, and are also required because they are flexible and can bend out of the way of the header tubes.

20150801_131741

The fuel line was pretty simple to connect.  This was an optional kit that I ordered with the swap kit to help make this go smoother/quicker.  Came with all the adaptors shown above along with the fuel line with AN fittings, and the heat sleeve.  The line does run close to the headers, so in the future when new fuel lines are run, that will be an advantage of not running the stock line location anymore.

20150801_131523

20150801_134024

Power steering lines were next.  I’d be lying if I said that these were easy to connect.  Lots of curse words came out of my mouth putting these on.  I have rather large hands and this space was small.  Eventually I was able to get the new lines on.  Again, these blue lines were included in the Sikky kit and fit perfect.  They connect directly to the 350Z steering rack.  When the motor comes out again, I have to find a better way to do this part next time.

20150801_131534

20150801_155400

If you’re wondering, each of these systems I installed did not all happen on one day, or one weekend.  On average each of these steps took an hour or two each day.  I didn’t want to burn myself out, but I also had to wait for the wiring harness which was on a two-three week back order.  Still a quick pace as my original goal was a running car by the end of July so things are still going well at this point.

Throttle cable time.  This part took a bit of garage engineering/fabrication.  The 350Z is a drive-by-wire car.  This LS motor is a drive-by-cable car.  First issue was sourcing a throttle cable.  After some research, Lokar has a very large selection of cables for just about anything you can imagine.  They have a universal LS1 cable kit which I bought.  The 36″ cable ended up working great as you will see.  I also used their mounting bracket which made for a nice clean installation on the throttle body.

20150801_131454

Now the tough part.  How do I use the 350Z stock throttle pedal and adapt it to a drive-by-cable type.  With the throttle position sensor removed, here is was I was left with

20150805_182350

20150805_183312

This was the end of the throttle cable I had to work with

20150805_182417

And this is what I ended up with.  I think it turned out well.  I ground the stock throttle arm down to fit the end of the throttle cable.  For some reason I thought the cable would rotate some on the arm, but that isn’t happening with that connection.  So that’s the reason for the angled grind marks.  The hole in the mounting plate of the 350Z throttle wasn’t big enough to fit the cable end through, so I used a Dremel to clearance out the bracket.  All in all I think it turned out great.  The cam on the throttle body is pretty large, which caused me to be short of wide open about 1/4″ of pedal travel or so.  For now I bent the throttle up off the floor some.  We’ll see if this causes heel-toe issues later.  If it does I will look for a smaller cam for the throttle body.

20150805_193130

20150805_193148

20150805_193159

And a picture of it routed through the false firewall and through the real firewall into the cabin.  Rubber grommets were added later on.  Why the hammer is laying there, I’m not sure.  But its one of our favorite tools at 365Racing so I’m sure it was used for something :)

20150805_203012

At this time I also drilled holes for the clutch master cylinder line and the clutch remote bleeder line up into the “brake bay”.  Again, rubber grommets were added to the holes in the sheet metal later on.


20150801_131606

20150801_131659

Speaking of such lines, now its time to switch out the master cylinder so we can hook up and bleed the clutch.  The stock 350Z master cylinder is not strong enough for the T56 set up.  Sikky provides this conversion kit with a really nice Wilwood master cylinder.  You steal a few parts off the stock master for the Wilwood set up, and even use the stock reservoir.

Stock

20150808_104533

Wilwood next to the stock

20150808_104708 One thing that was extremely helpful of Sikky was the CNC machined master cylinder flange.  Nissan mounting studs are at a weird angle and aftermarket masters are usually vertical.  This, again, made installation of this painless.  And here it is ready to go in.

20150808_113342After this was installed, I used my Harbor Freight vacuum bleeder to bleed the clutch.  In 5 minutes everything was ready to rock and roll.  I could now sit in the car and make vroom-vroom noise while shifting and pushing a gas pedal! This was an exciting day :)

I think this is a good place to stop (because I had to stop too as I waited for the wiring harness to arrive).  I’ve now installed all the components supplied by Sikky.  Just as they had told me, this really was pretty painless!  We are getting close to firing this up now.  Next update I promise a start up video.

To be continued…

Visit Us On FacebookVisit Us On YoutubeVisit Us On Twitter