While everyone is thrashing to get ready for the Optima Ultimate Street Car event at Road America this weekend, I figured it was a good time to catch you up on the LS-Z build. I don’t get to compete this weekend. My sister decided to get married this weekend and I like still getting Christmas presents from her so I better go  (how dare she pick her wedding on a race weekend!)
Warning: This will be the longest, most picture intensive update I do. Sit back and enjoy.
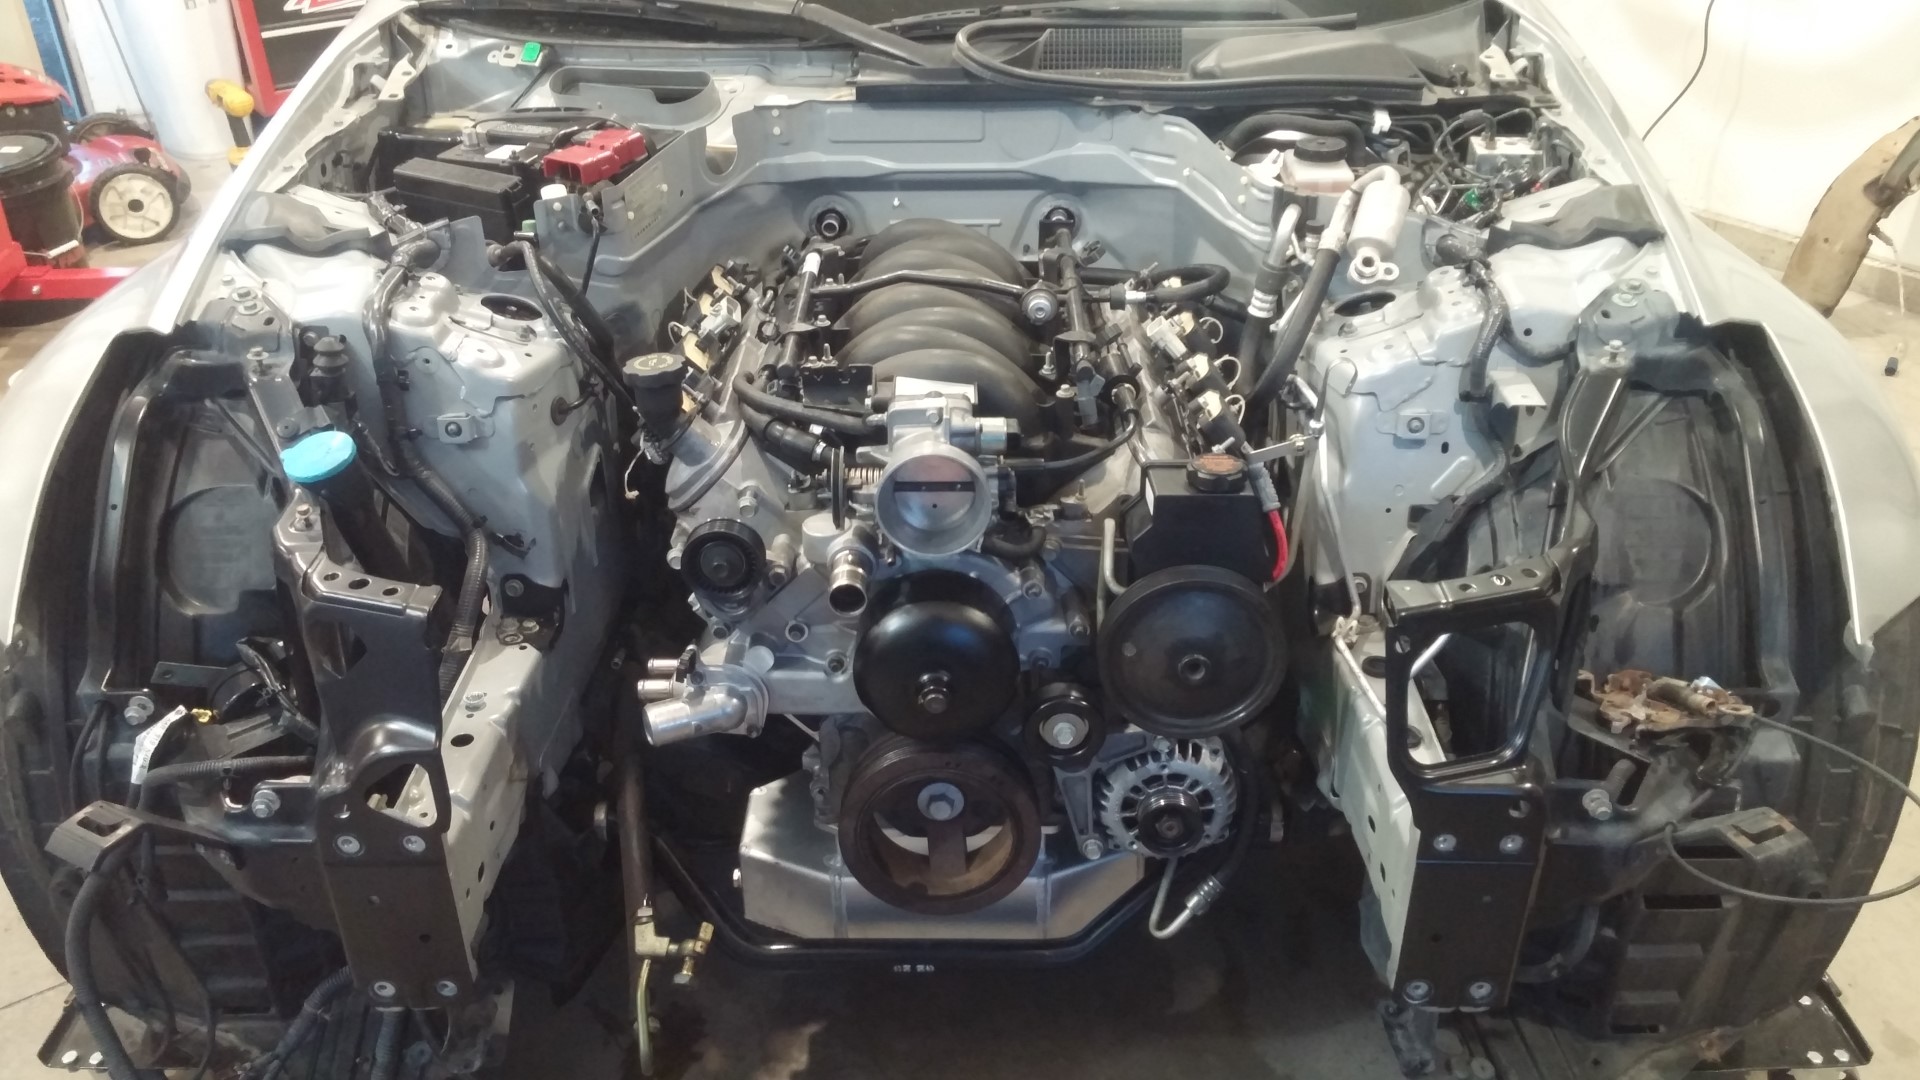
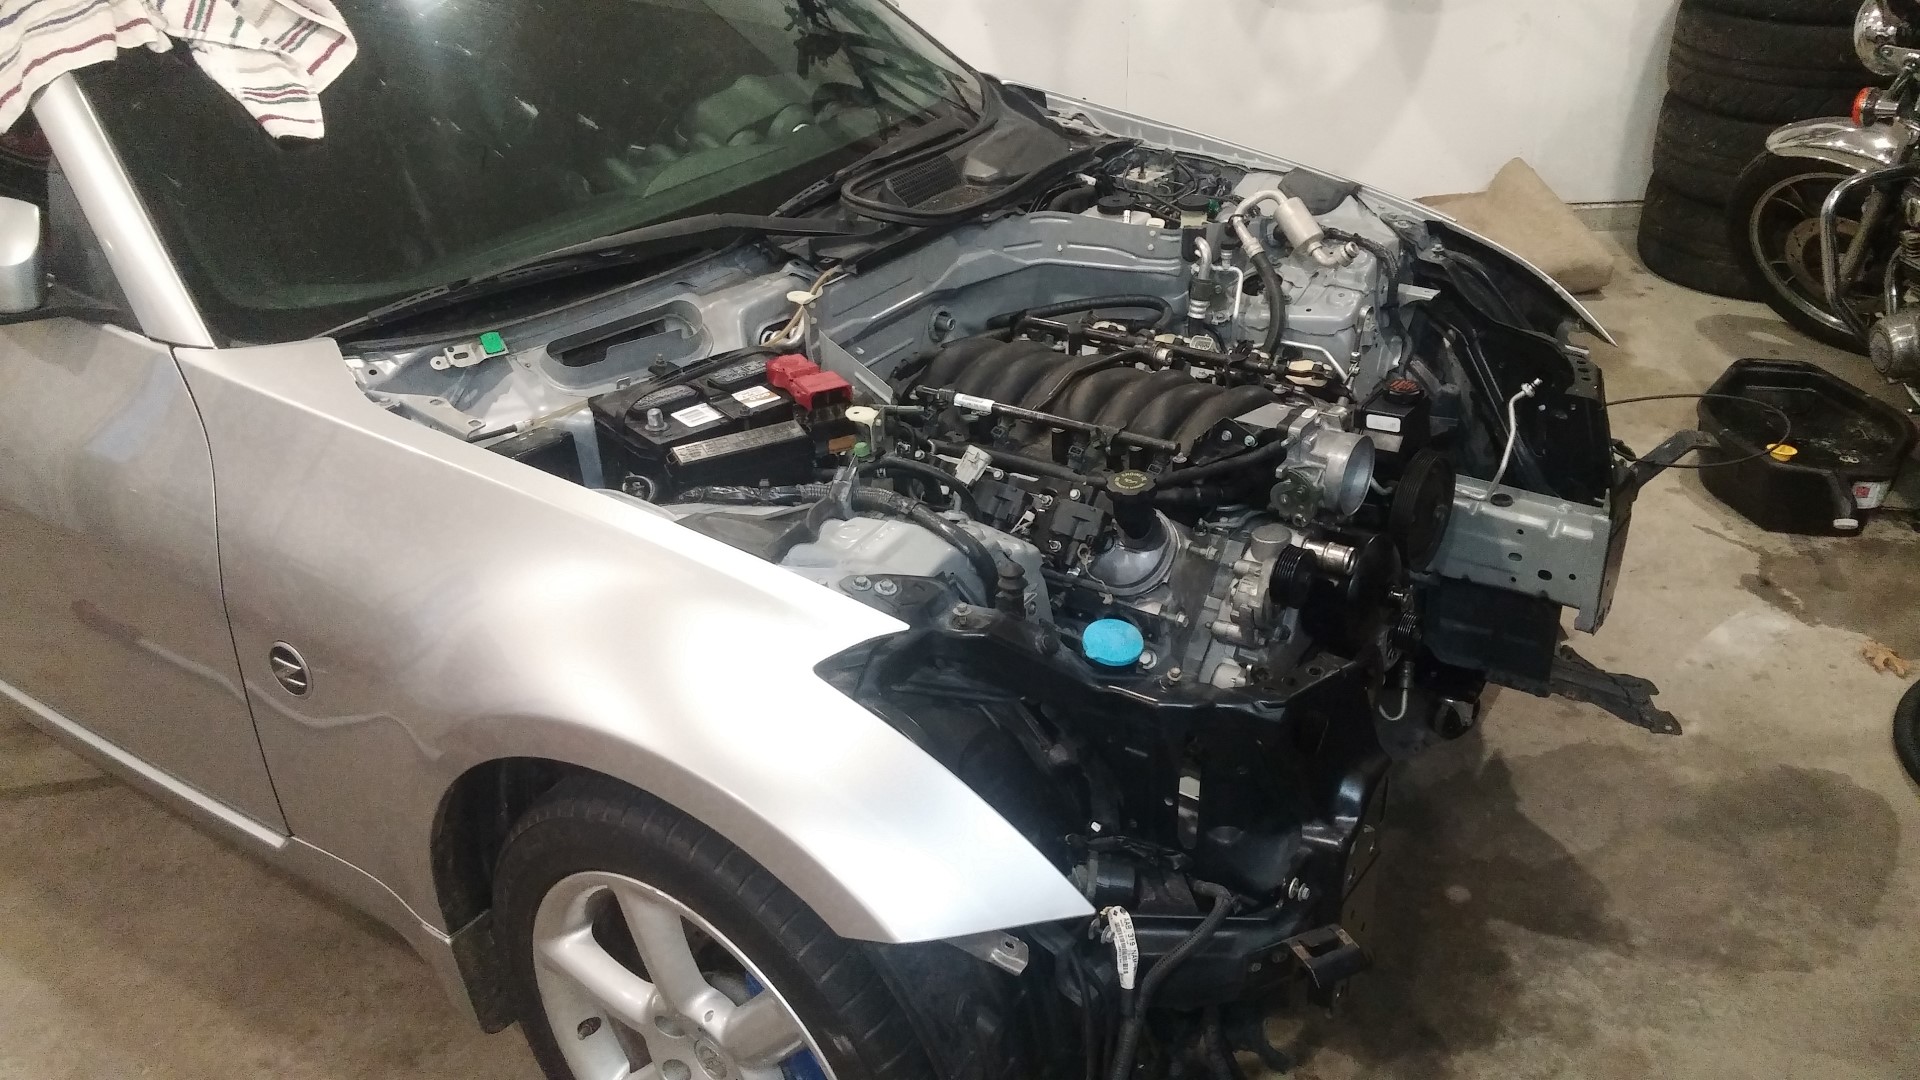
When I left you last, the engine and transmission were ready to be put into their new home. Now its getting exciting! One of the reasons I took on this project was because of how “easy” Sikky made this swap. It really did not disappoint putting the drivetrain in for the first time. Andy and Mike came over one evening, grilled some food, had some drinks and set the motor and drivetrain in its home for the first time. It slid in with little hassle. A little clearance with a hammer on the false firewall for one of the valve cover/coil pack mounting bosses and everything was happy. Welcome home little LS motor! Fits like a glove!
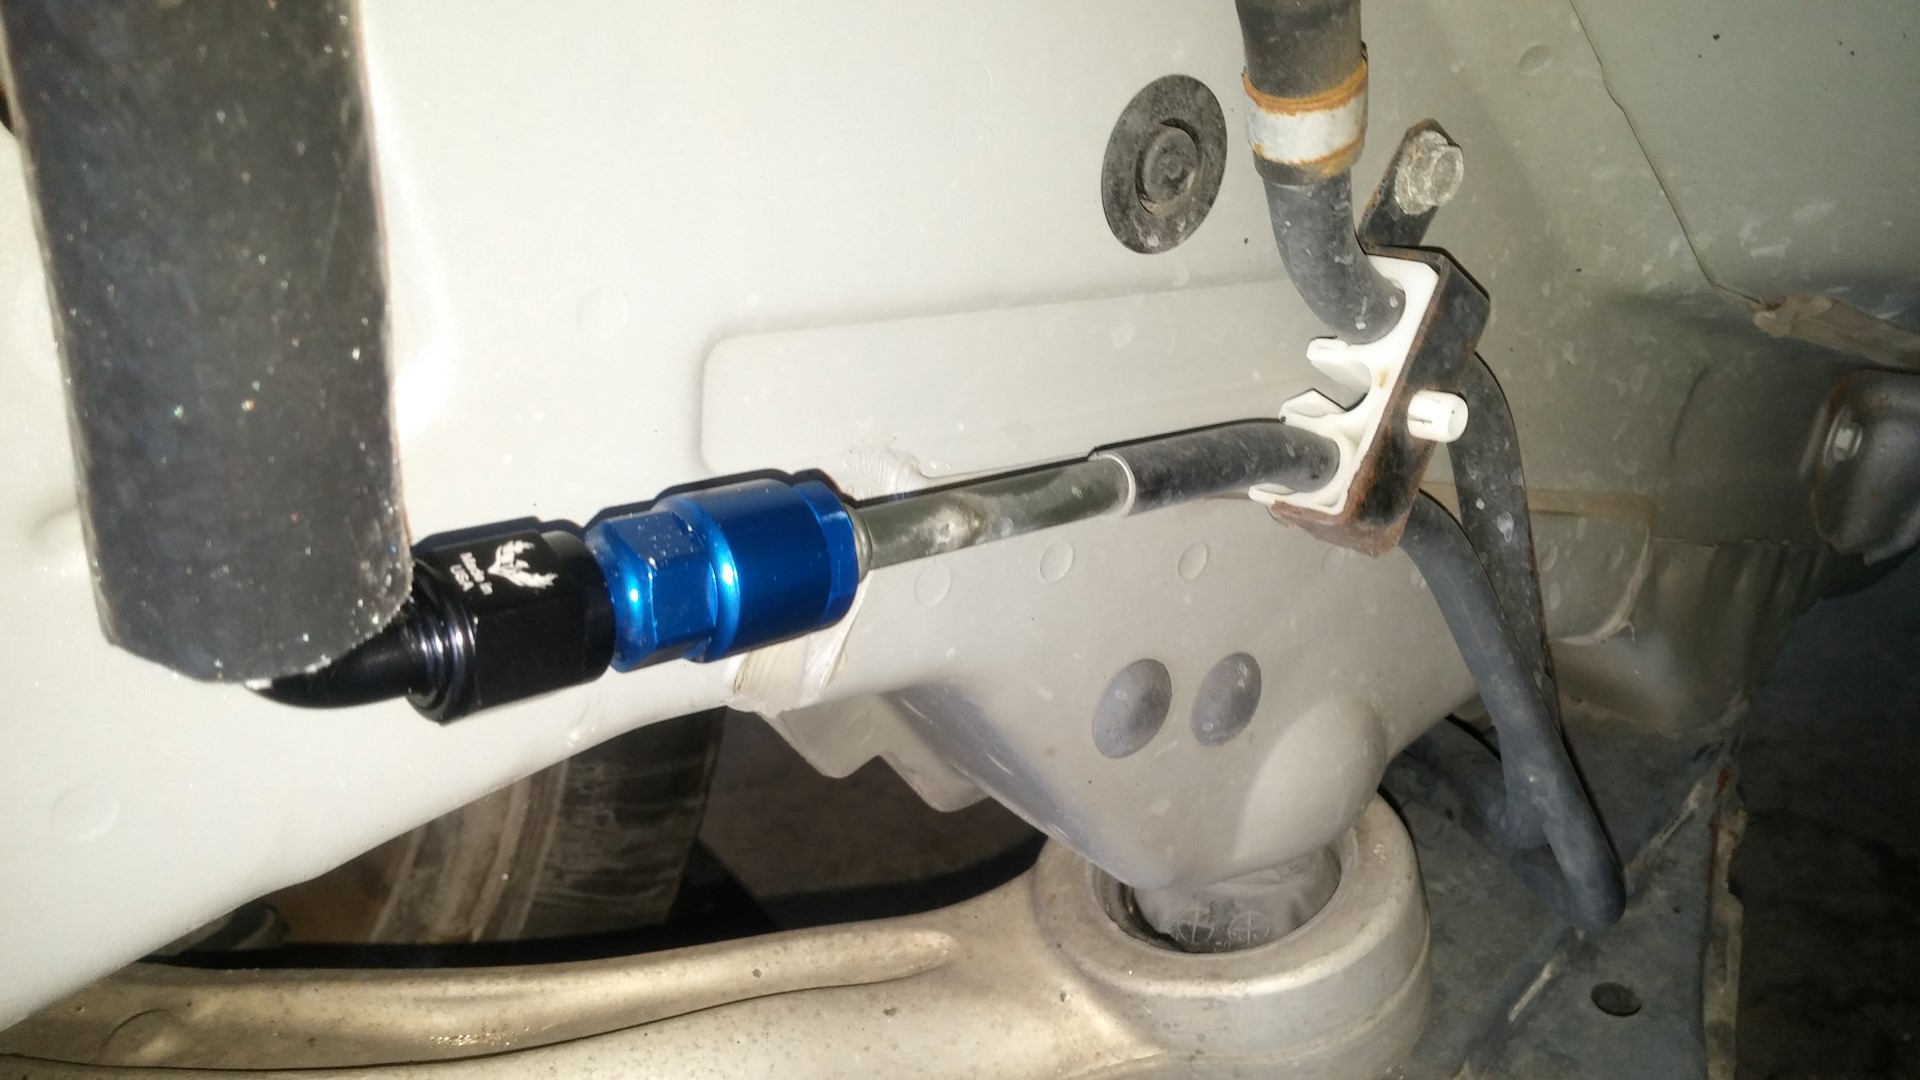
Well now the motor and transmission are in, we can start making all the connections and hooking up all the lines. The first items I had to install were the new AN fitting adapters to the stock 350Z fuel lines. At “stock” LS1 power levels, the Z’s returnless fuel system is sufficient. Later on I will have to switch that up, but for now it will do the job. I actually did this while the motor was back out, as the stock line will be difficult to reach with the headers in the car.
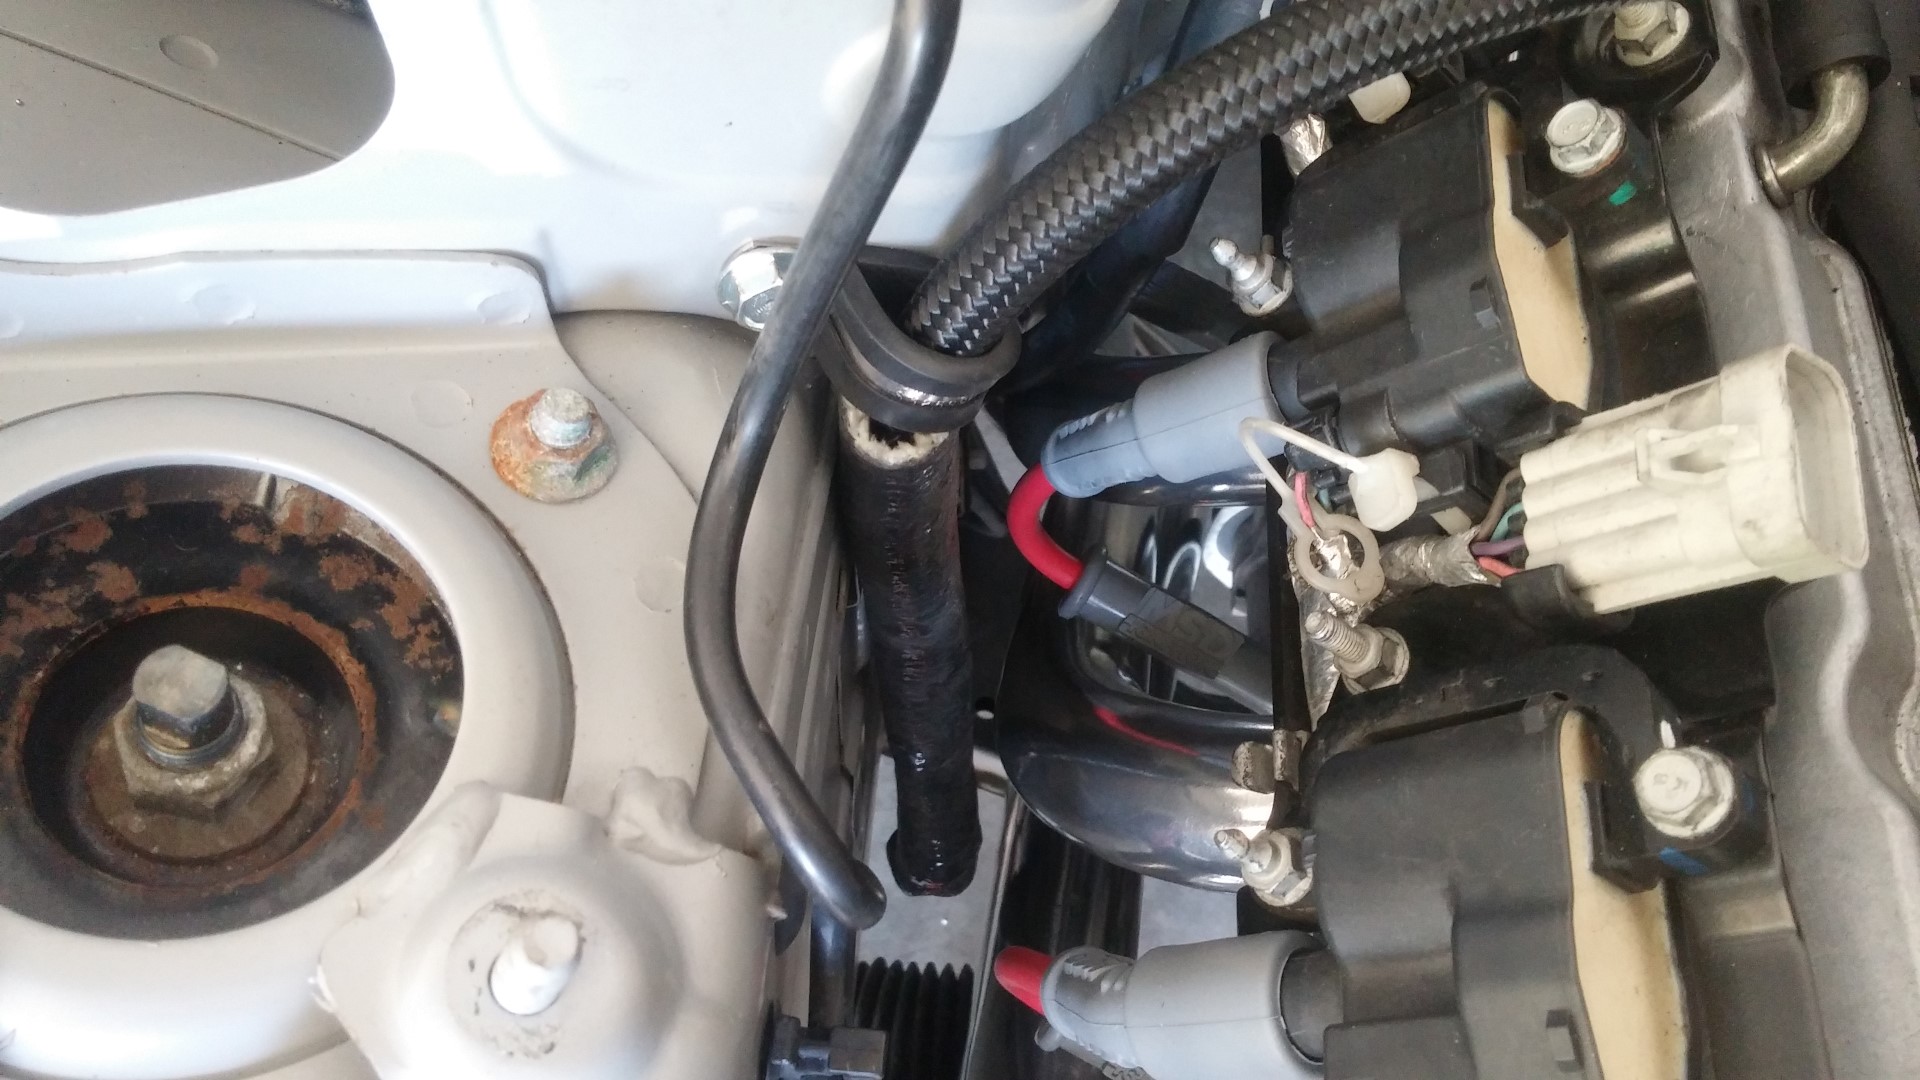
Stock Z fuel line against passenger side frame rail with AN adapter installed
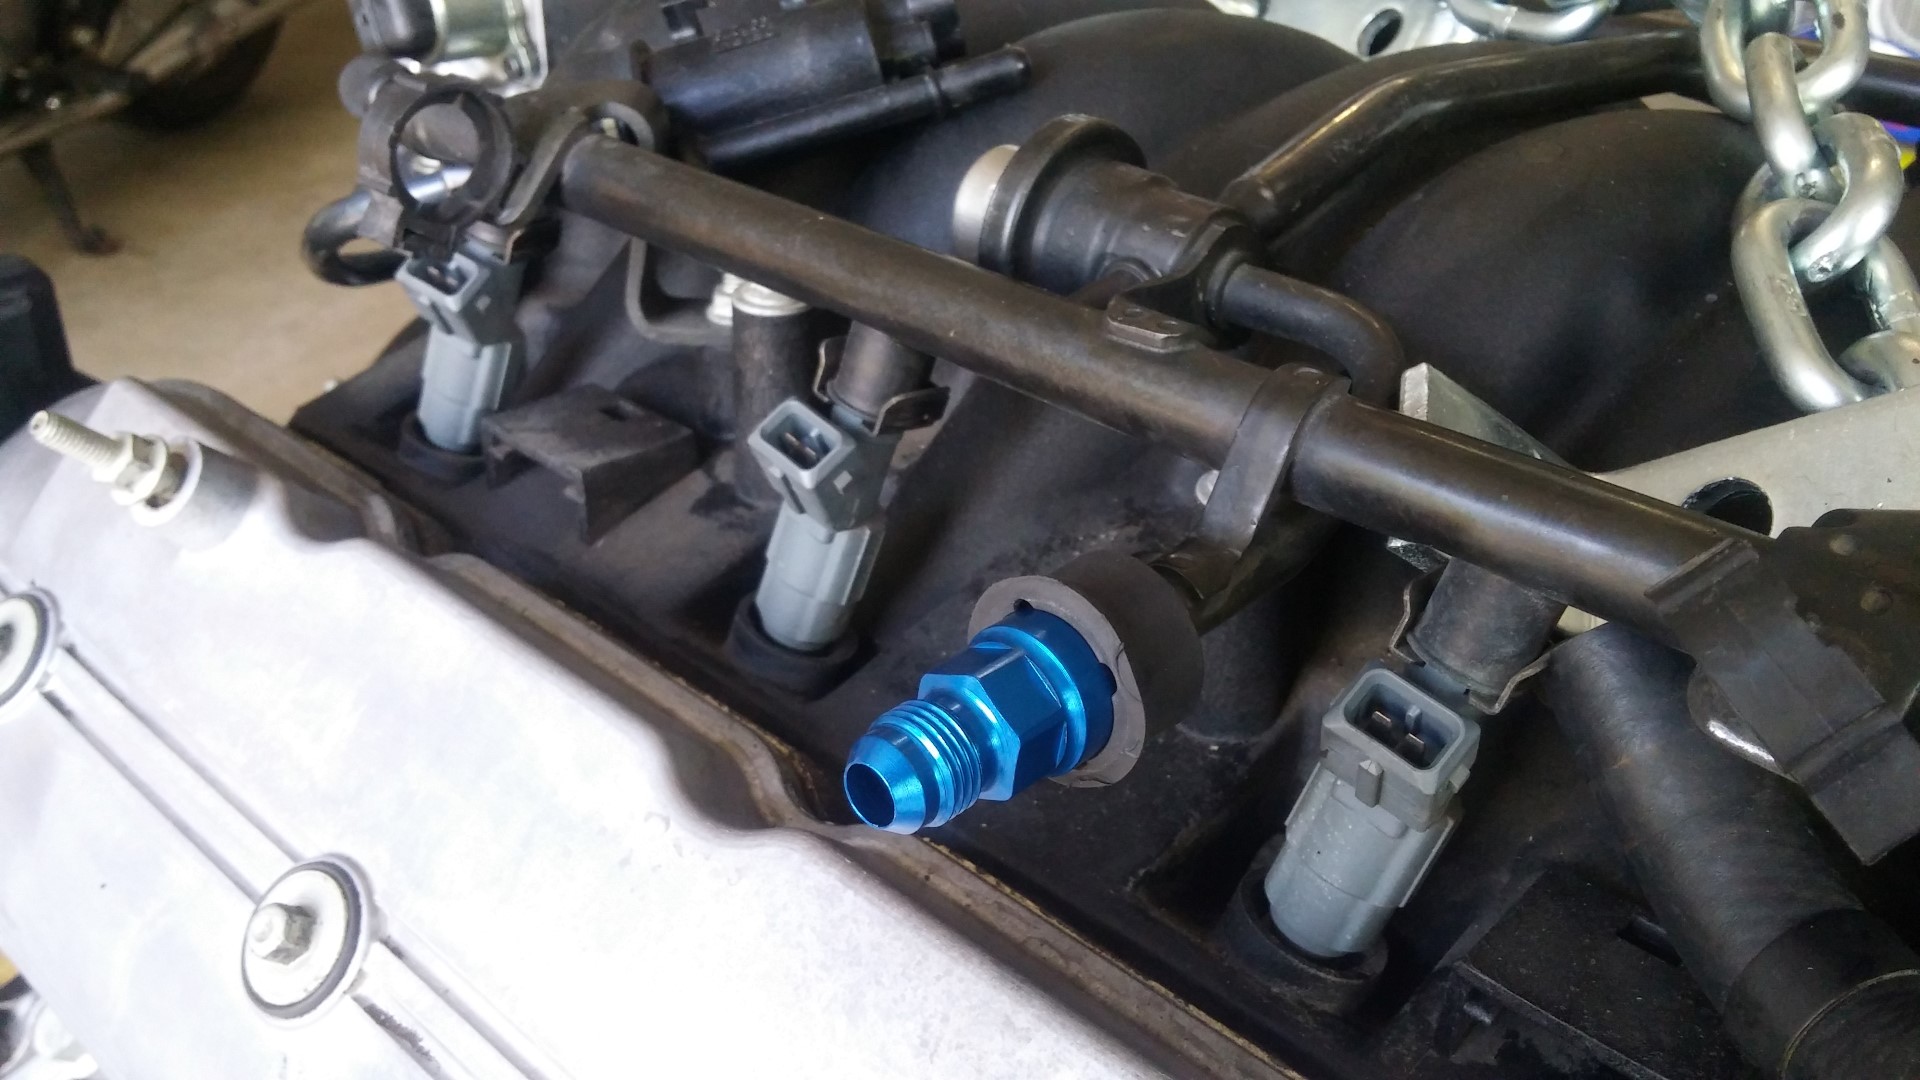
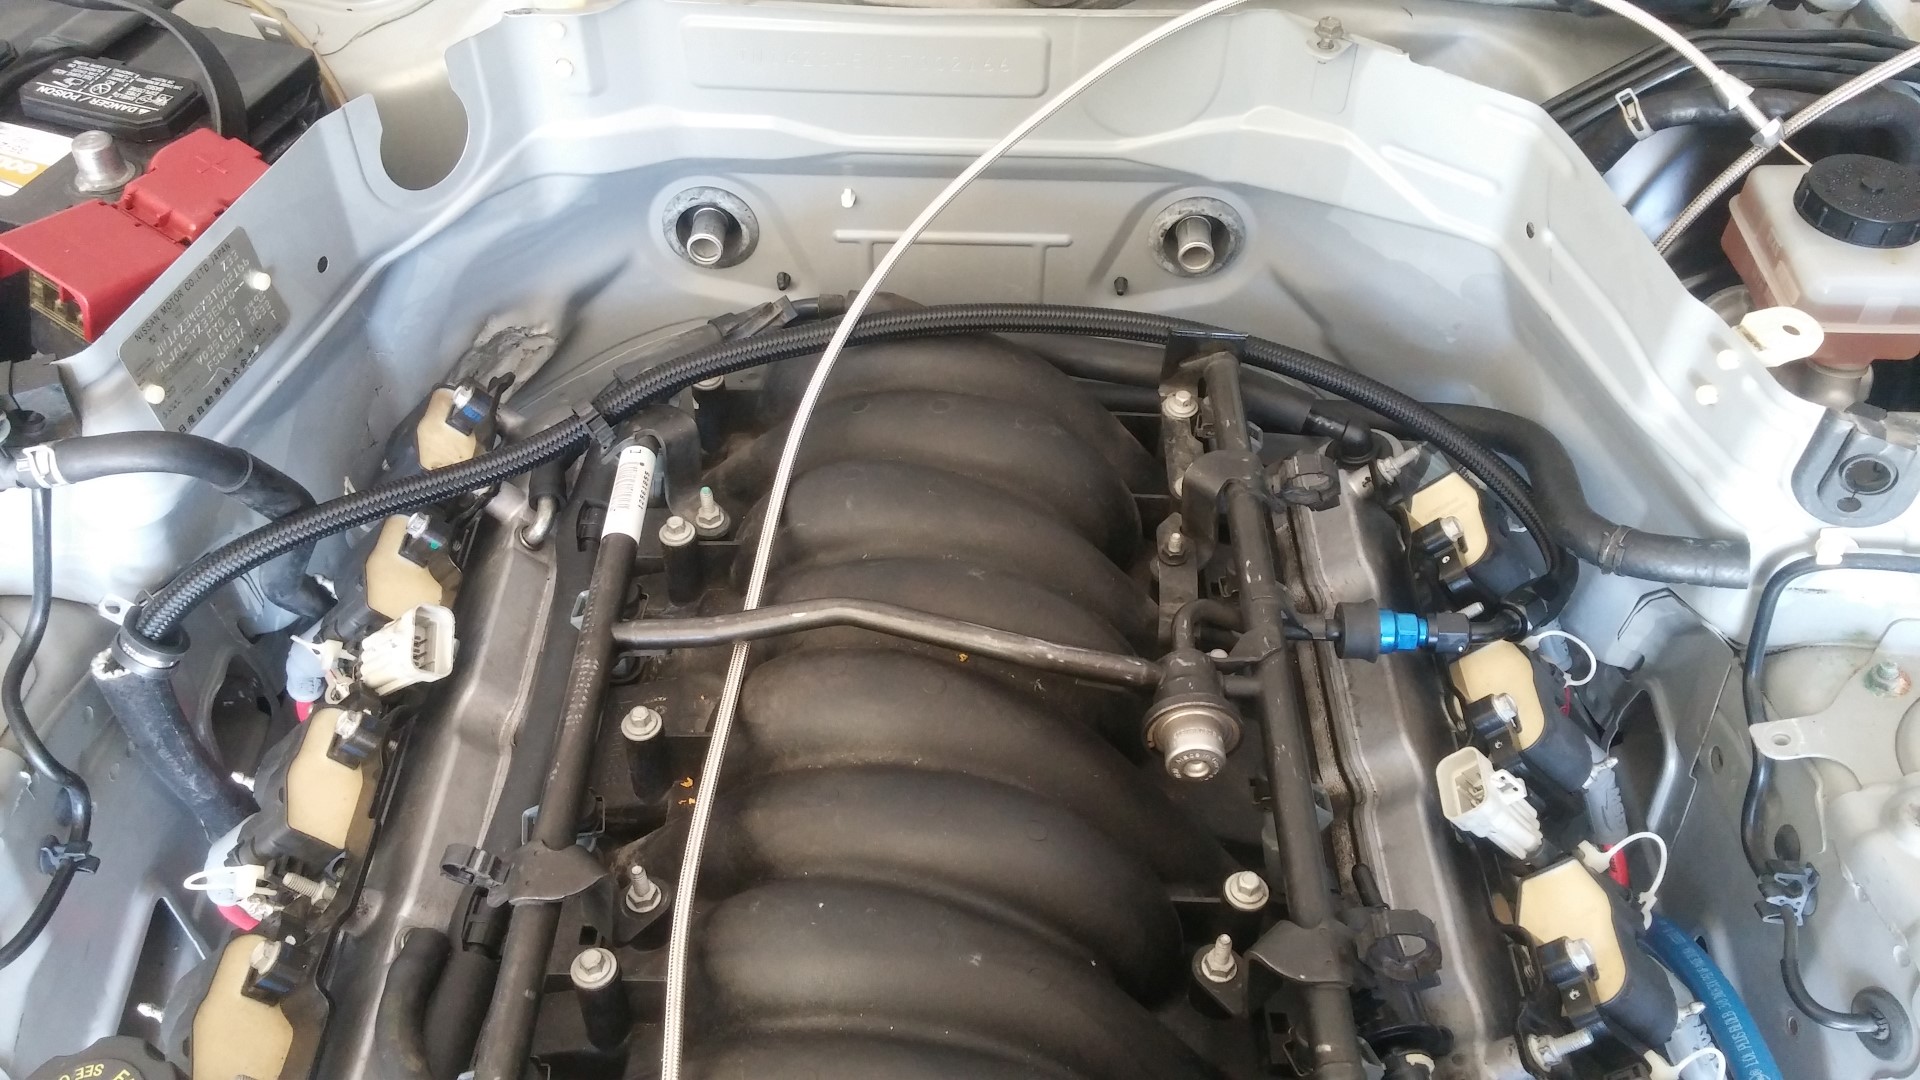
AN adapter on the LS fuel rail
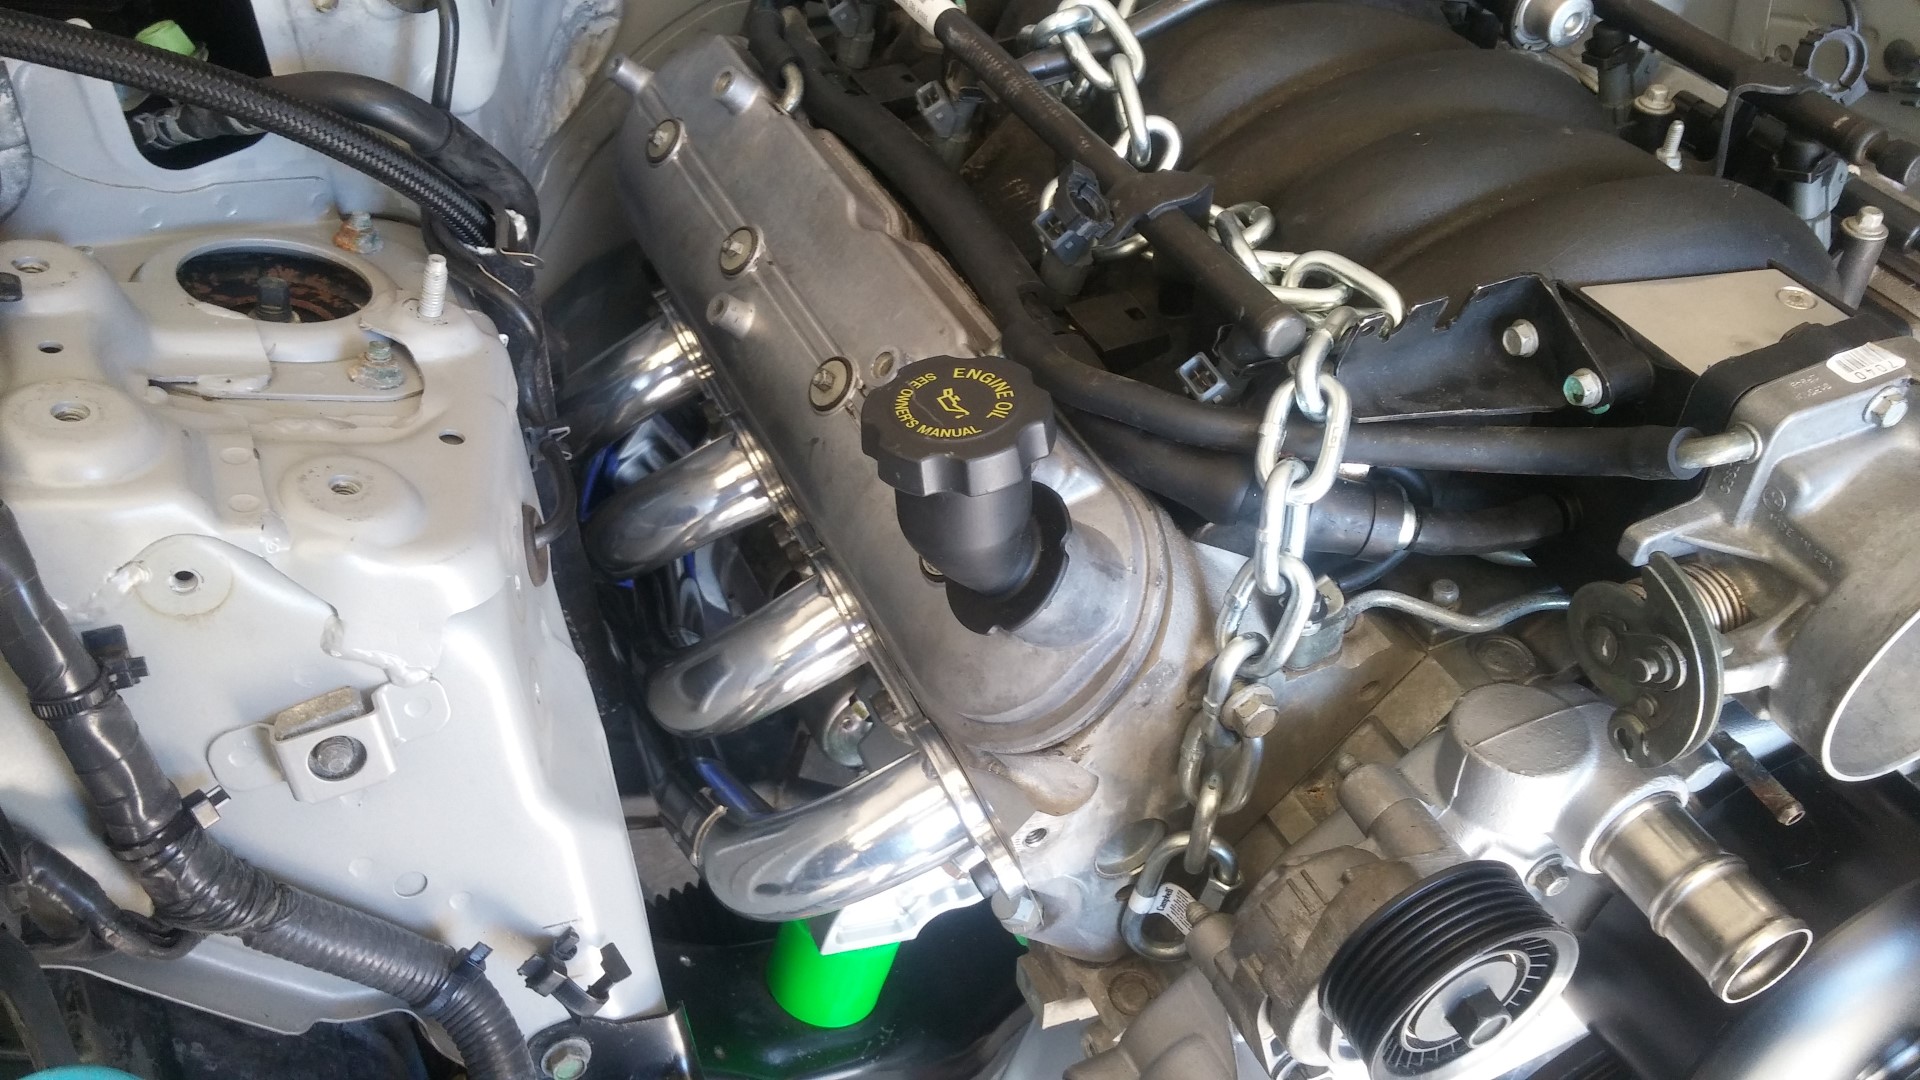
Now the headers were ready to go in. It was a good thing I didn’t take the engine hoist back to ASM yet, as I had to finagle the motor out and side to side to get the headers around the chassis, steering linkage, etc. I think this is the case with just about any long tube header set up though. They look and fit great once they were in their home.
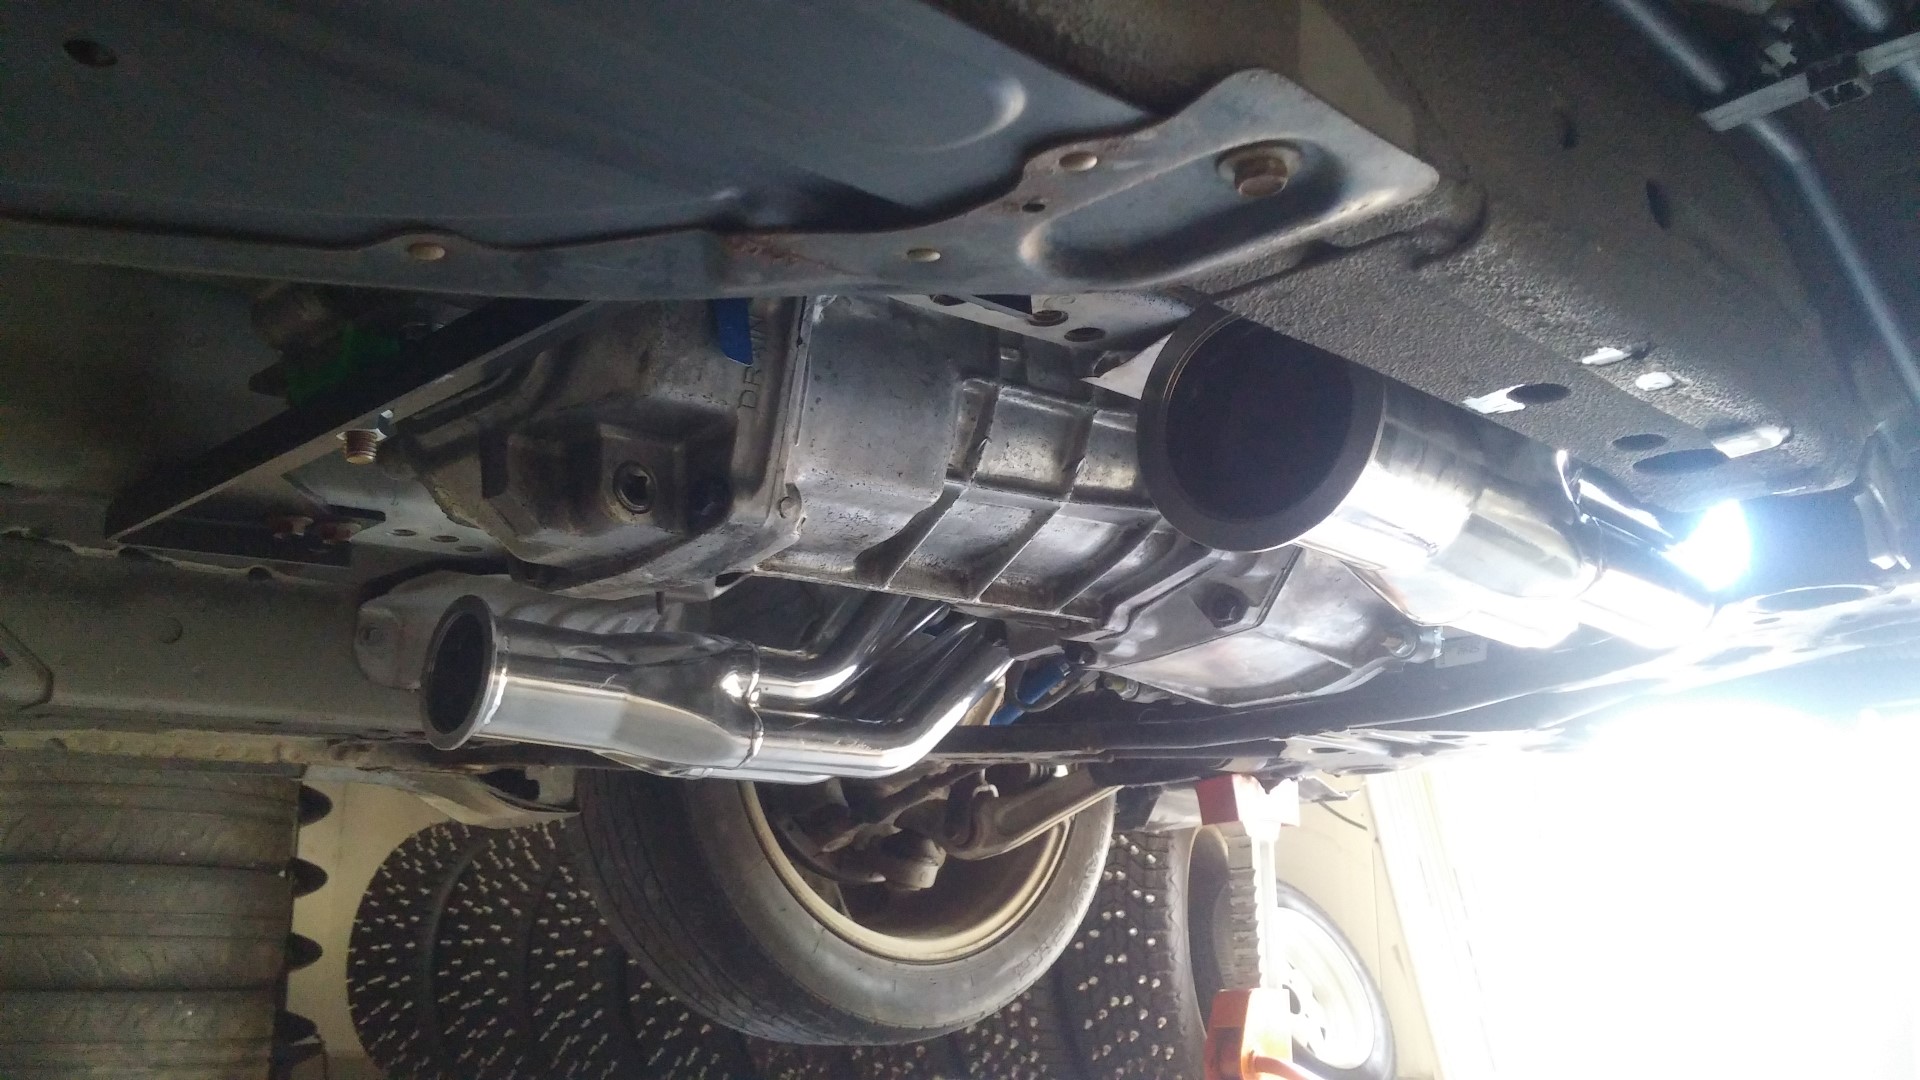
While we’re under the car now, we can bolt up the transmission brace, along with install the new driveshaft.
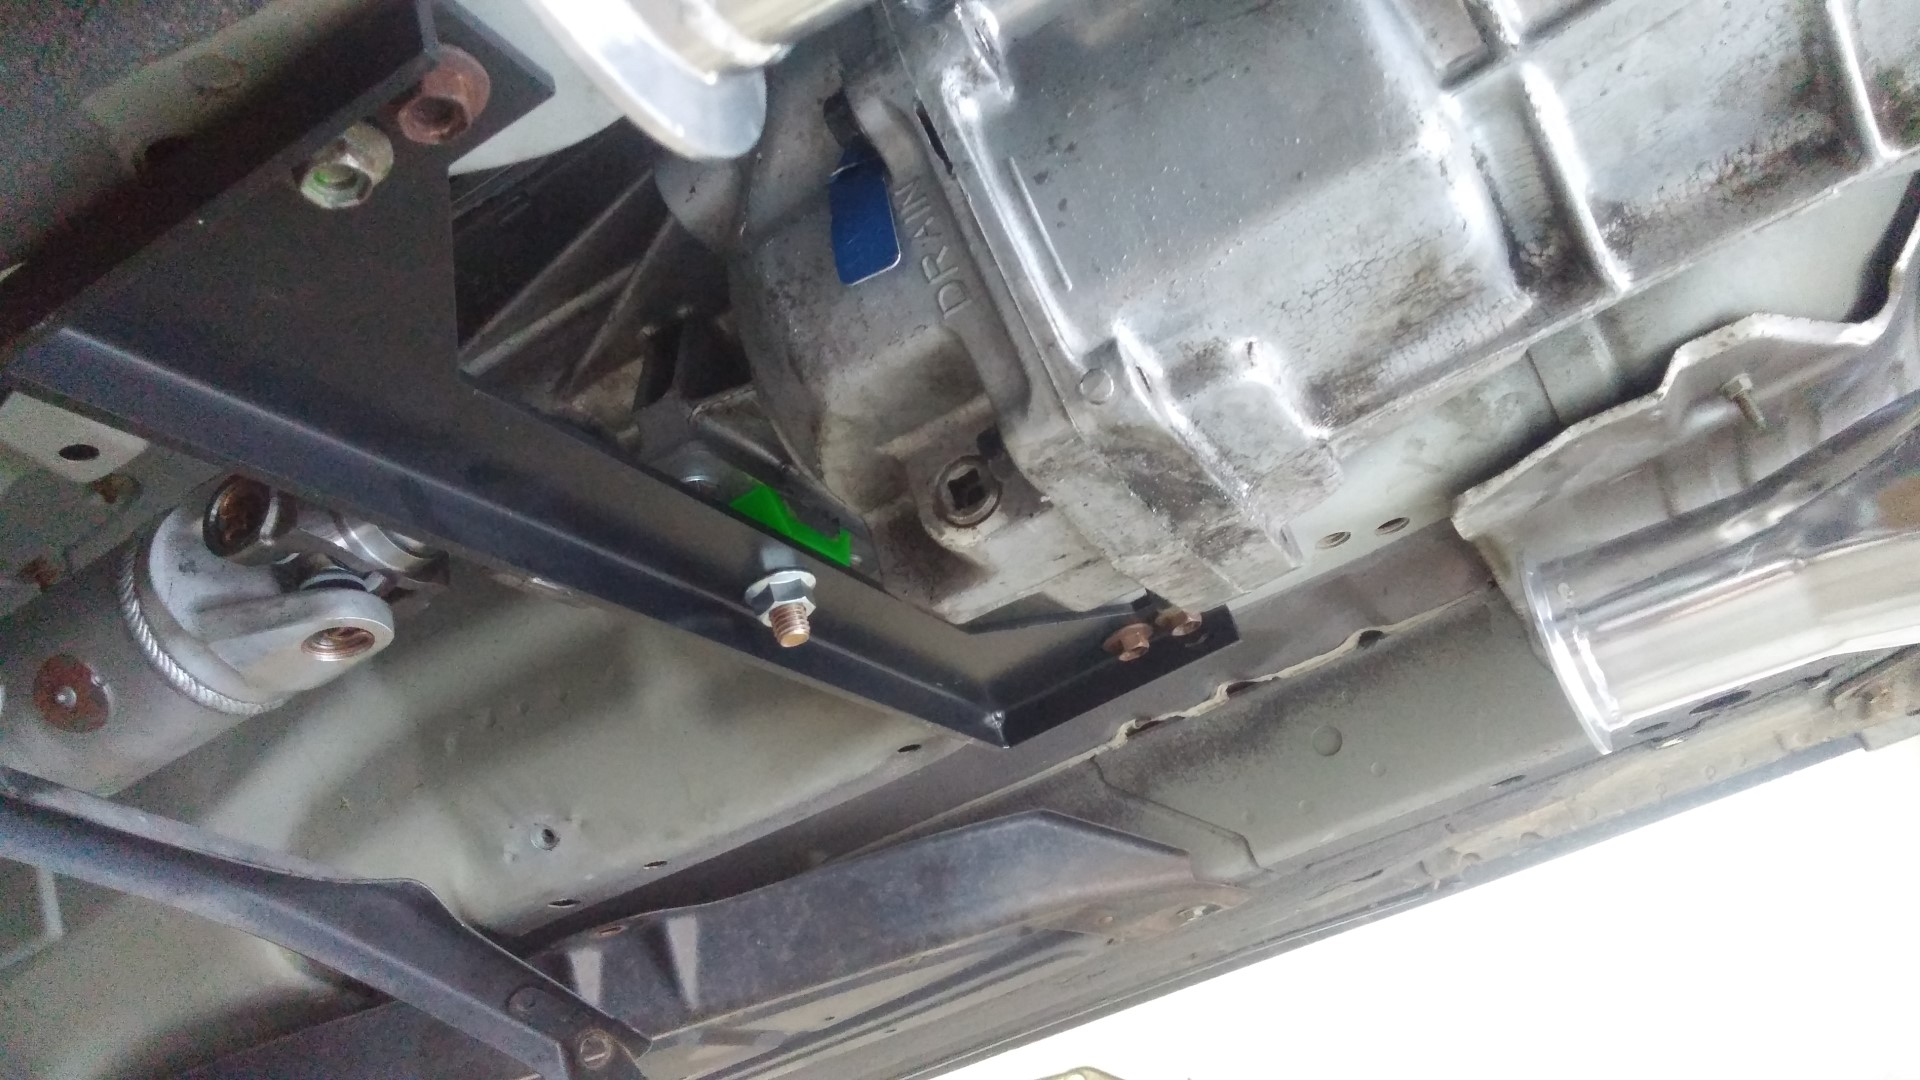
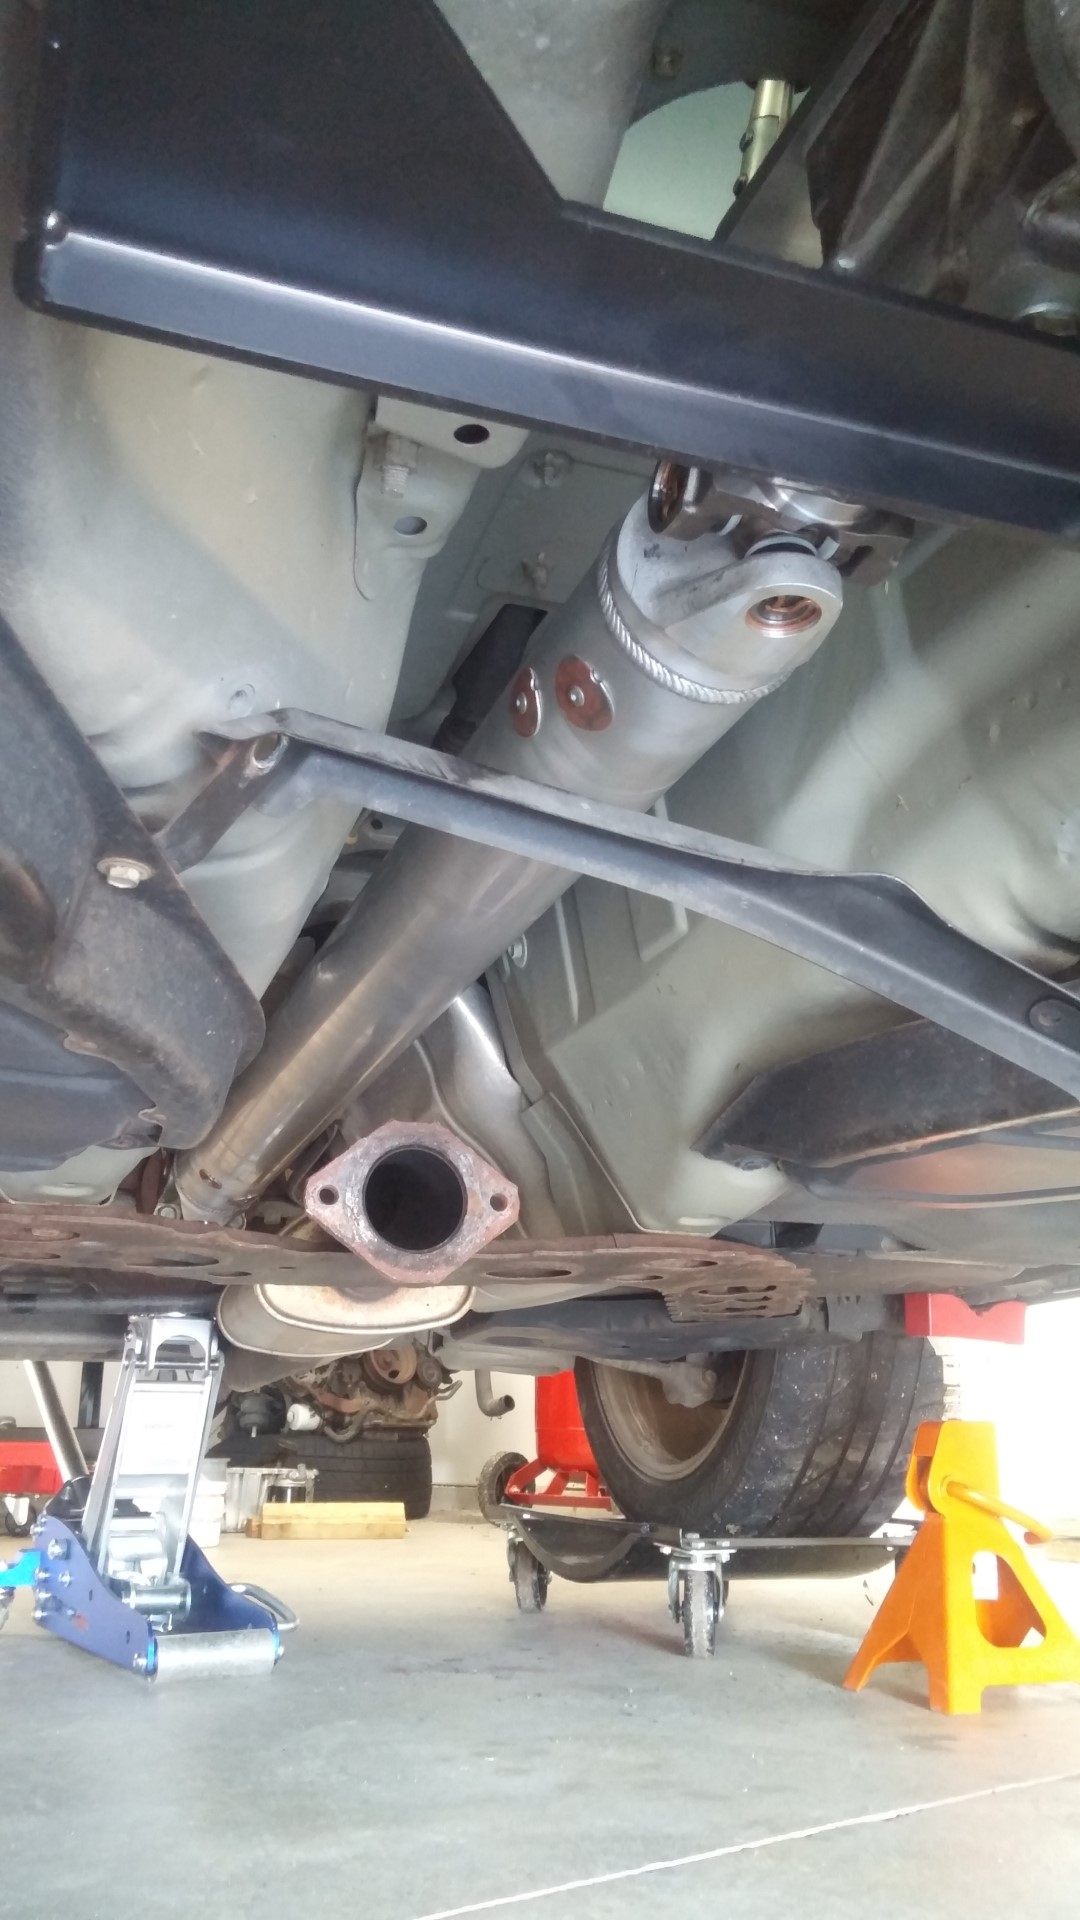
Everything lined up perfect. Absolutely no fighting anything to bolt in. Transmission mount was exactly where it needed to be as well as all the drive shaft ends. This is going well!
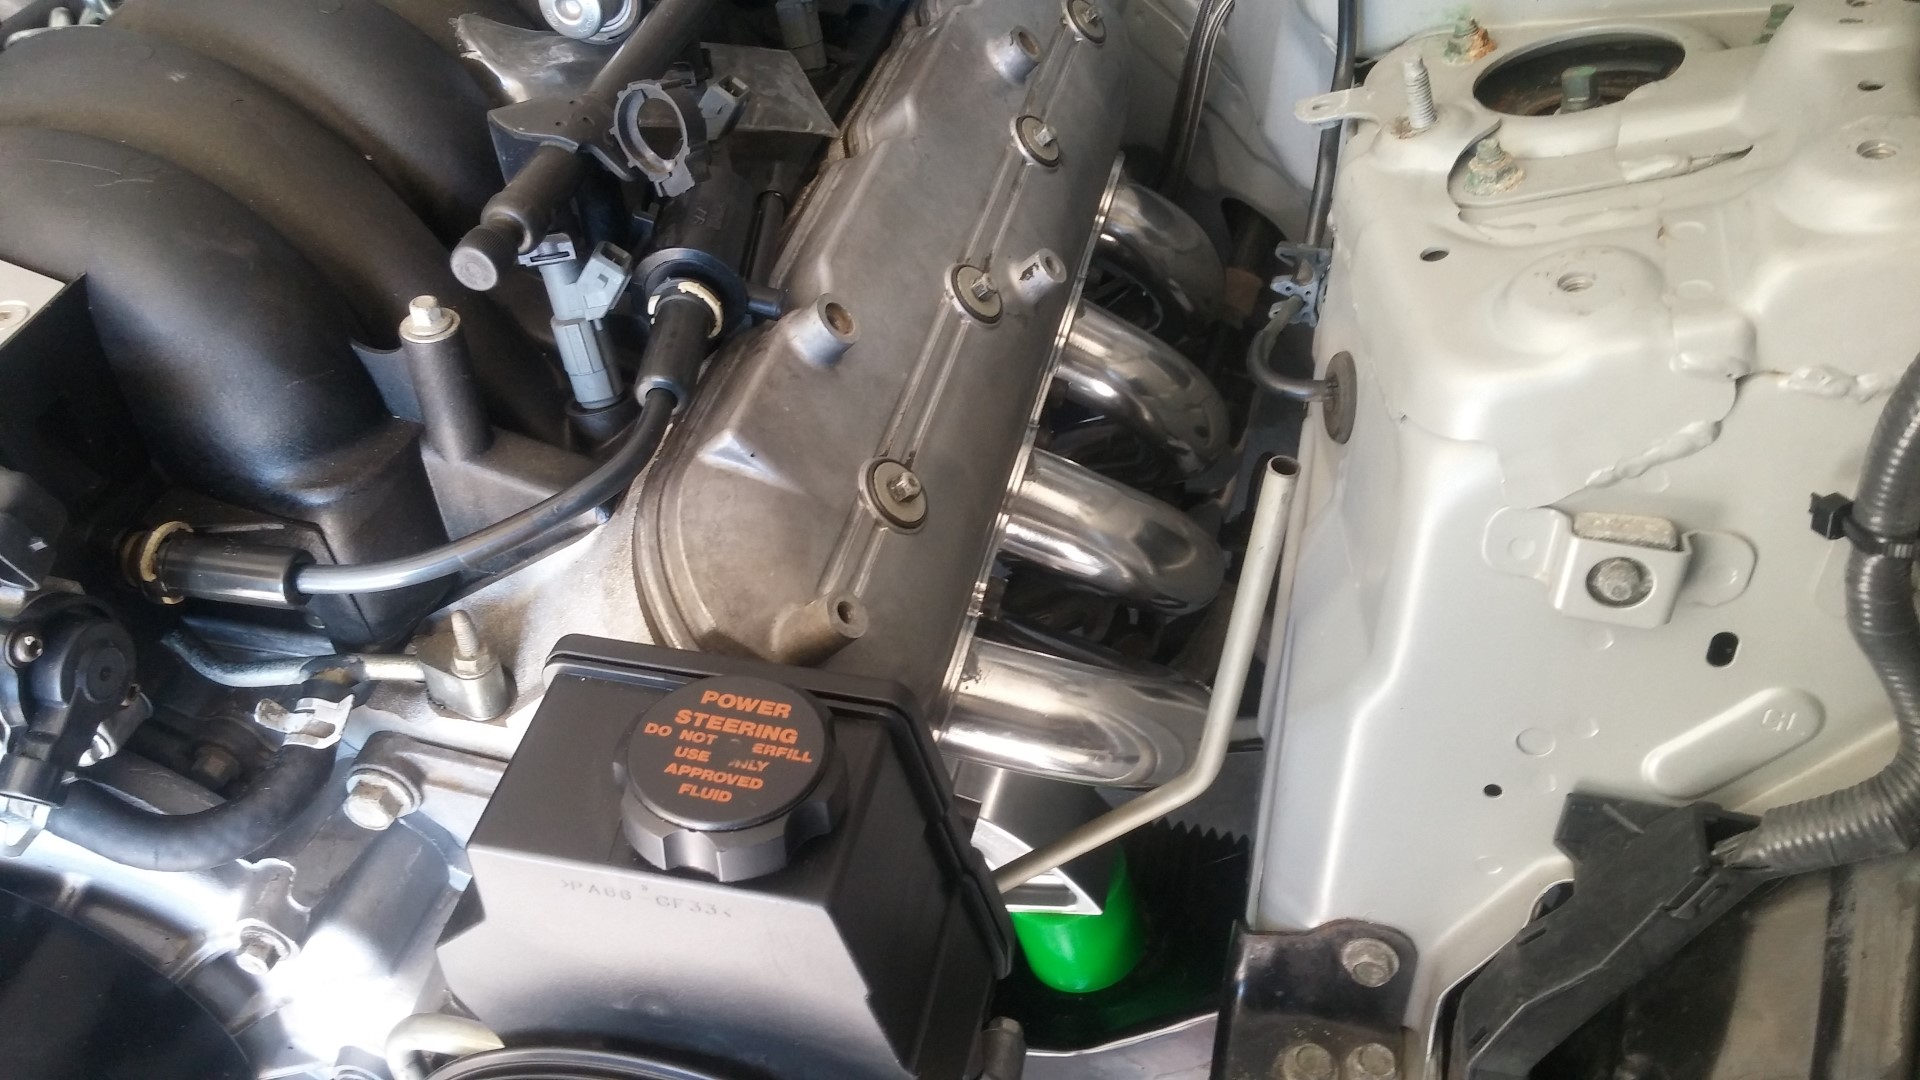
Back up top, it was time to put the coil pack bracket and coils back on. The stock spark plug wires were replaced by some MSD Super Conductor wires. They are pretty well known for being some of the best plug wires, and are also required because they are flexible and can bend out of the way of the header tubes.
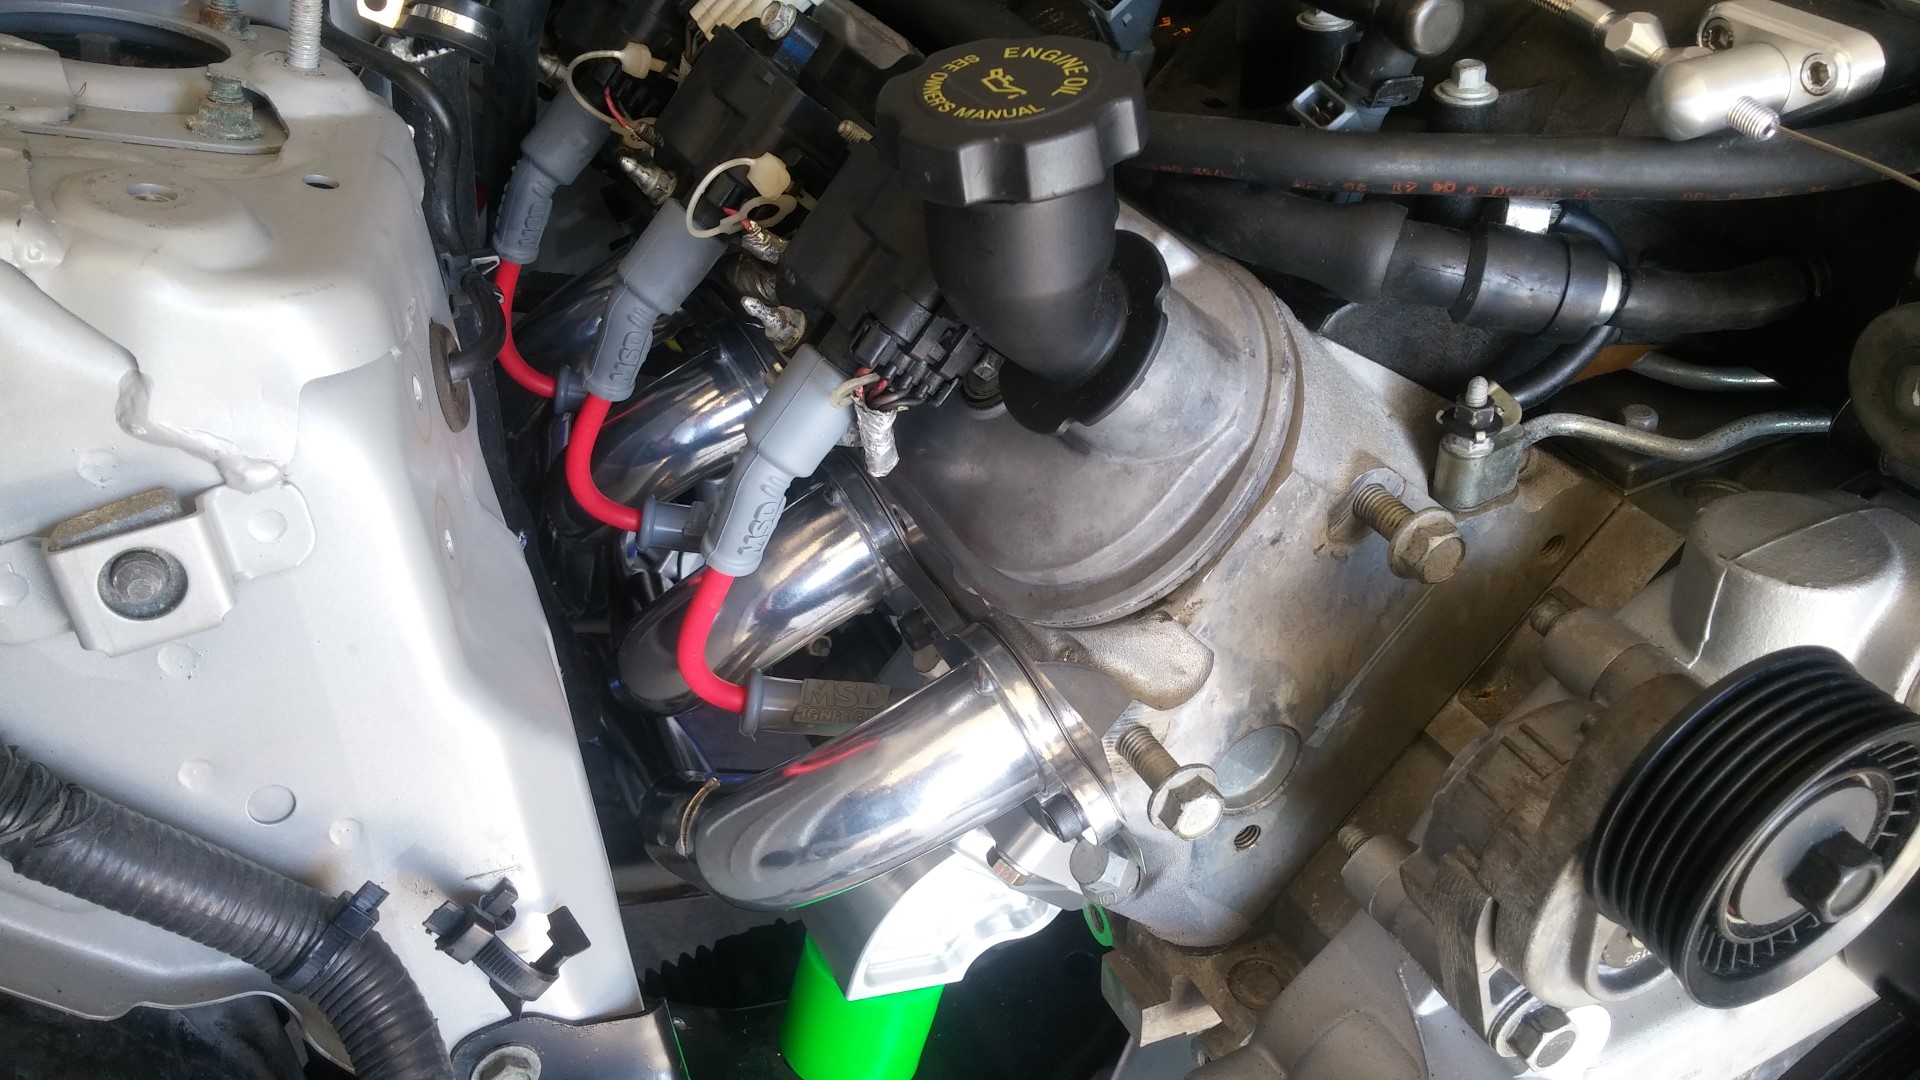
The fuel line was pretty simple to connect. This was an optional kit that I ordered with the swap kit to help make this go smoother/quicker. Came with all the adaptors shown above along with the fuel line with AN fittings, and the heat sleeve. The line does run close to the headers, so in the future when new fuel lines are run, that will be an advantage of not running the stock line location anymore.
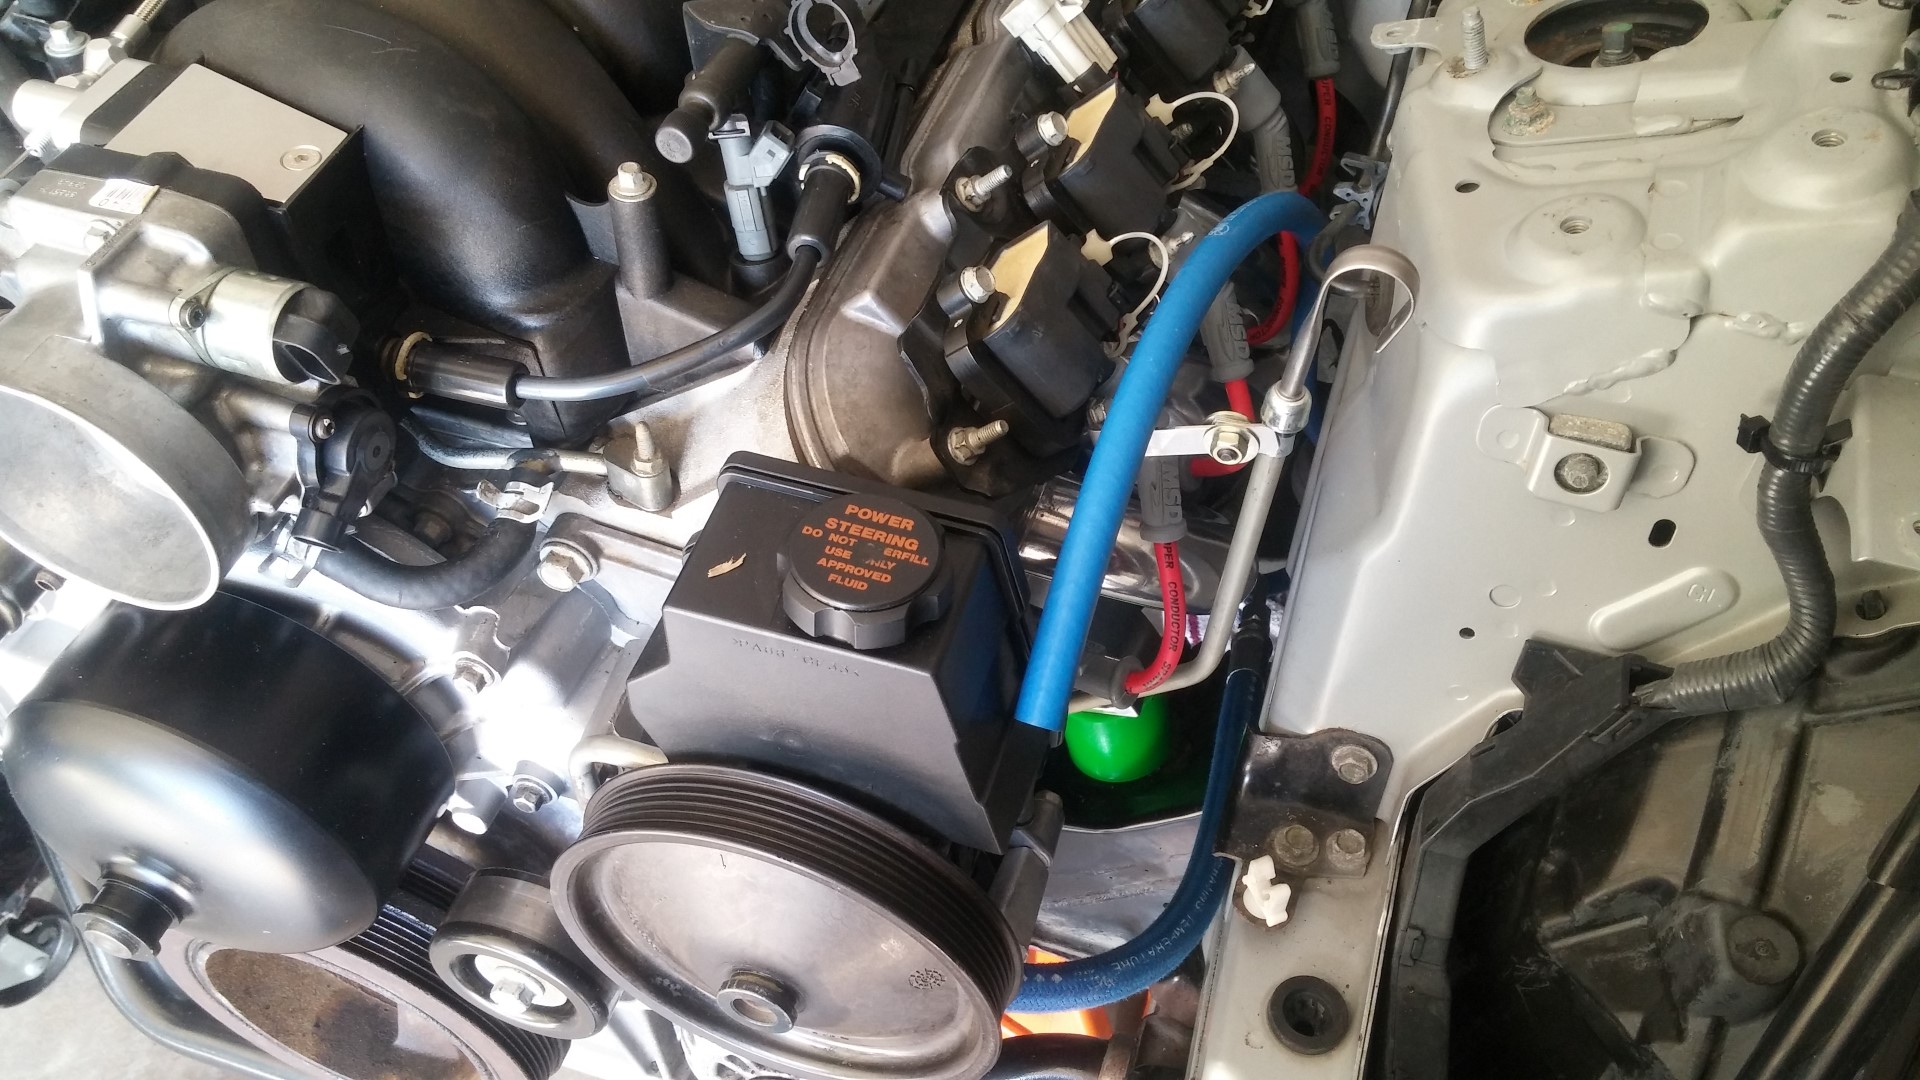
Power steering lines were next. I’d be lying if I said that these were easy to connect. Lots of curse words came out of my mouth putting these on. I have rather large hands and this space was small. Eventually I was able to get the new lines on. Again, these blue lines were included in the Sikky kit and fit perfect. They connect directly to the 350Z steering rack. When the motor comes out again, I have to find a better way to do this part next time.

If you’re wondering, each of these systems I installed did not all happen on one day, or one weekend. On average each of these steps took an hour or two each day. I didn’t want to burn myself out, but I also had to wait for the wiring harness which was on a two-three week back order. Still a quick pace as my original goal was a running car by the end of July so things are still going well at this point.
Throttle cable time. This part took a bit of garage engineering/fabrication. The 350Z is a drive-by-wire car. This LS motor is a drive-by-cable car. First issue was sourcing a throttle cable. After some research, Lokar has a very large selection of cables for just about anything you can imagine. They have a universal LS1 cable kit which I bought. The 36″ cable ended up working great as you will see. I also used their mounting bracket which made for a nice clean installation on the throttle body.
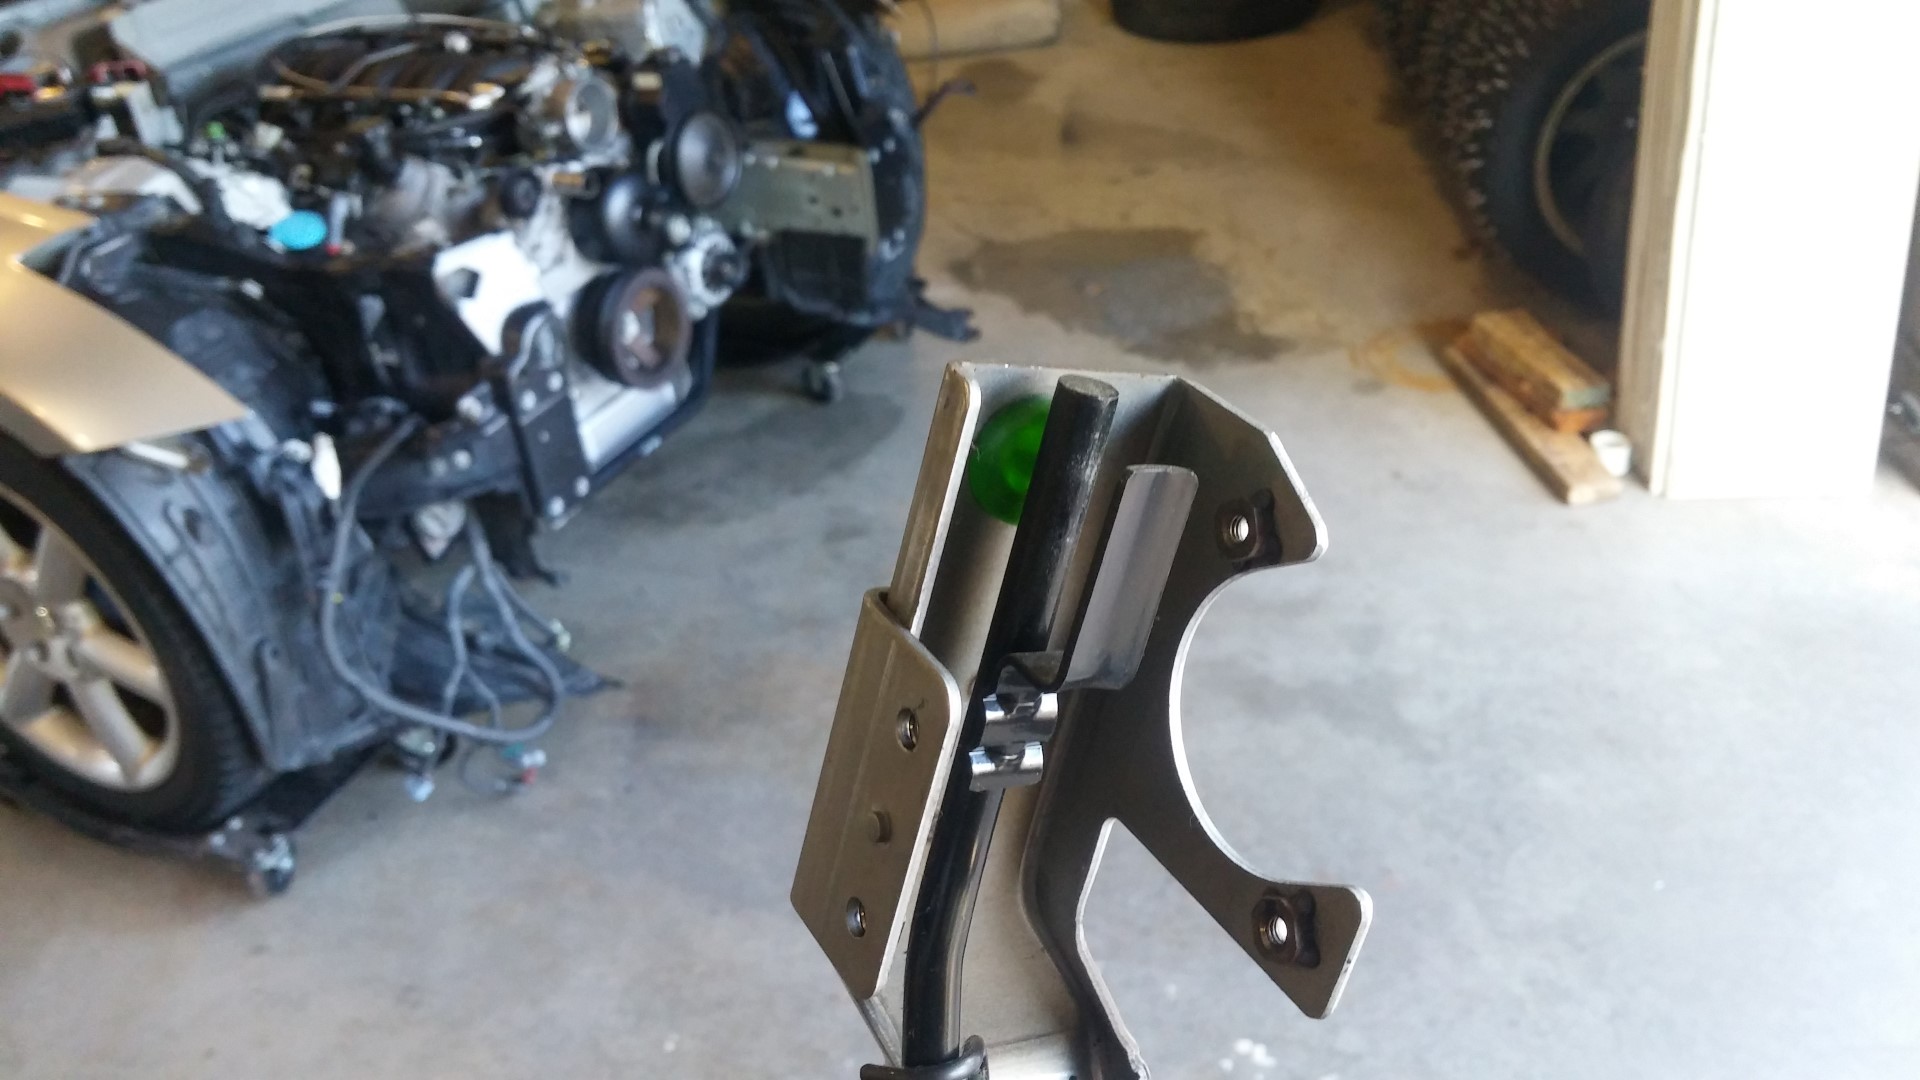
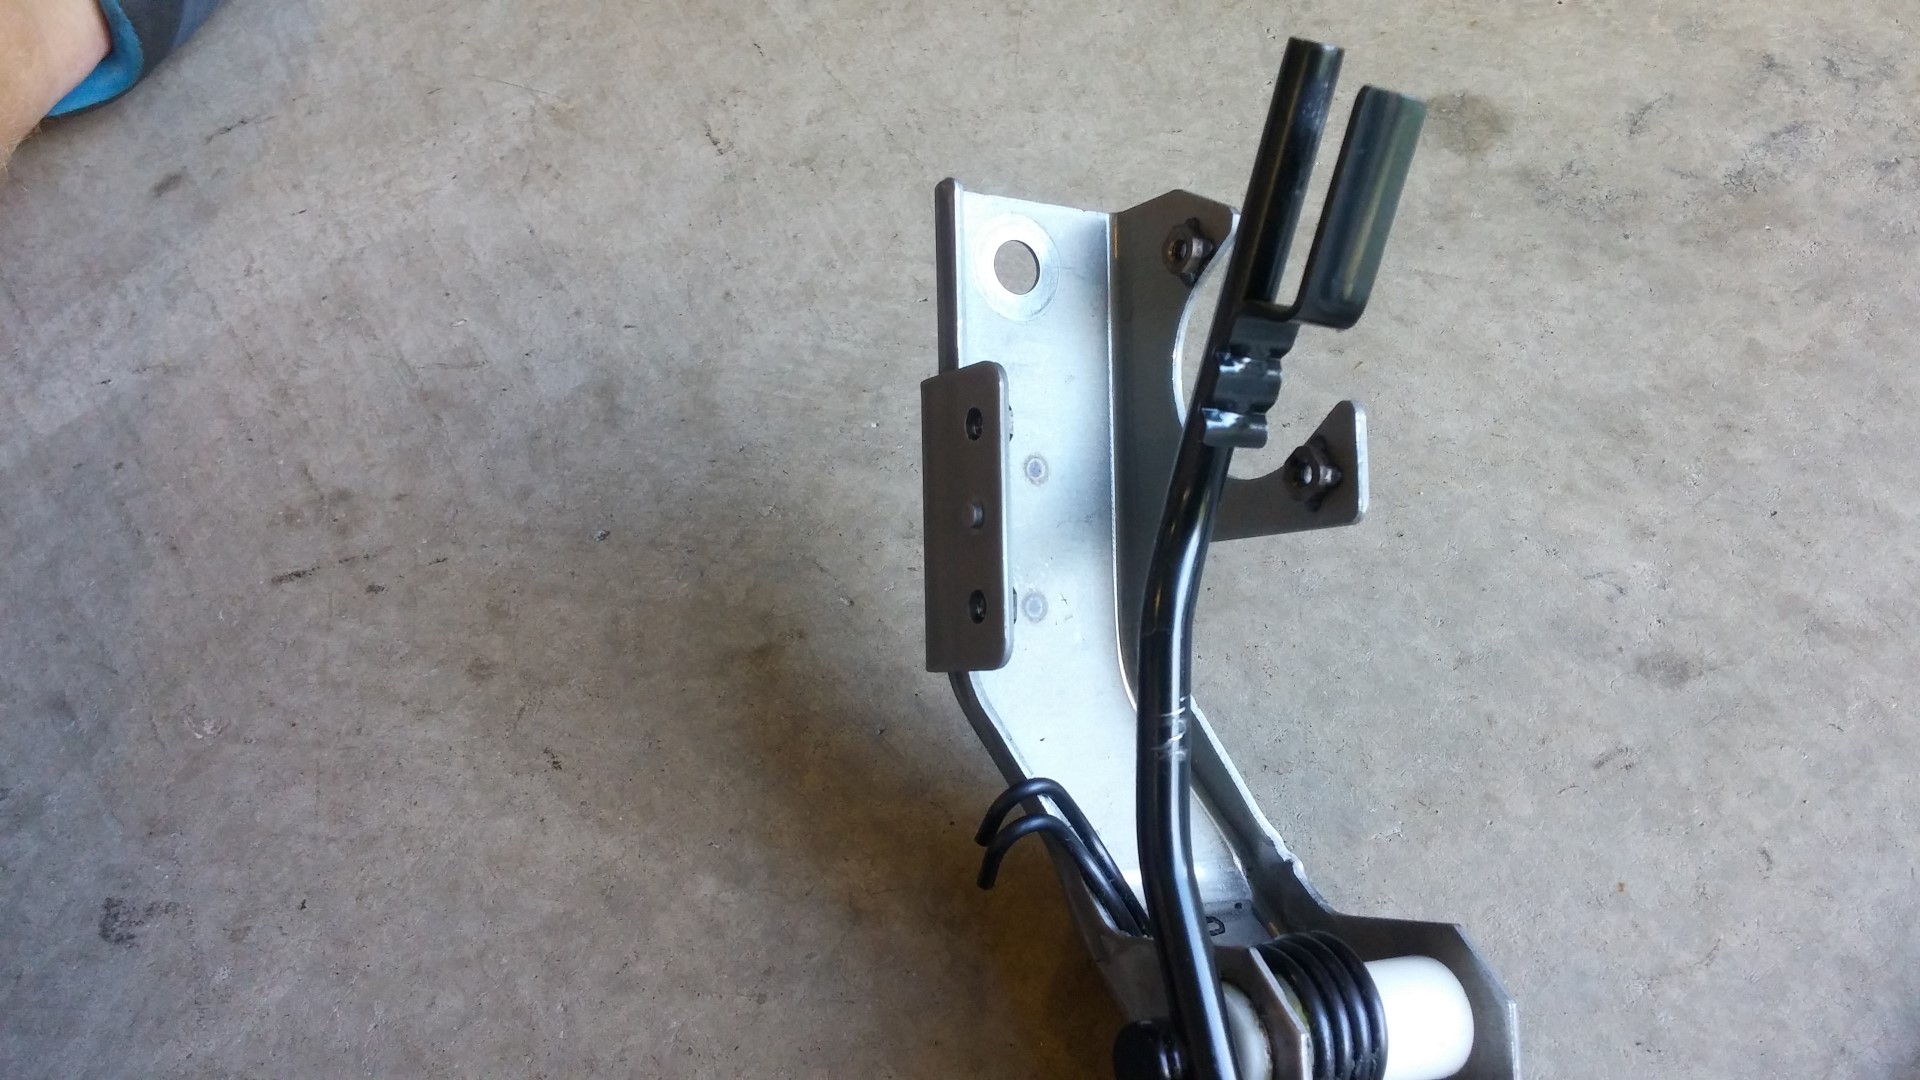
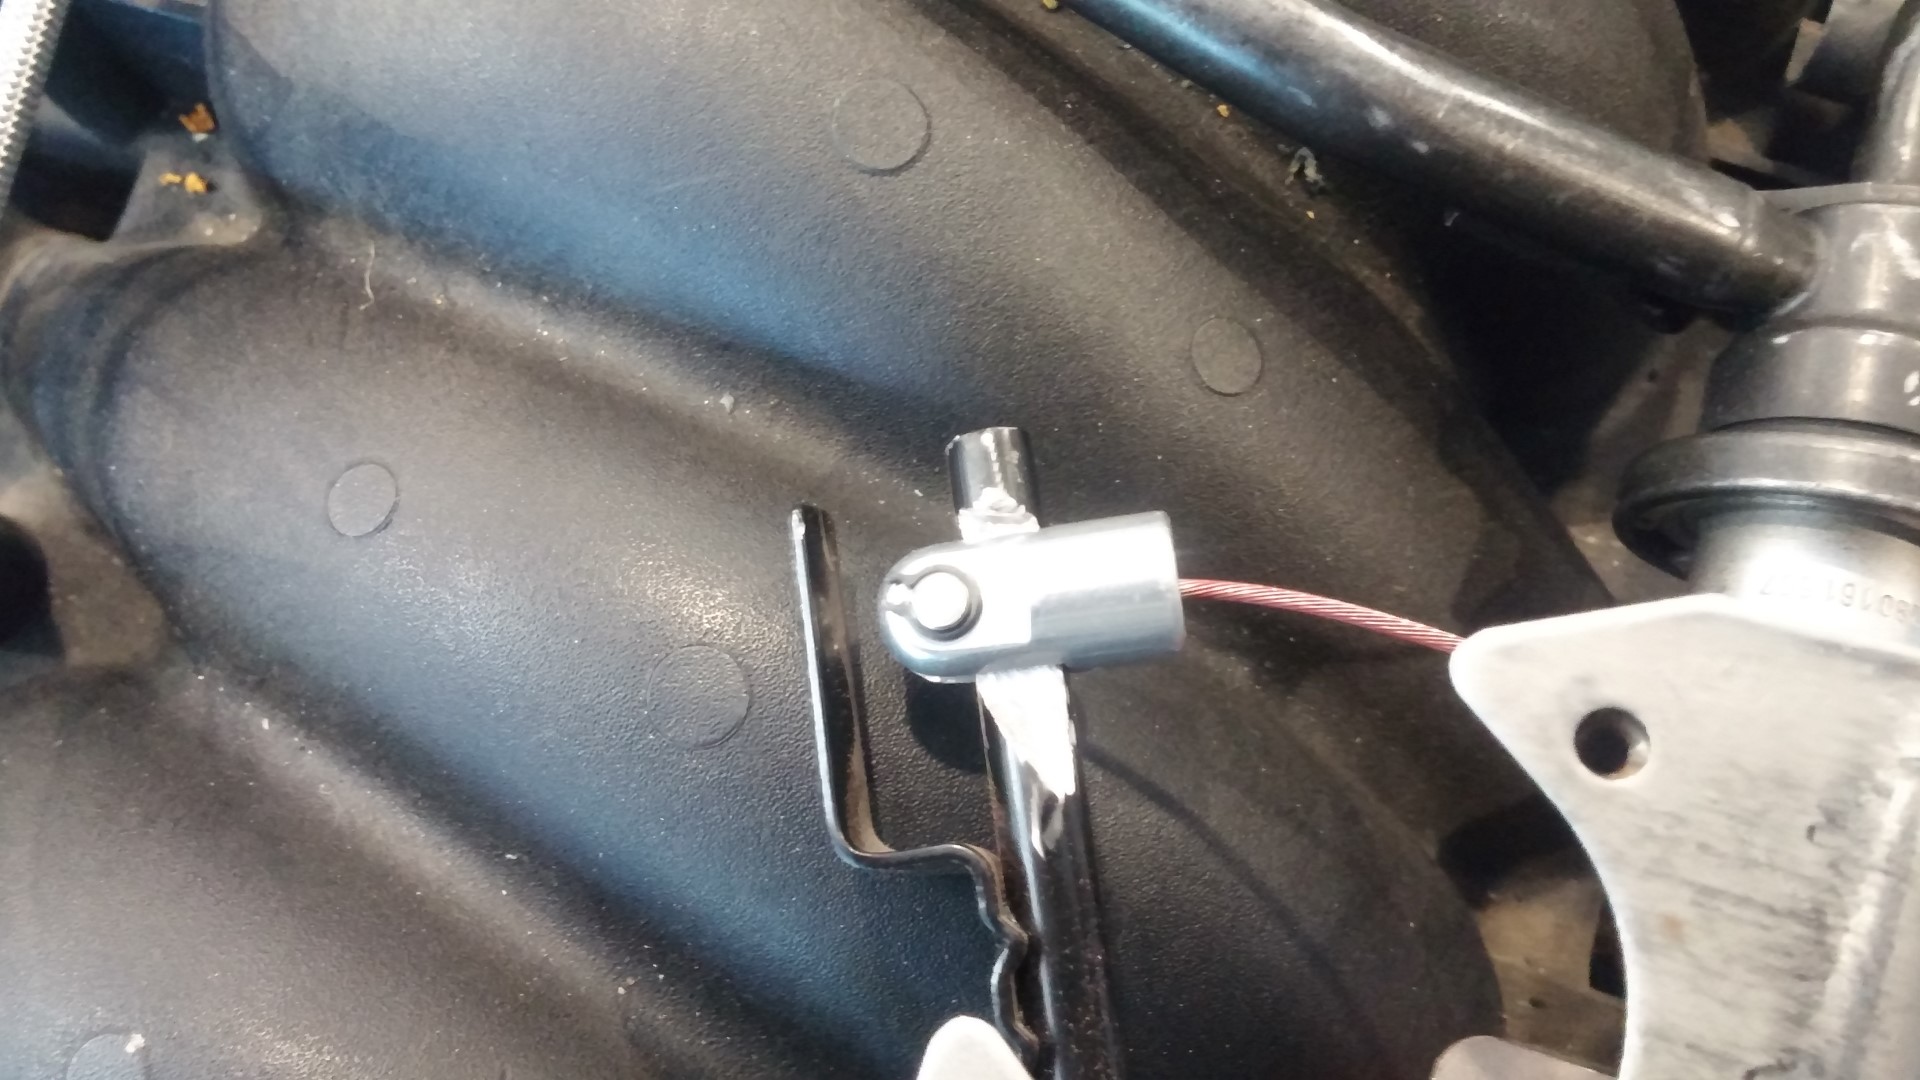
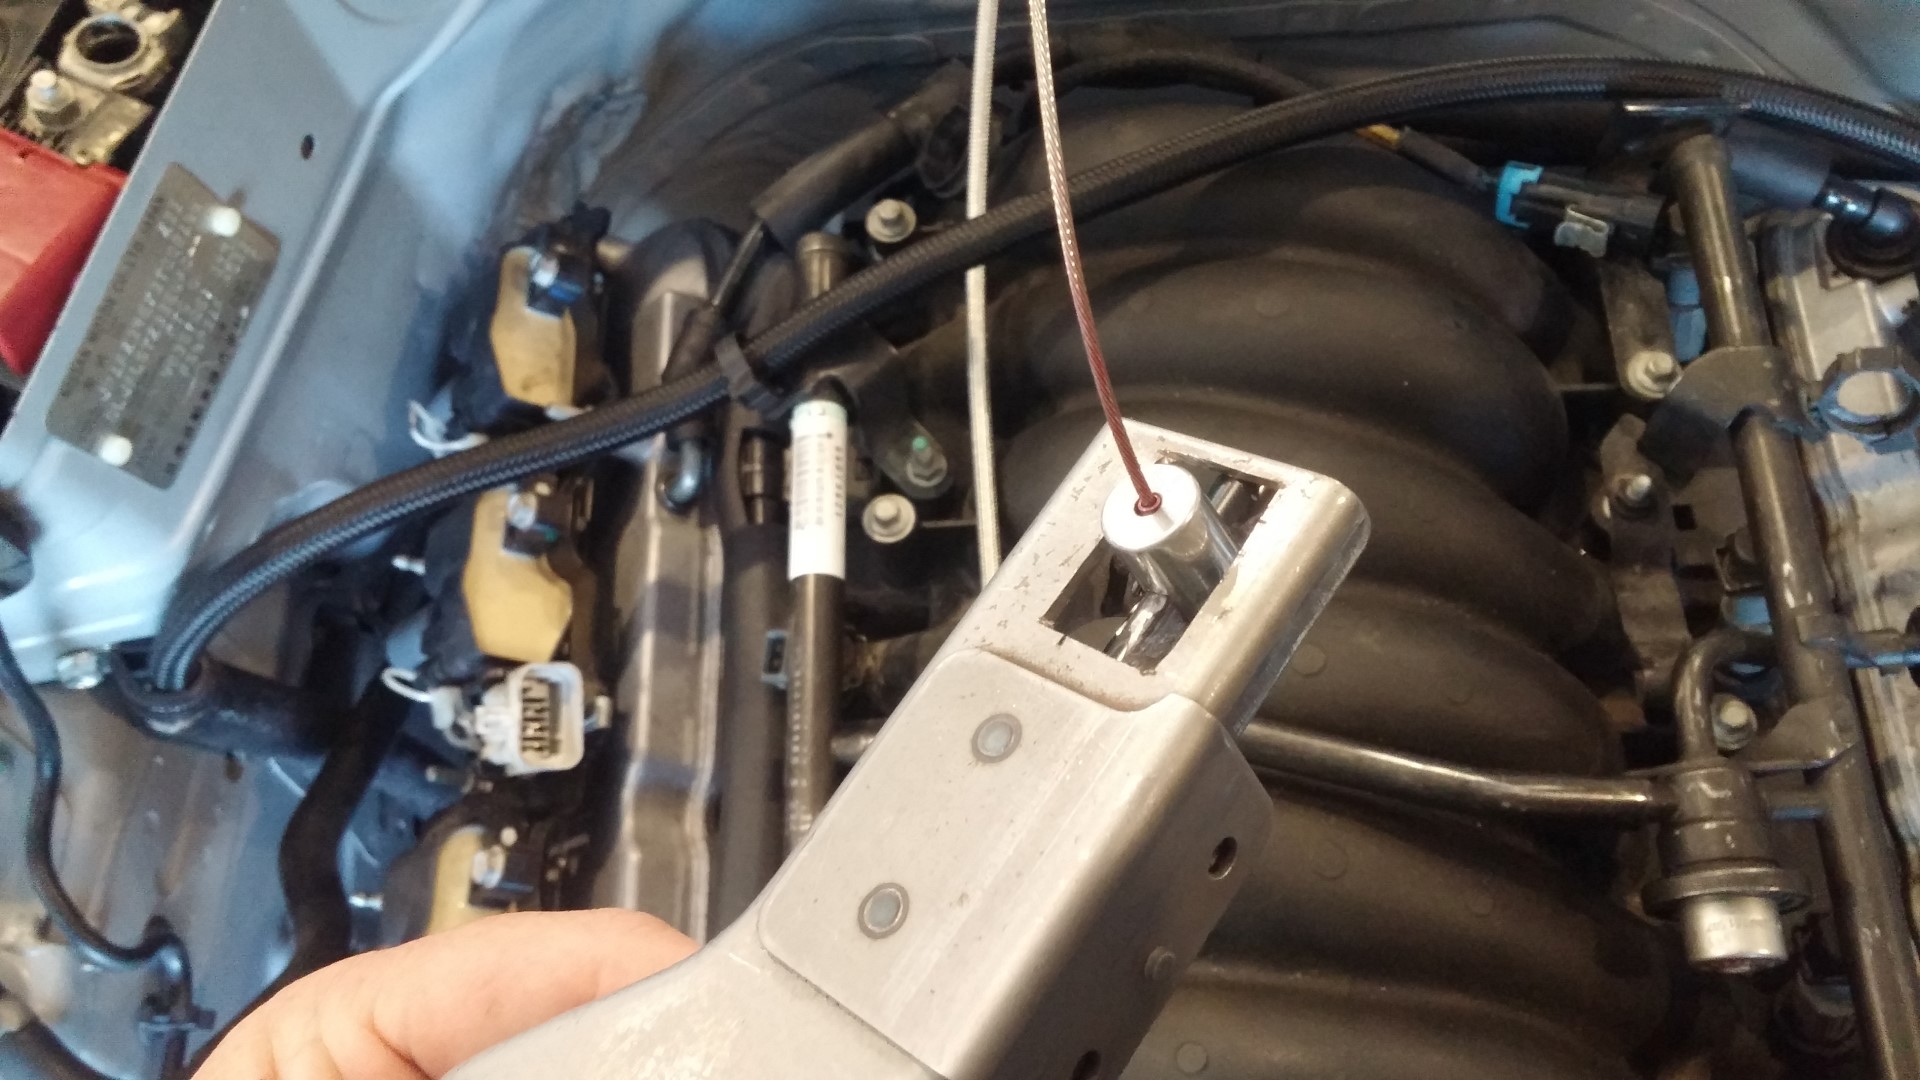
Now the tough part. How do I use the 350Z stock throttle pedal and adapt it to a drive-by-cable type. With the throttle position sensor removed, here is was I was left with
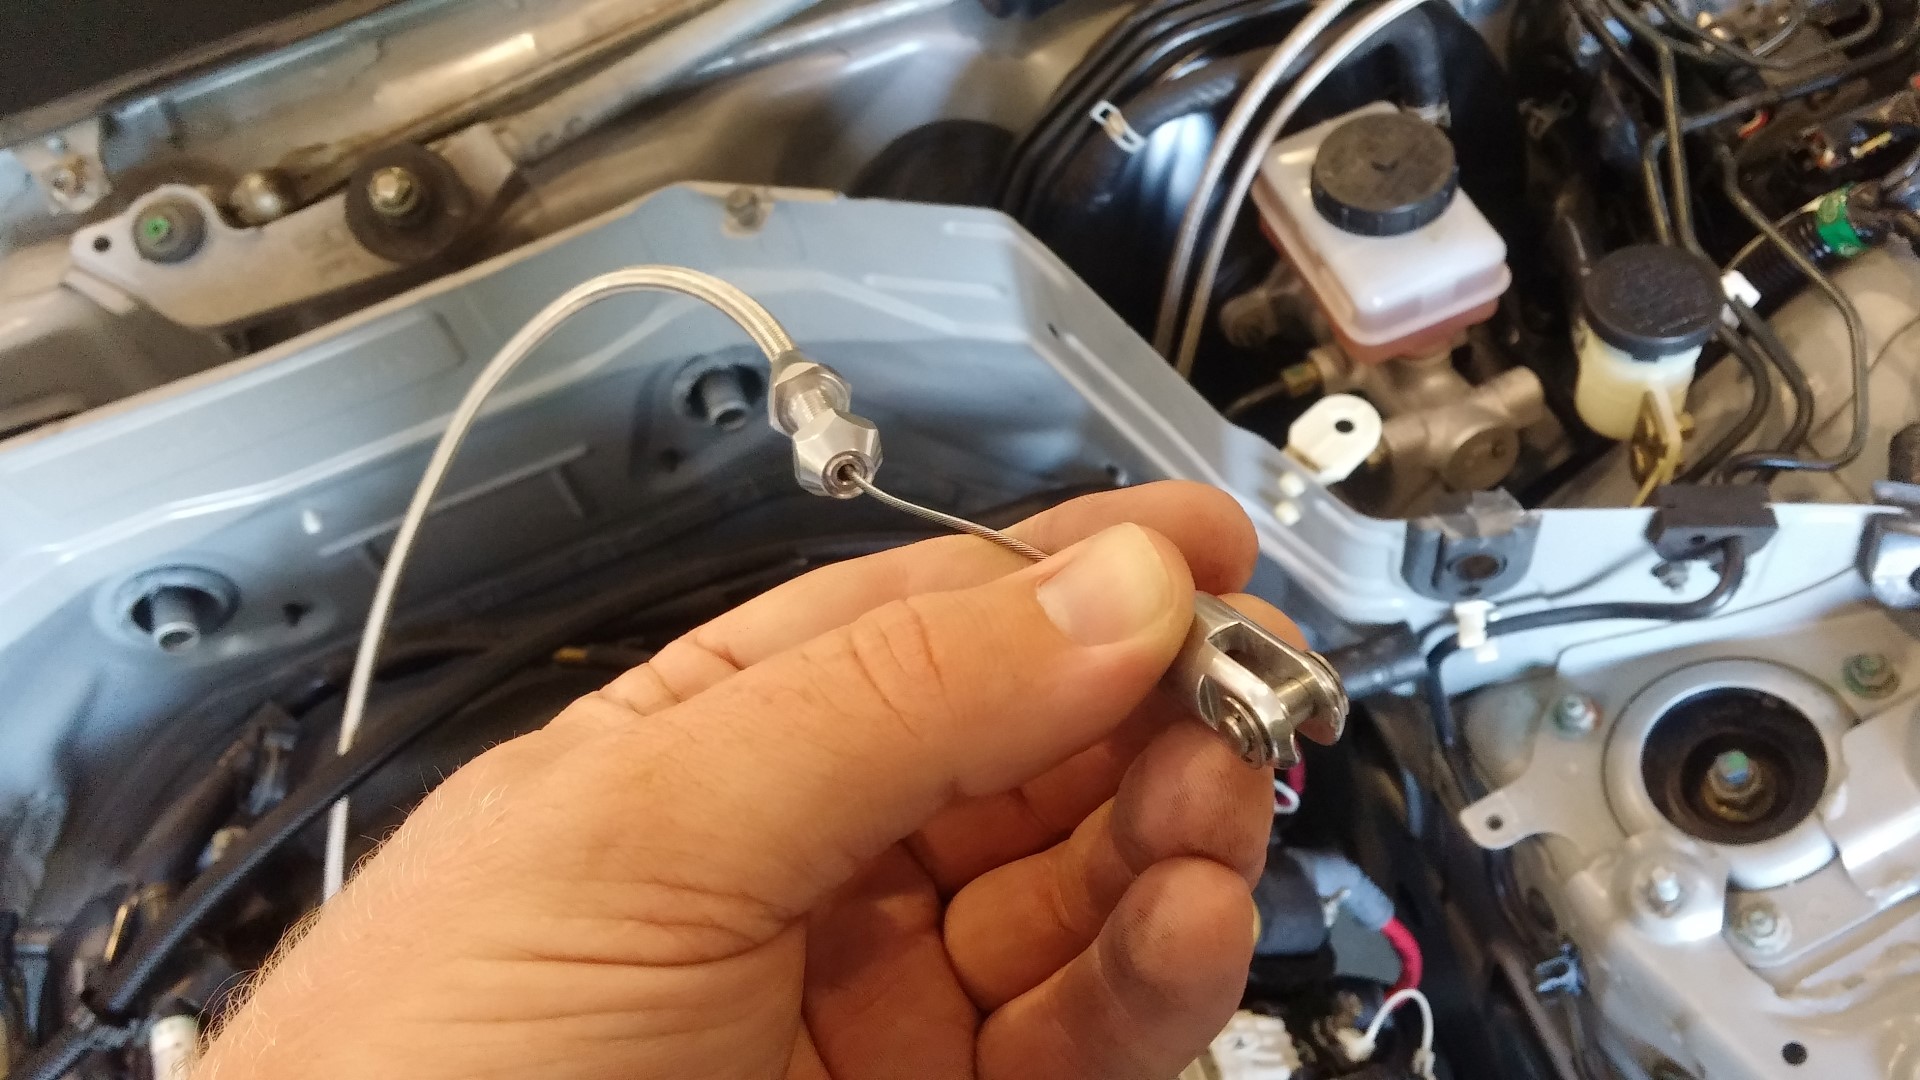
This was the end of the throttle cable I had to work with
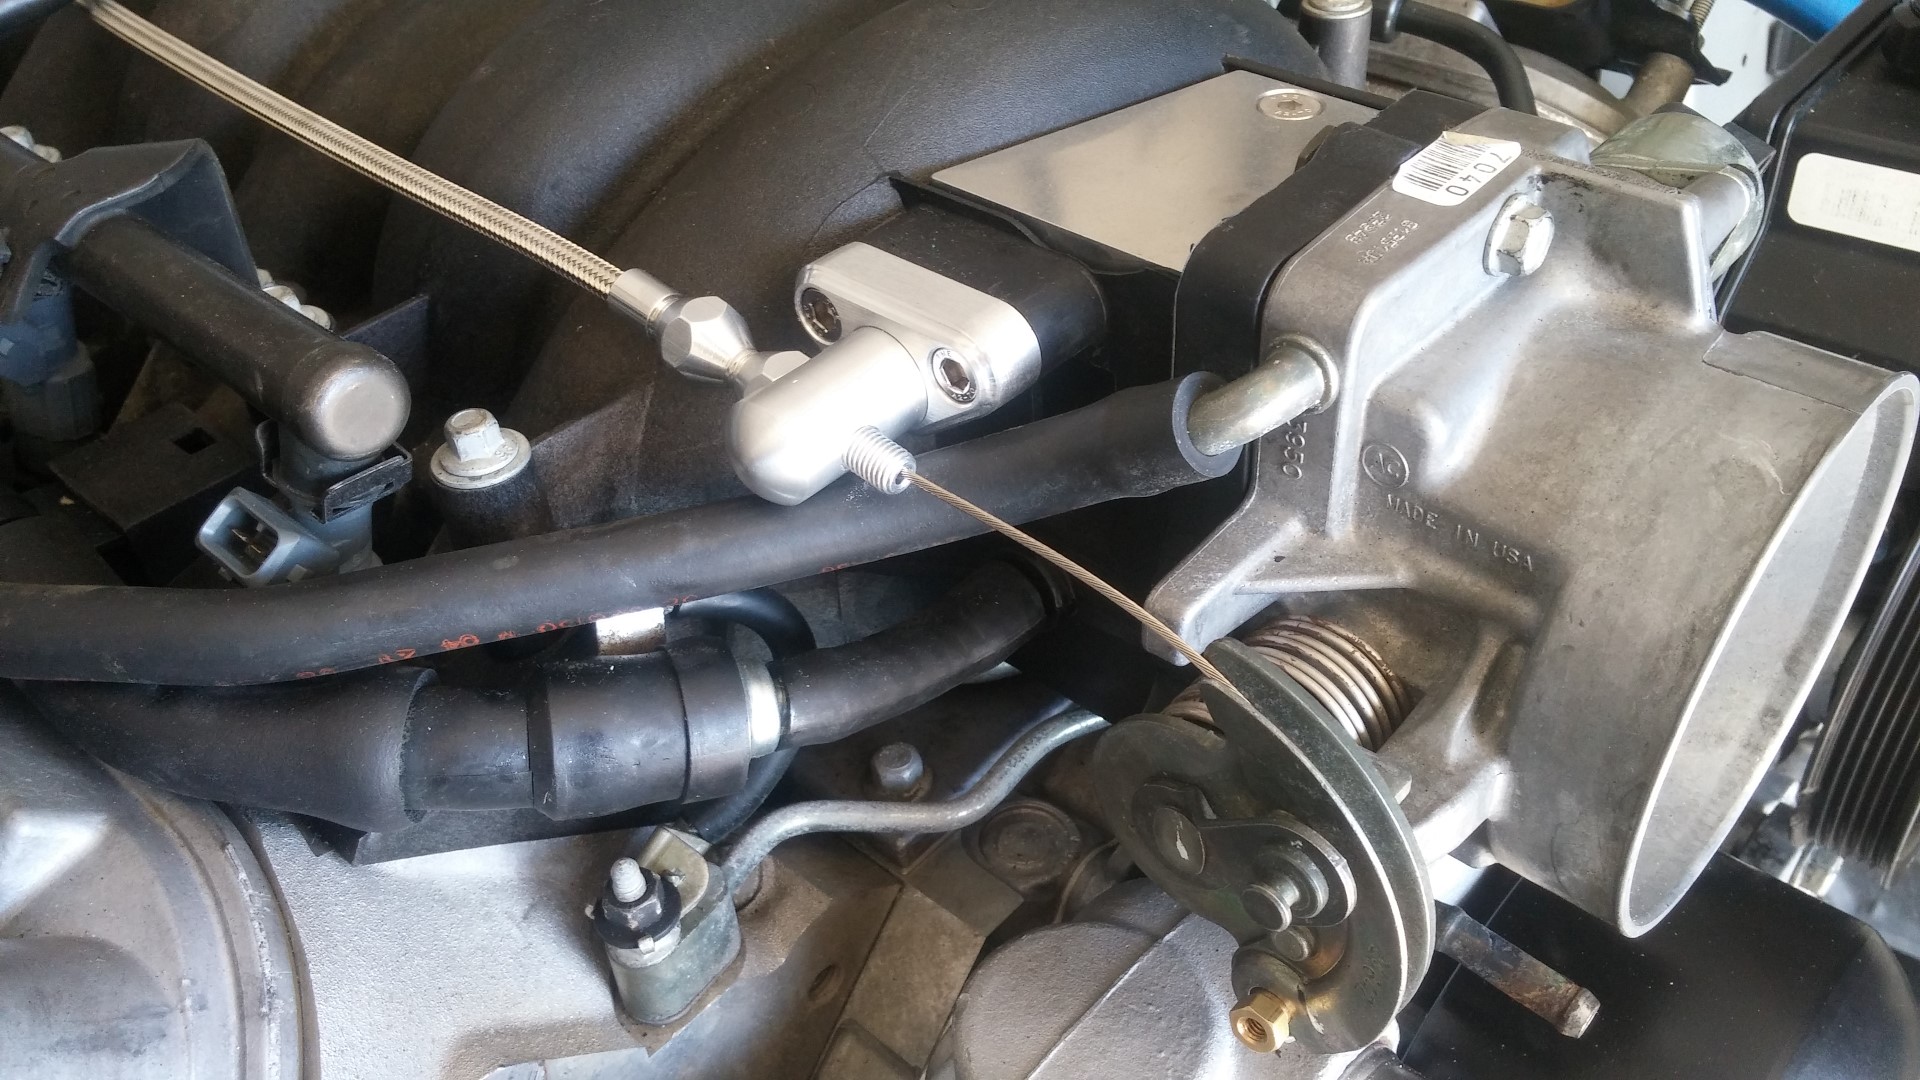
And this is what I ended up with. I think it turned out well. I ground the stock throttle arm down to fit the end of the throttle cable. For some reason I thought the cable would rotate some on the arm, but that isn’t happening with that connection. So that’s the reason for the angled grind marks. The hole in the mounting plate of the 350Z throttle wasn’t big enough to fit the cable end through, so I used a Dremel to clearance out the bracket. All in all I think it turned out great. The cam on the throttle body is pretty large, which caused me to be short of wide open about 1/4″ of pedal travel or so. For now I bent the throttle up off the floor some. We’ll see if this causes heel-toe issues later. If it does I will look for a smaller cam for the throttle body.
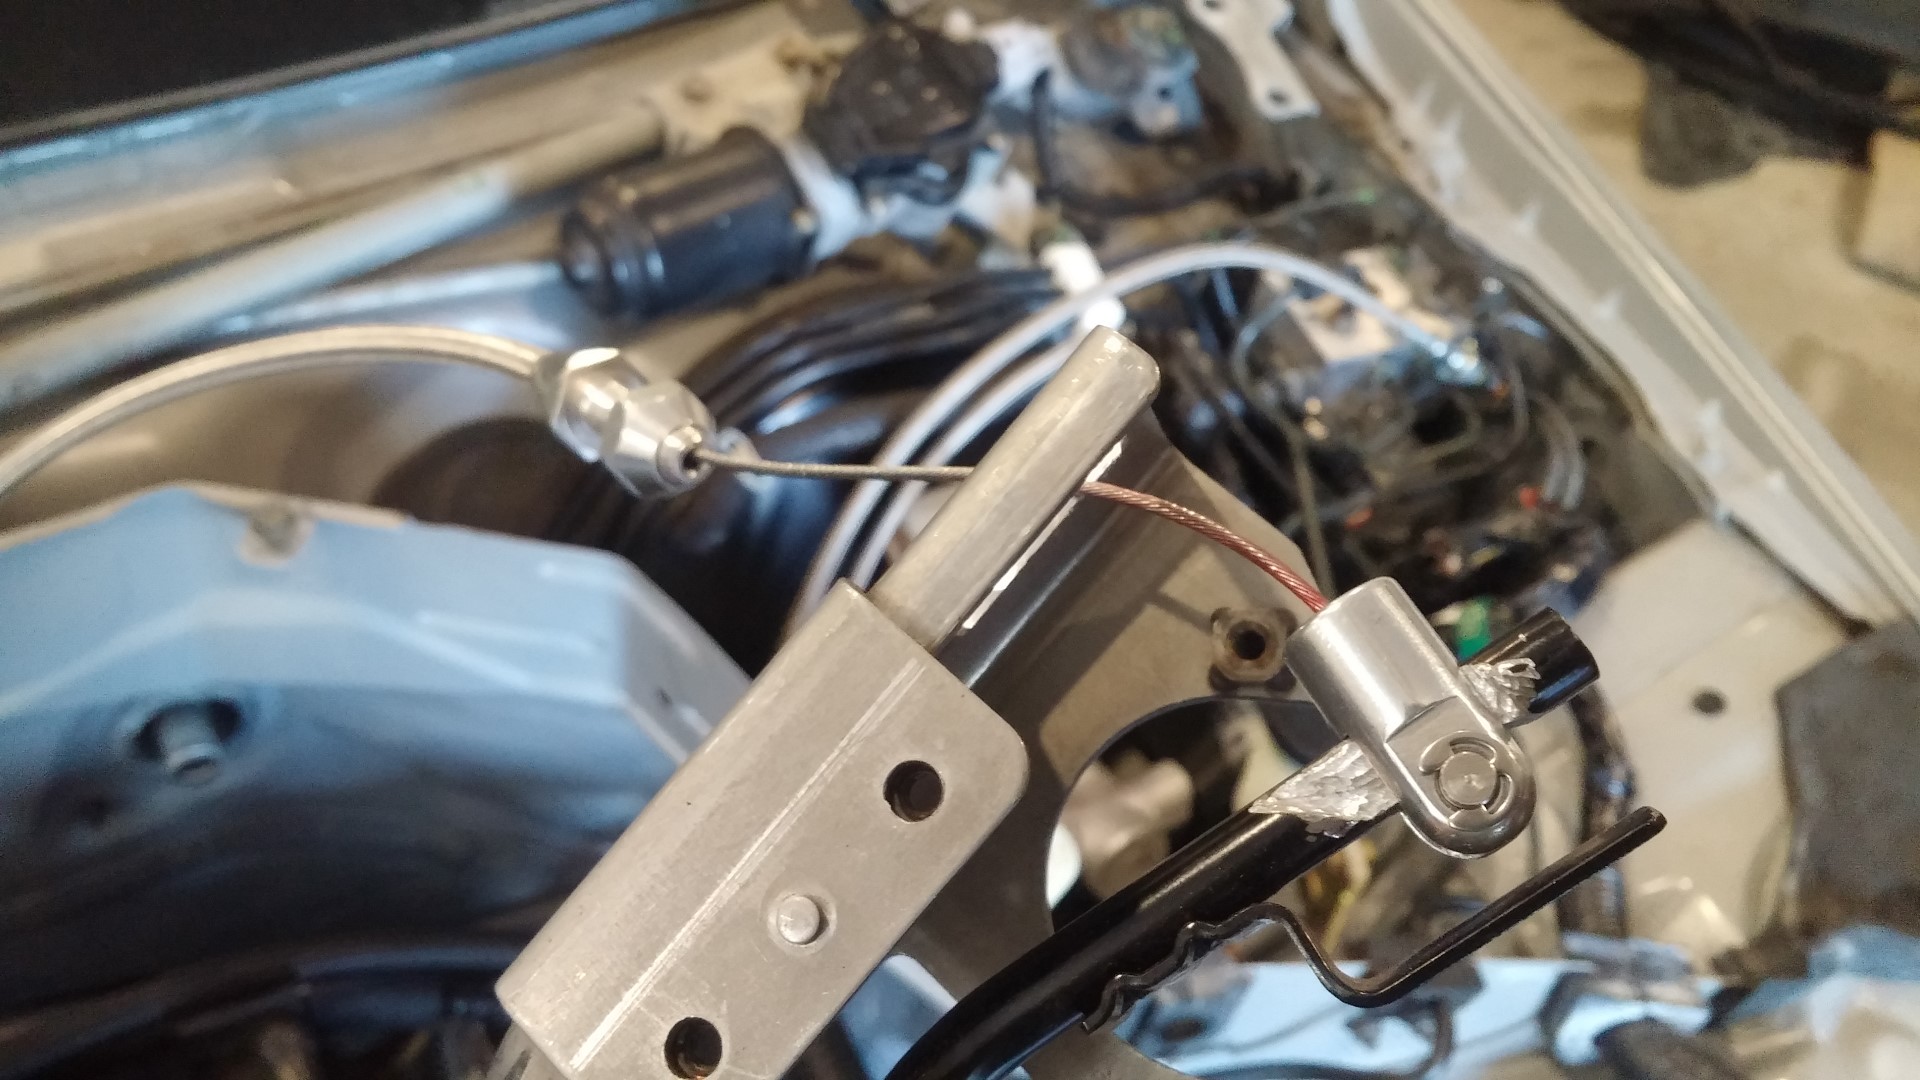
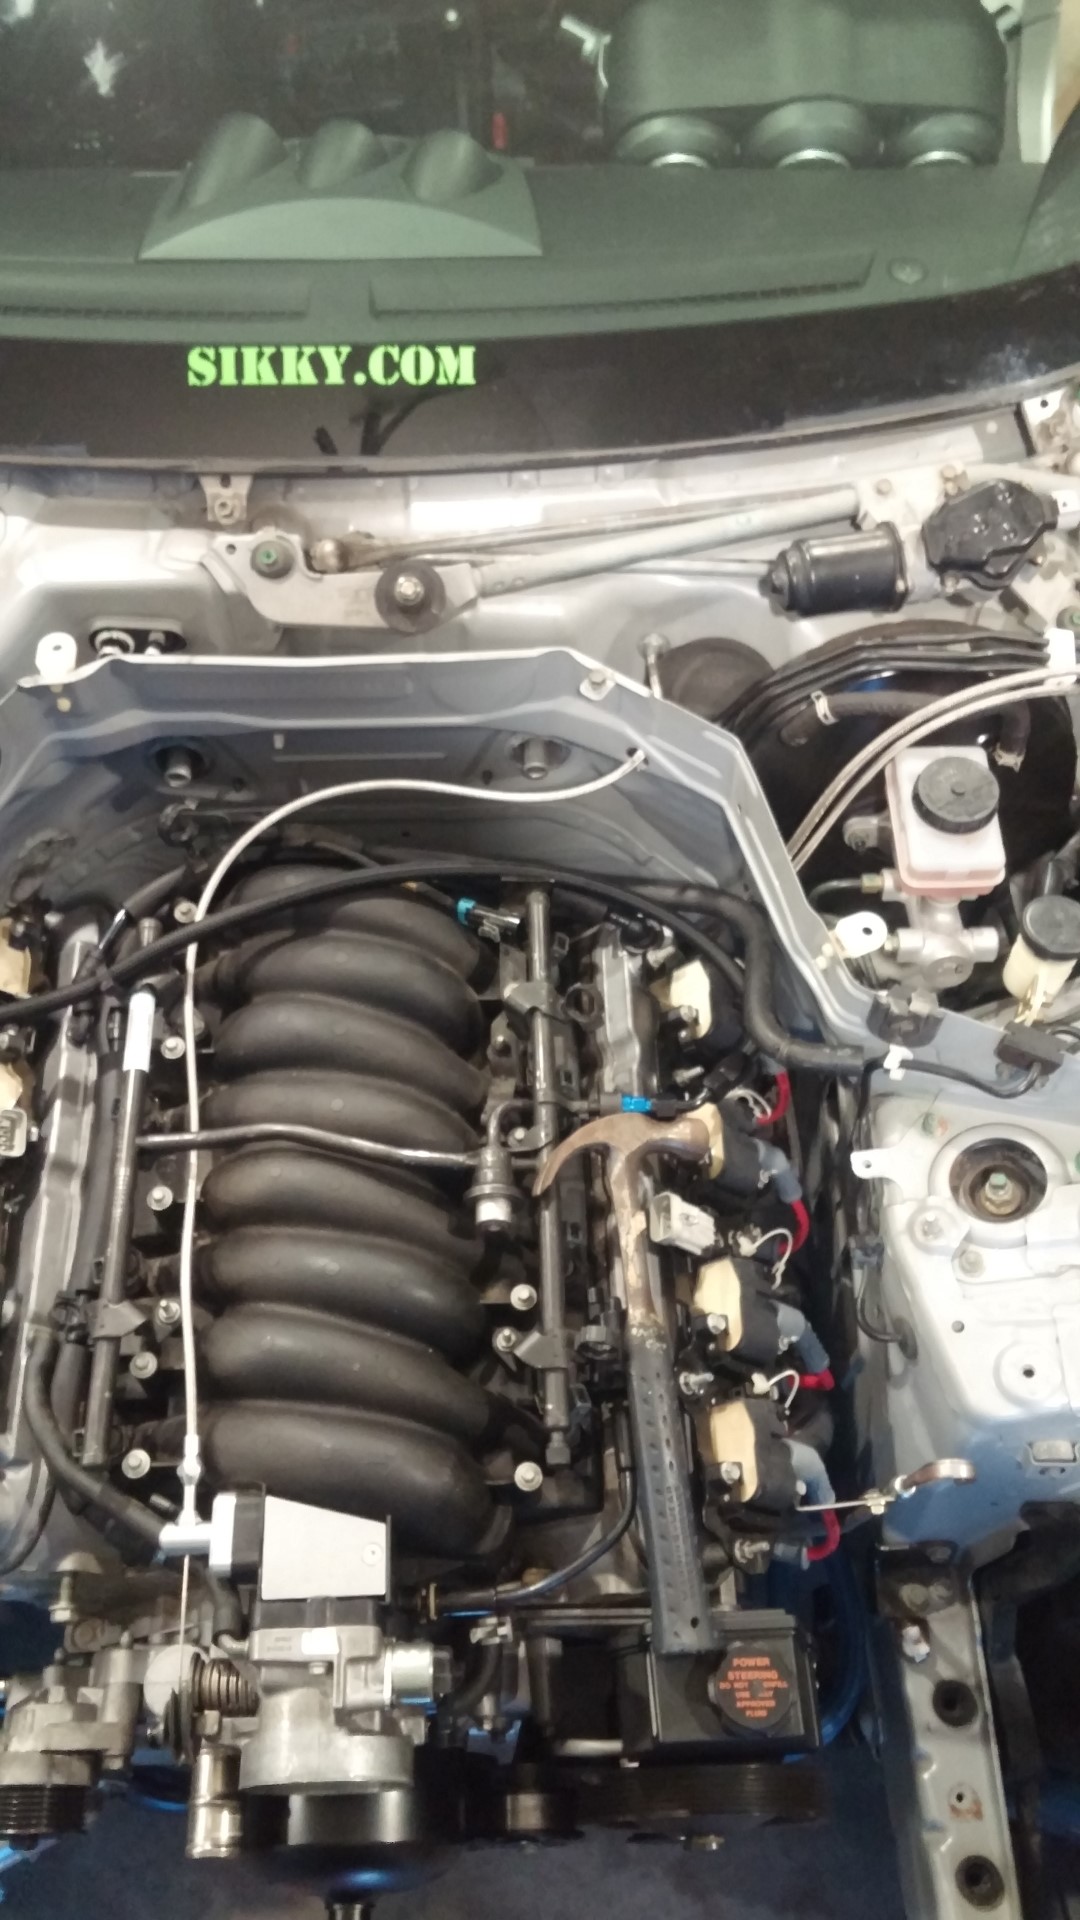
And a picture of it routed through the false firewall and through the real firewall into the cabin. Rubber grommets were added later on. Why the hammer is laying there, I’m not sure. But its one of our favorite tools at 365Racing so I’m sure it was used for something
At this time I also drilled holes for the clutch master cylinder line and the clutch remote bleeder line up into the “brake bay”. Again, rubber grommets were added to the holes in the sheet metal later on.

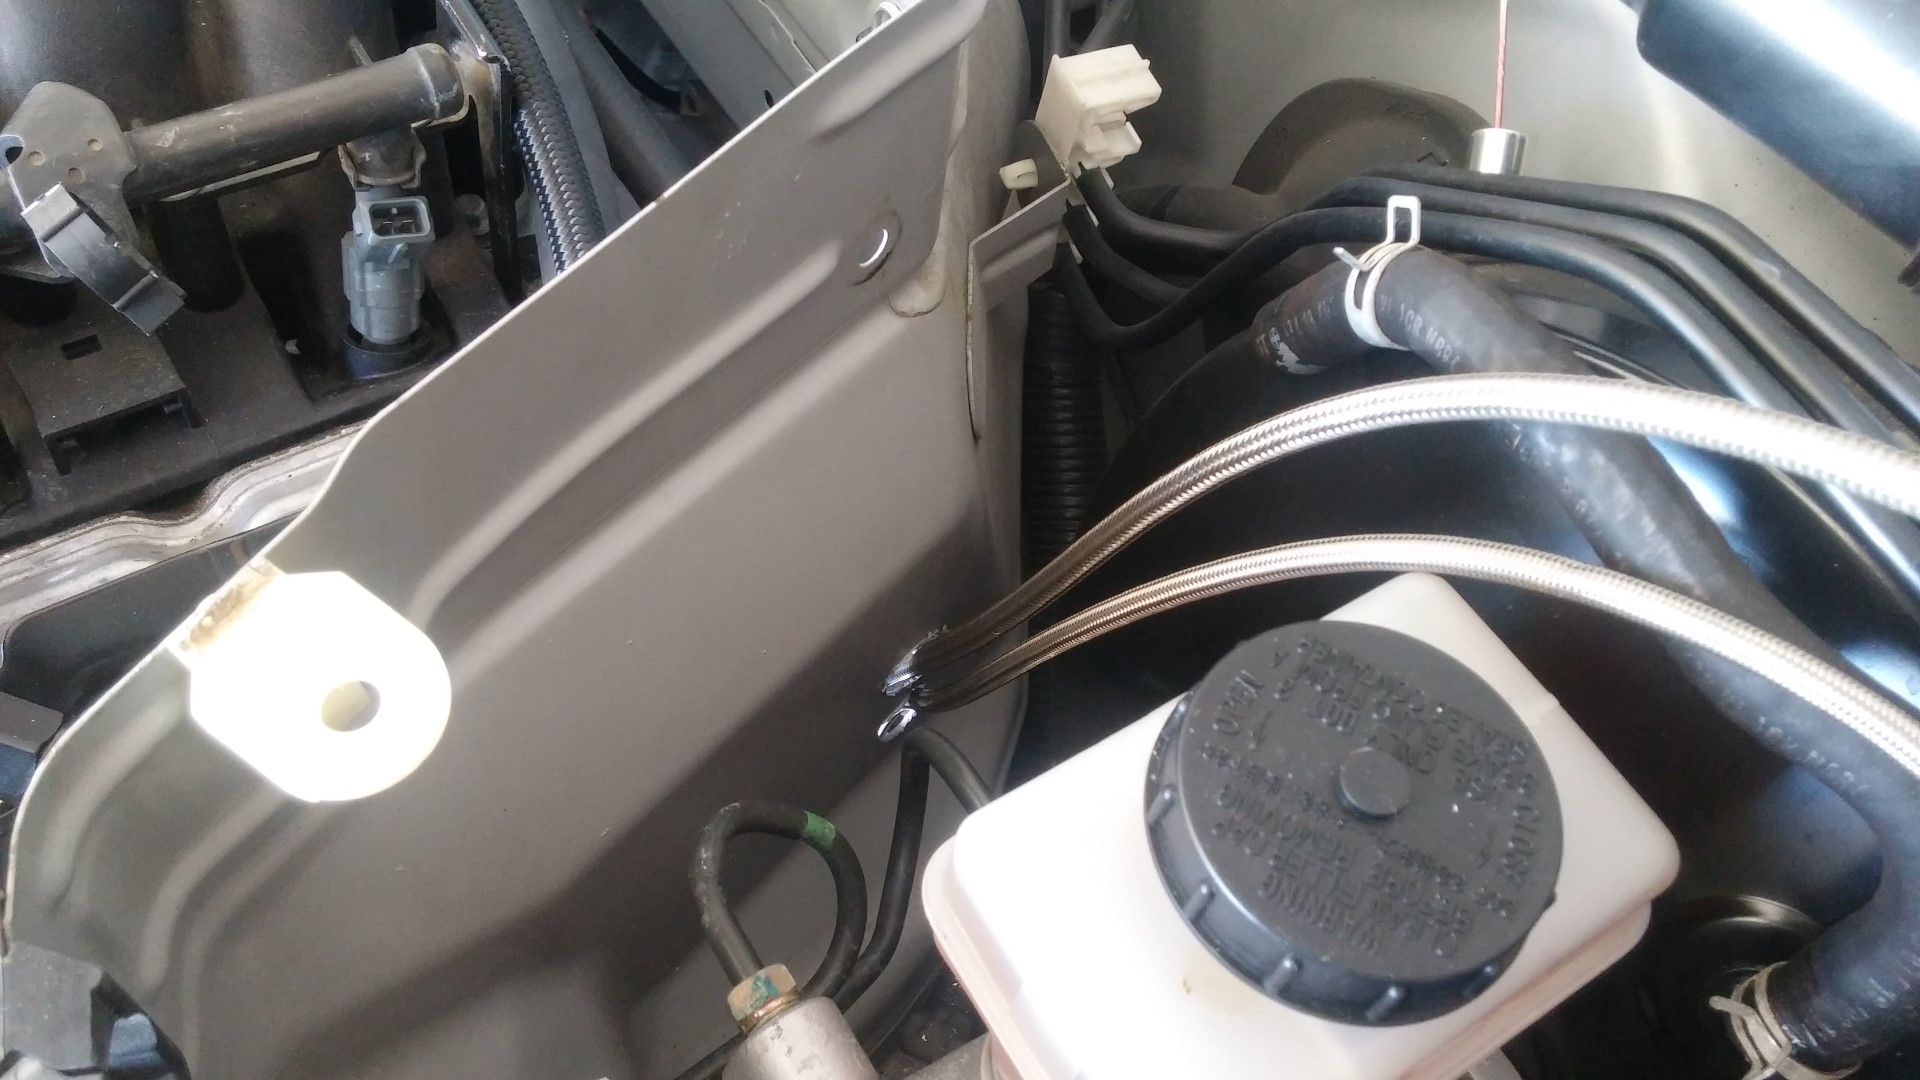
Speaking of such lines, now its time to switch out the master cylinder so we can hook up and bleed the clutch. The stock 350Z master cylinder is not strong enough for the T56 set up. Sikky provides this conversion kit with a really nice Wilwood master cylinder. You steal a few parts off the stock master for the Wilwood set up, and even use the stock reservoir.
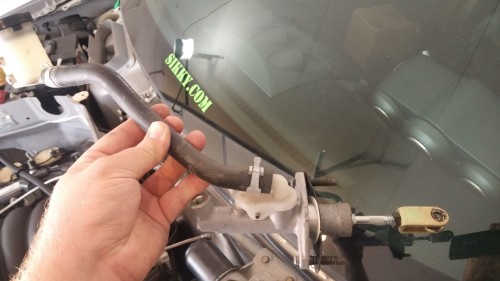
Stock
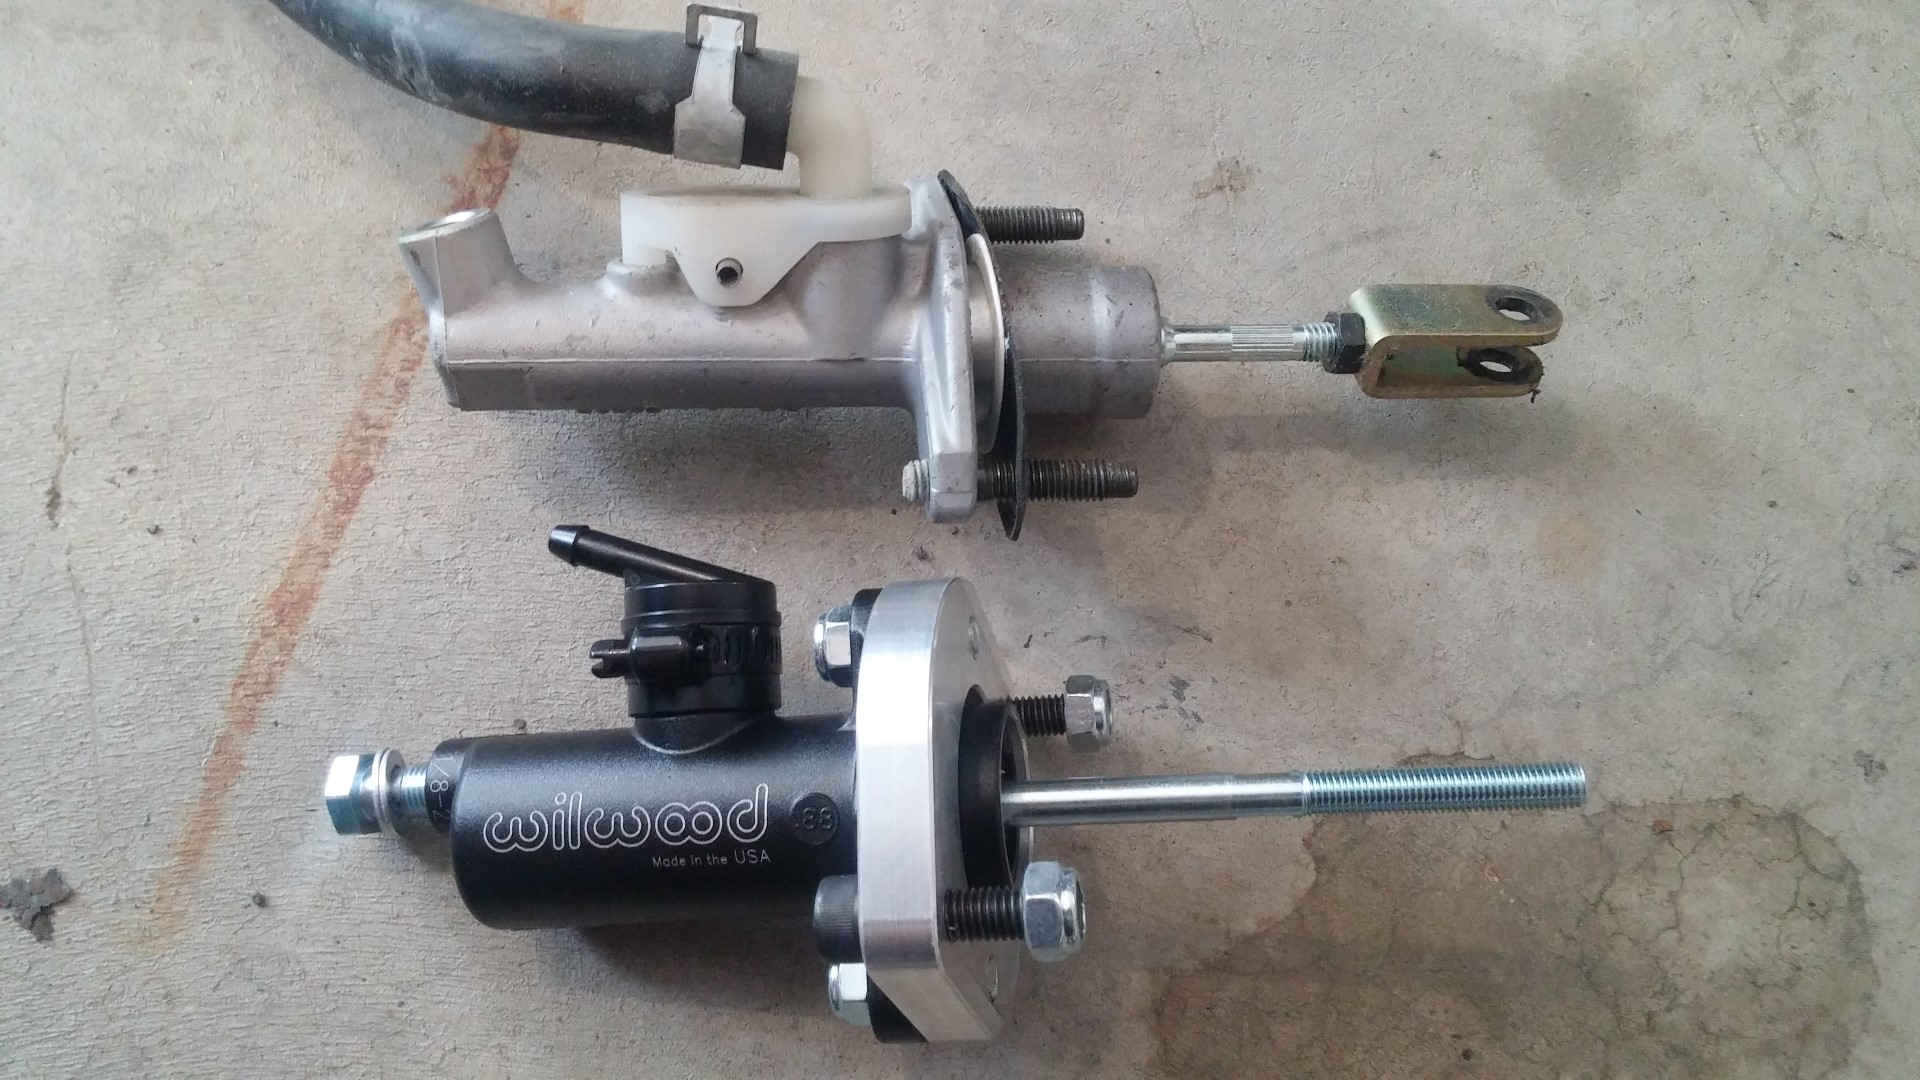
Wilwood next to the stock
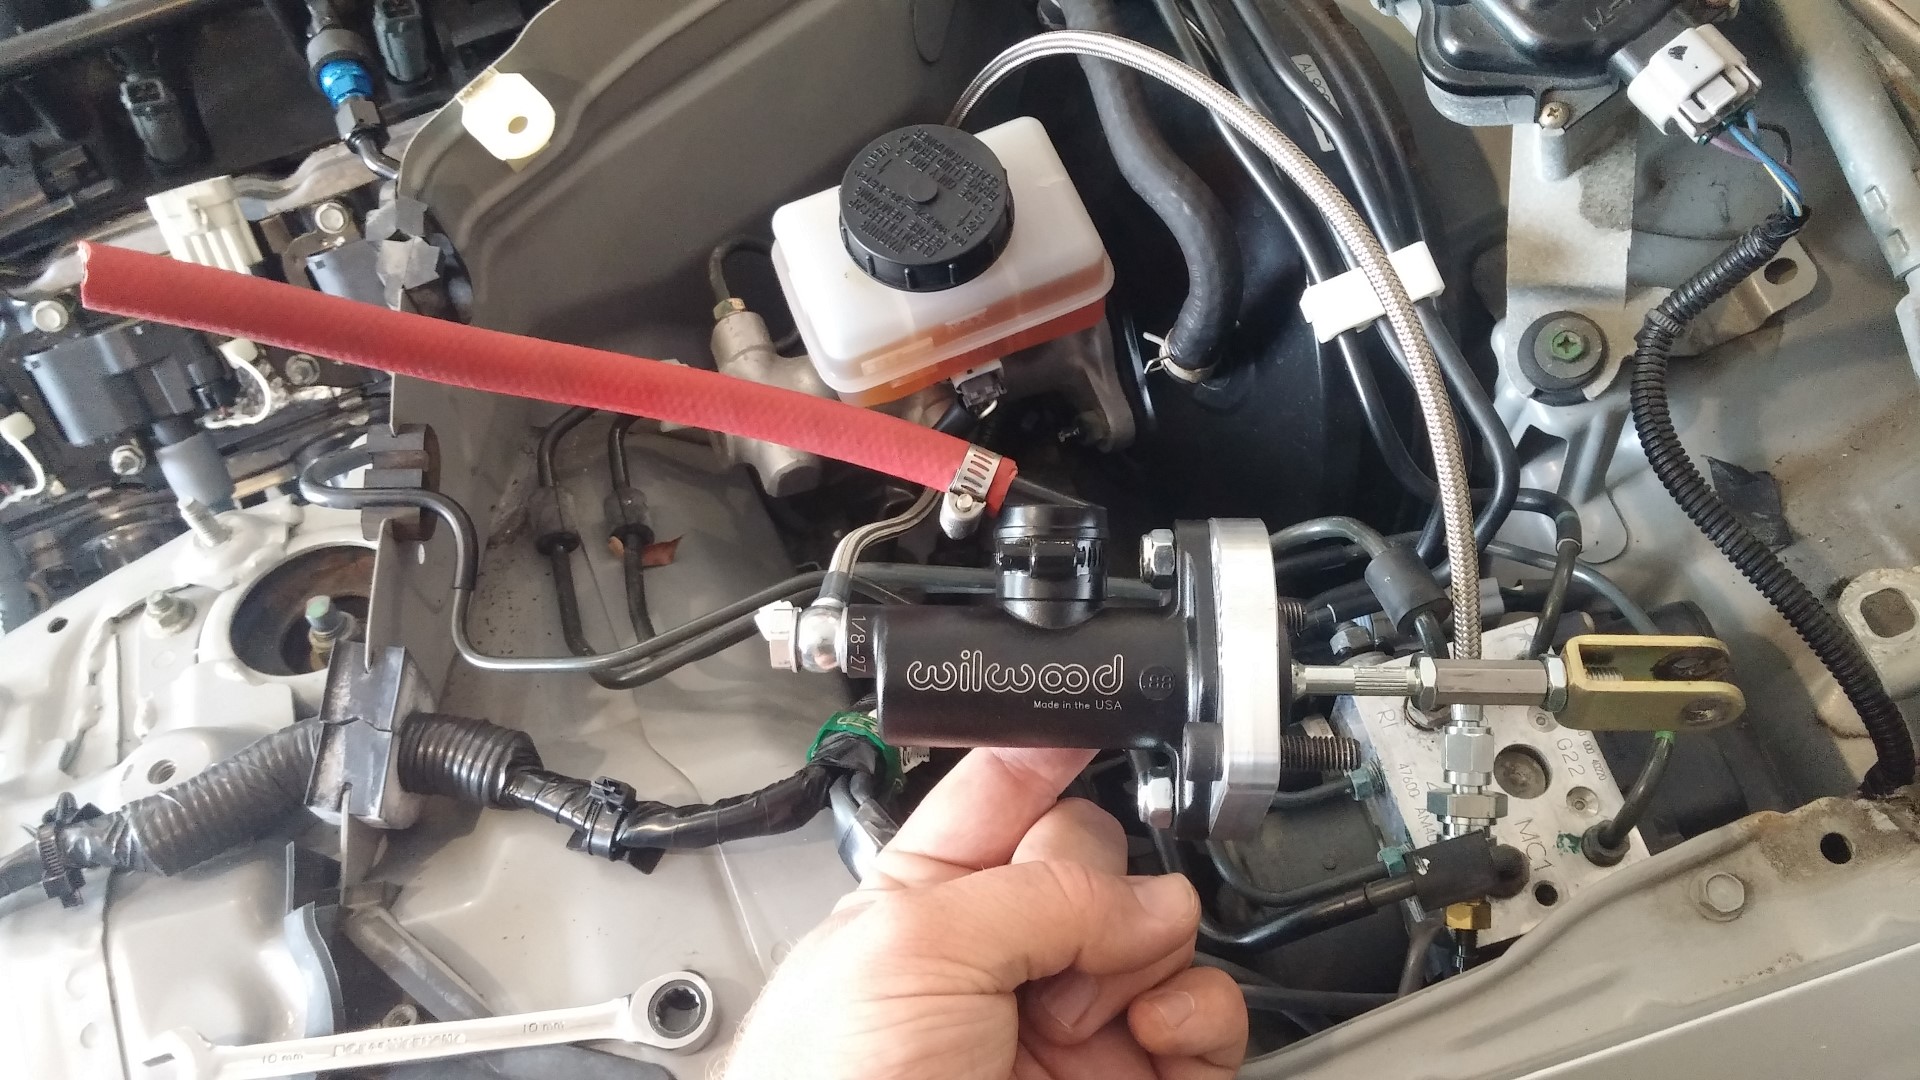
 One thing that was extremely helpful of Sikky was the CNC machined master cylinder flange. Nissan mounting studs are at a weird angle and aftermarket masters are usually vertical. This, again, made installation of this painless. And here it is ready to go in.
 After this was installed, I used my Harbor Freight vacuum bleeder to bleed the clutch. In 5 minutes everything was ready to rock and roll. I could now sit in the car and make vroom-vroom noise while shifting and pushing a gas pedal! This was an exciting day
I think this is a good place to stop (because I had to stop too as I waited for the wiring harness to arrive). I’ve now installed all the components supplied by Sikky. Just as they had told me, this really was pretty painless! We are getting close to firing this up now. Next update I promise a start up video.
To be continued…