Skip navigation

Category Archives: Uncategorized

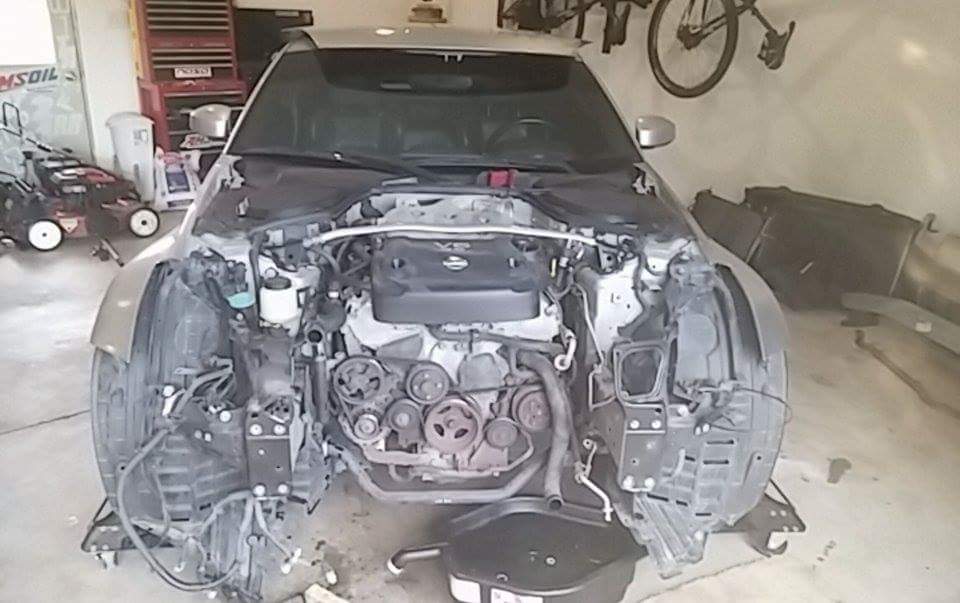
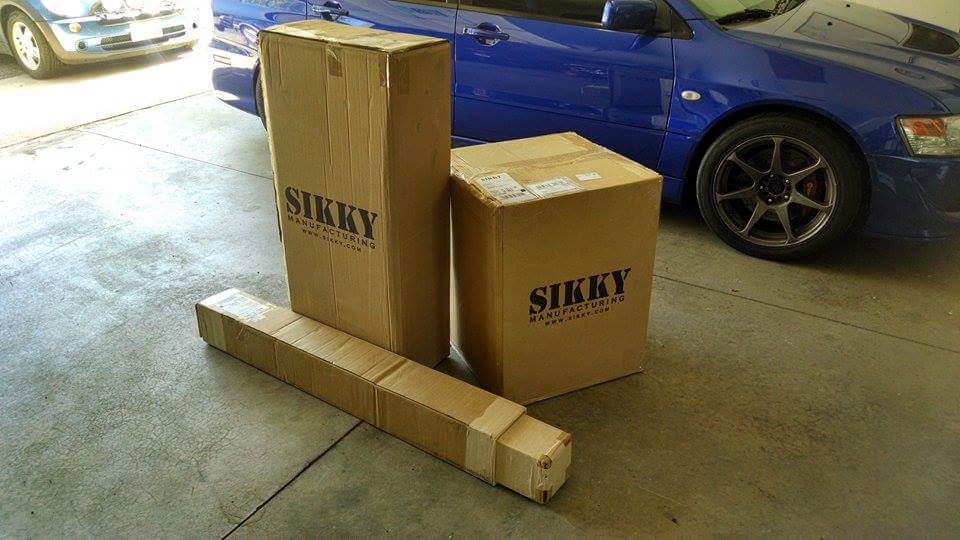
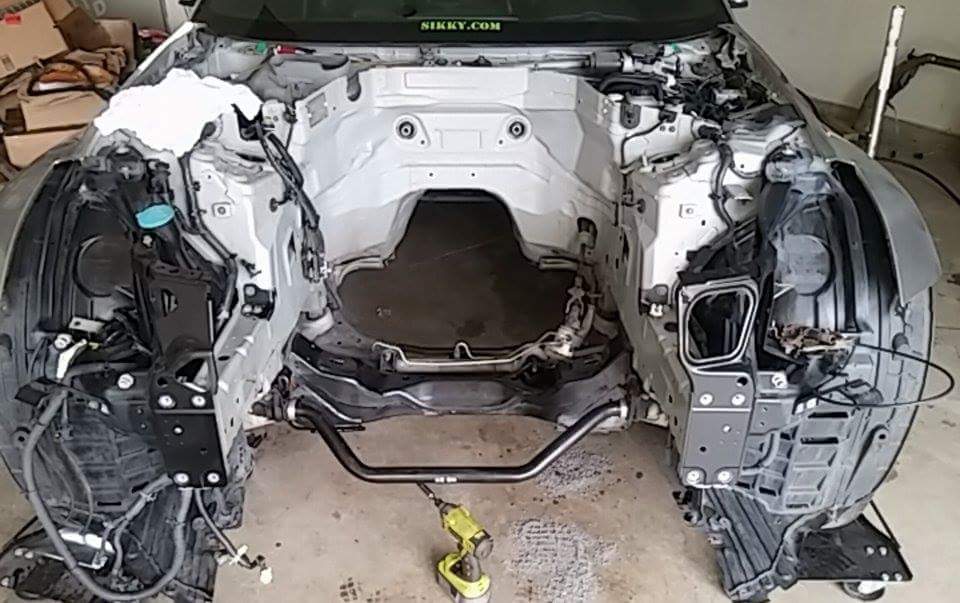
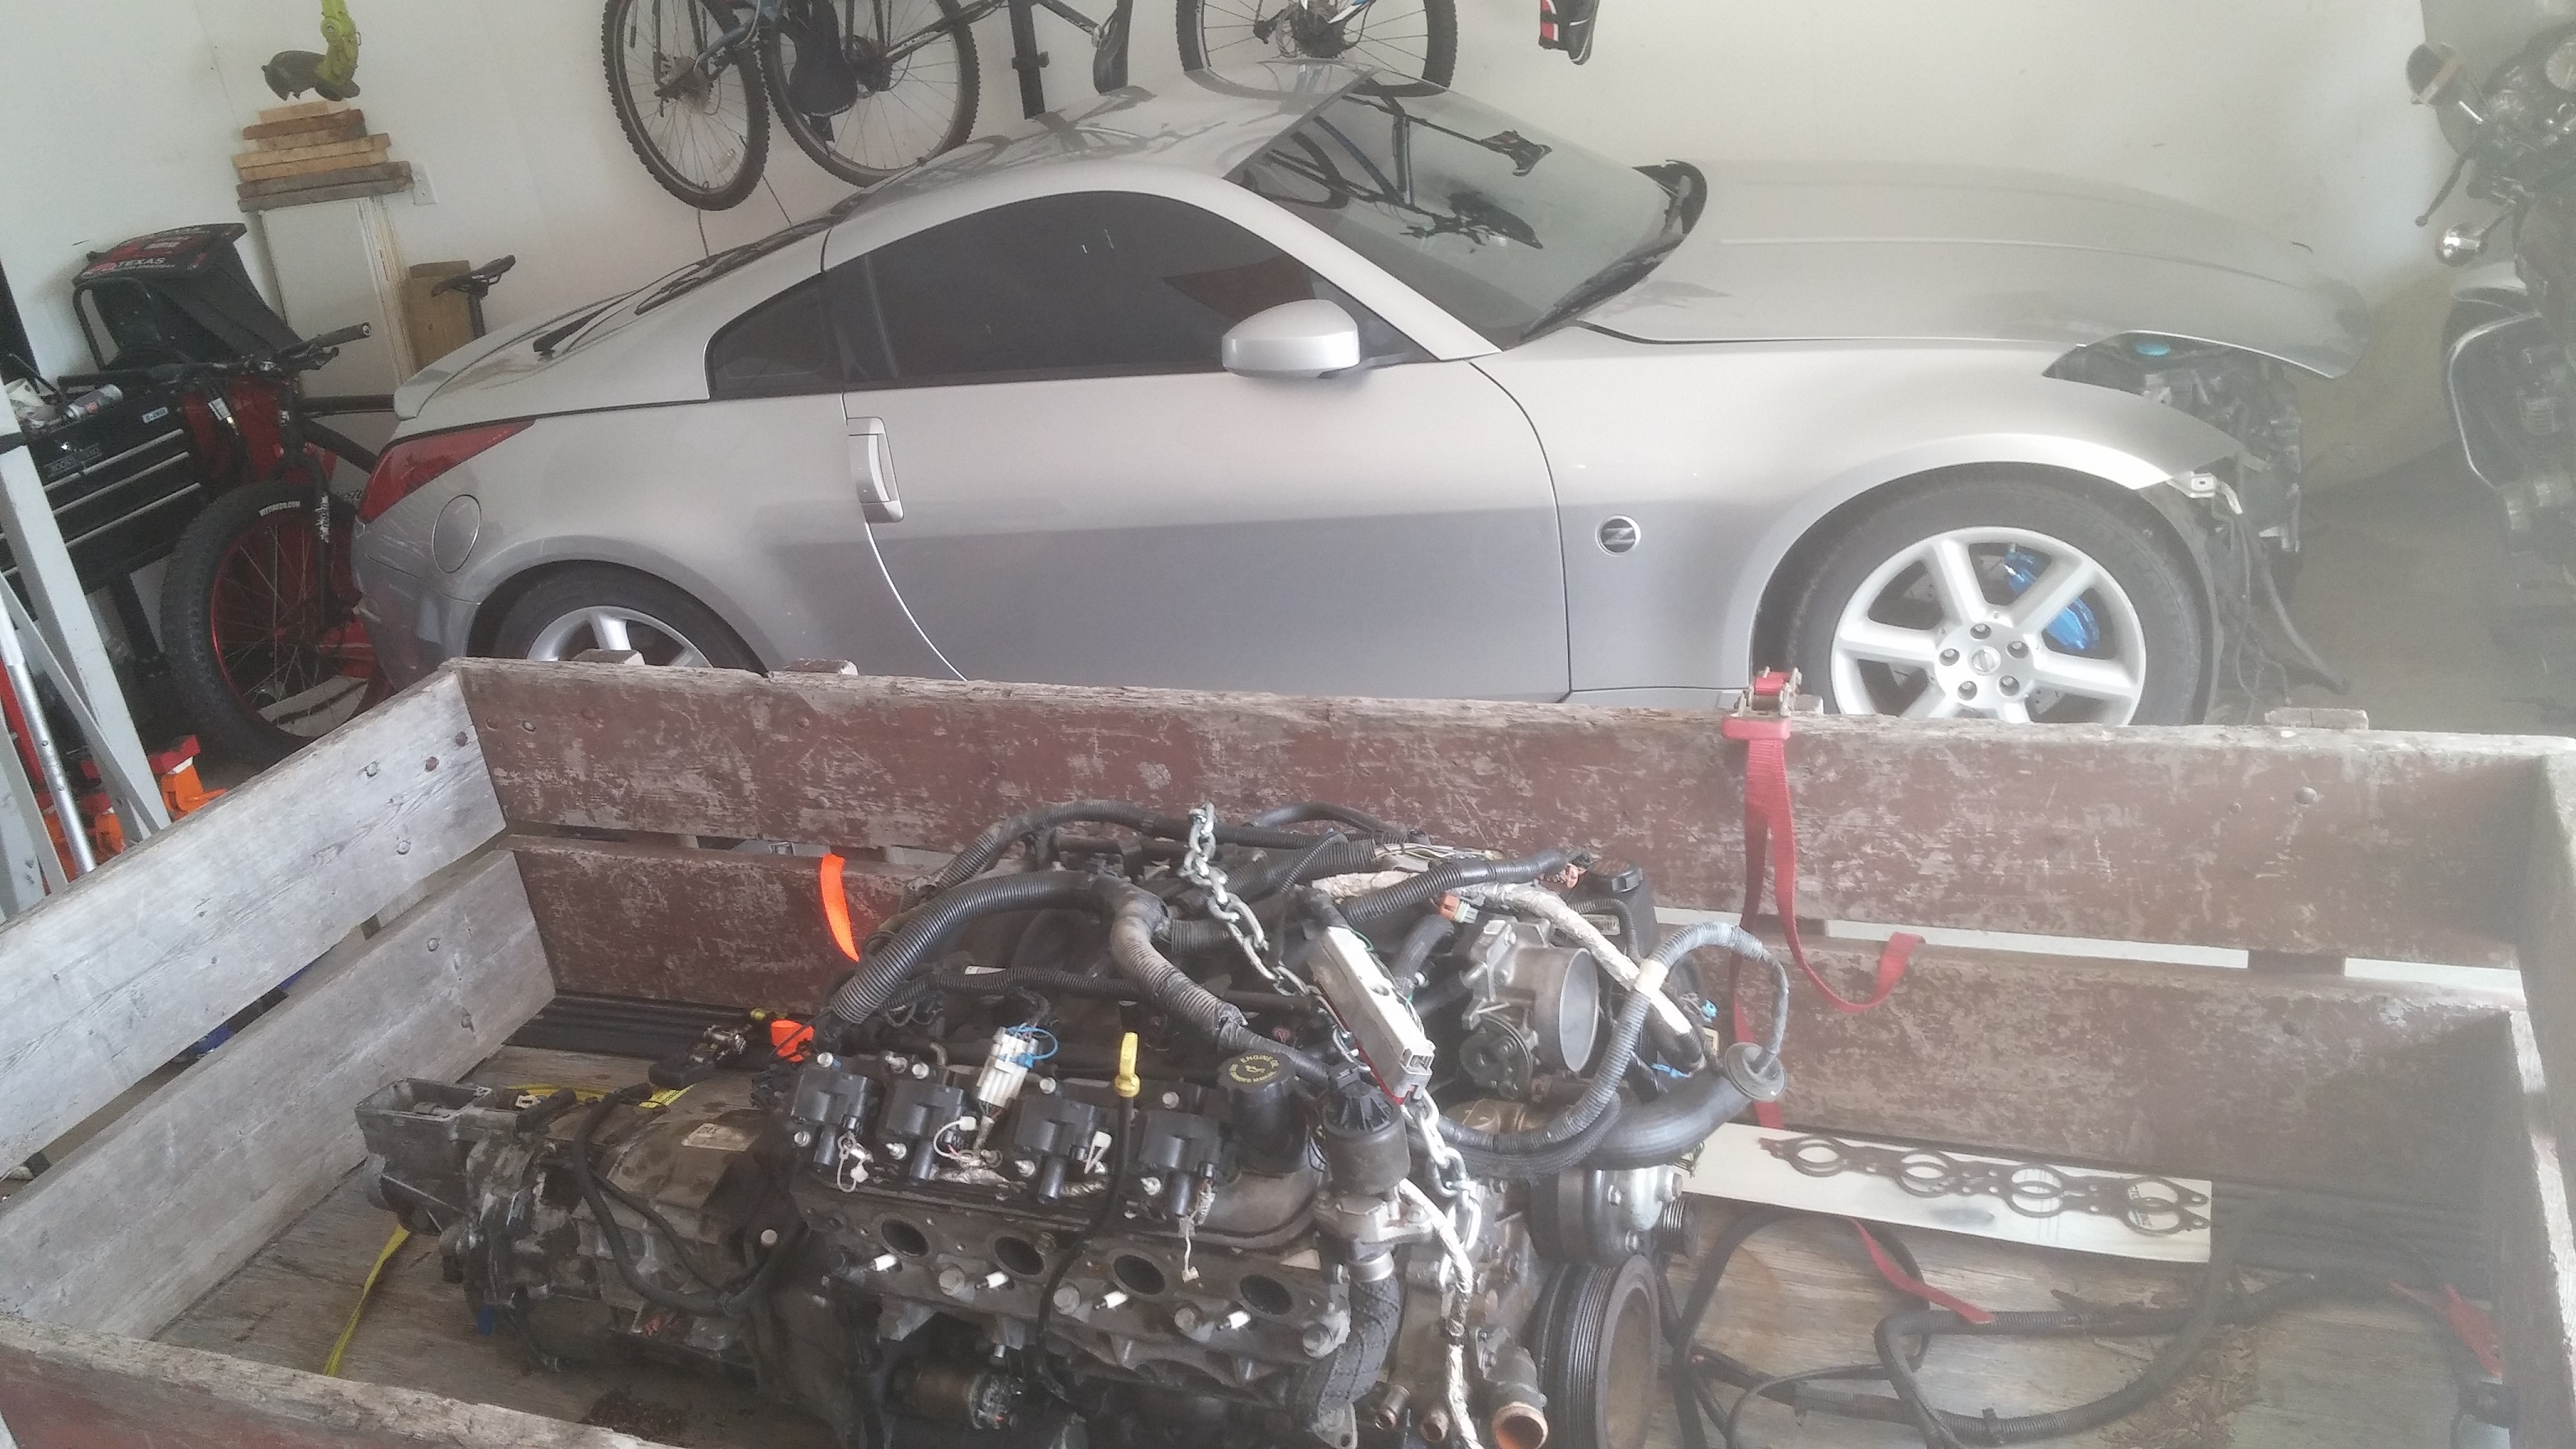
So Part 2 of the Project LS-Z left us with lots of shinny, cool parts from Sikky, an empty engine bay and lots of ambition to get this thing installed!

received_bWVzc2FnZV9ibG9iX2F0dGFjaG1lbnQ6MTAxMDA3MzU1NTk0MjE2NzI

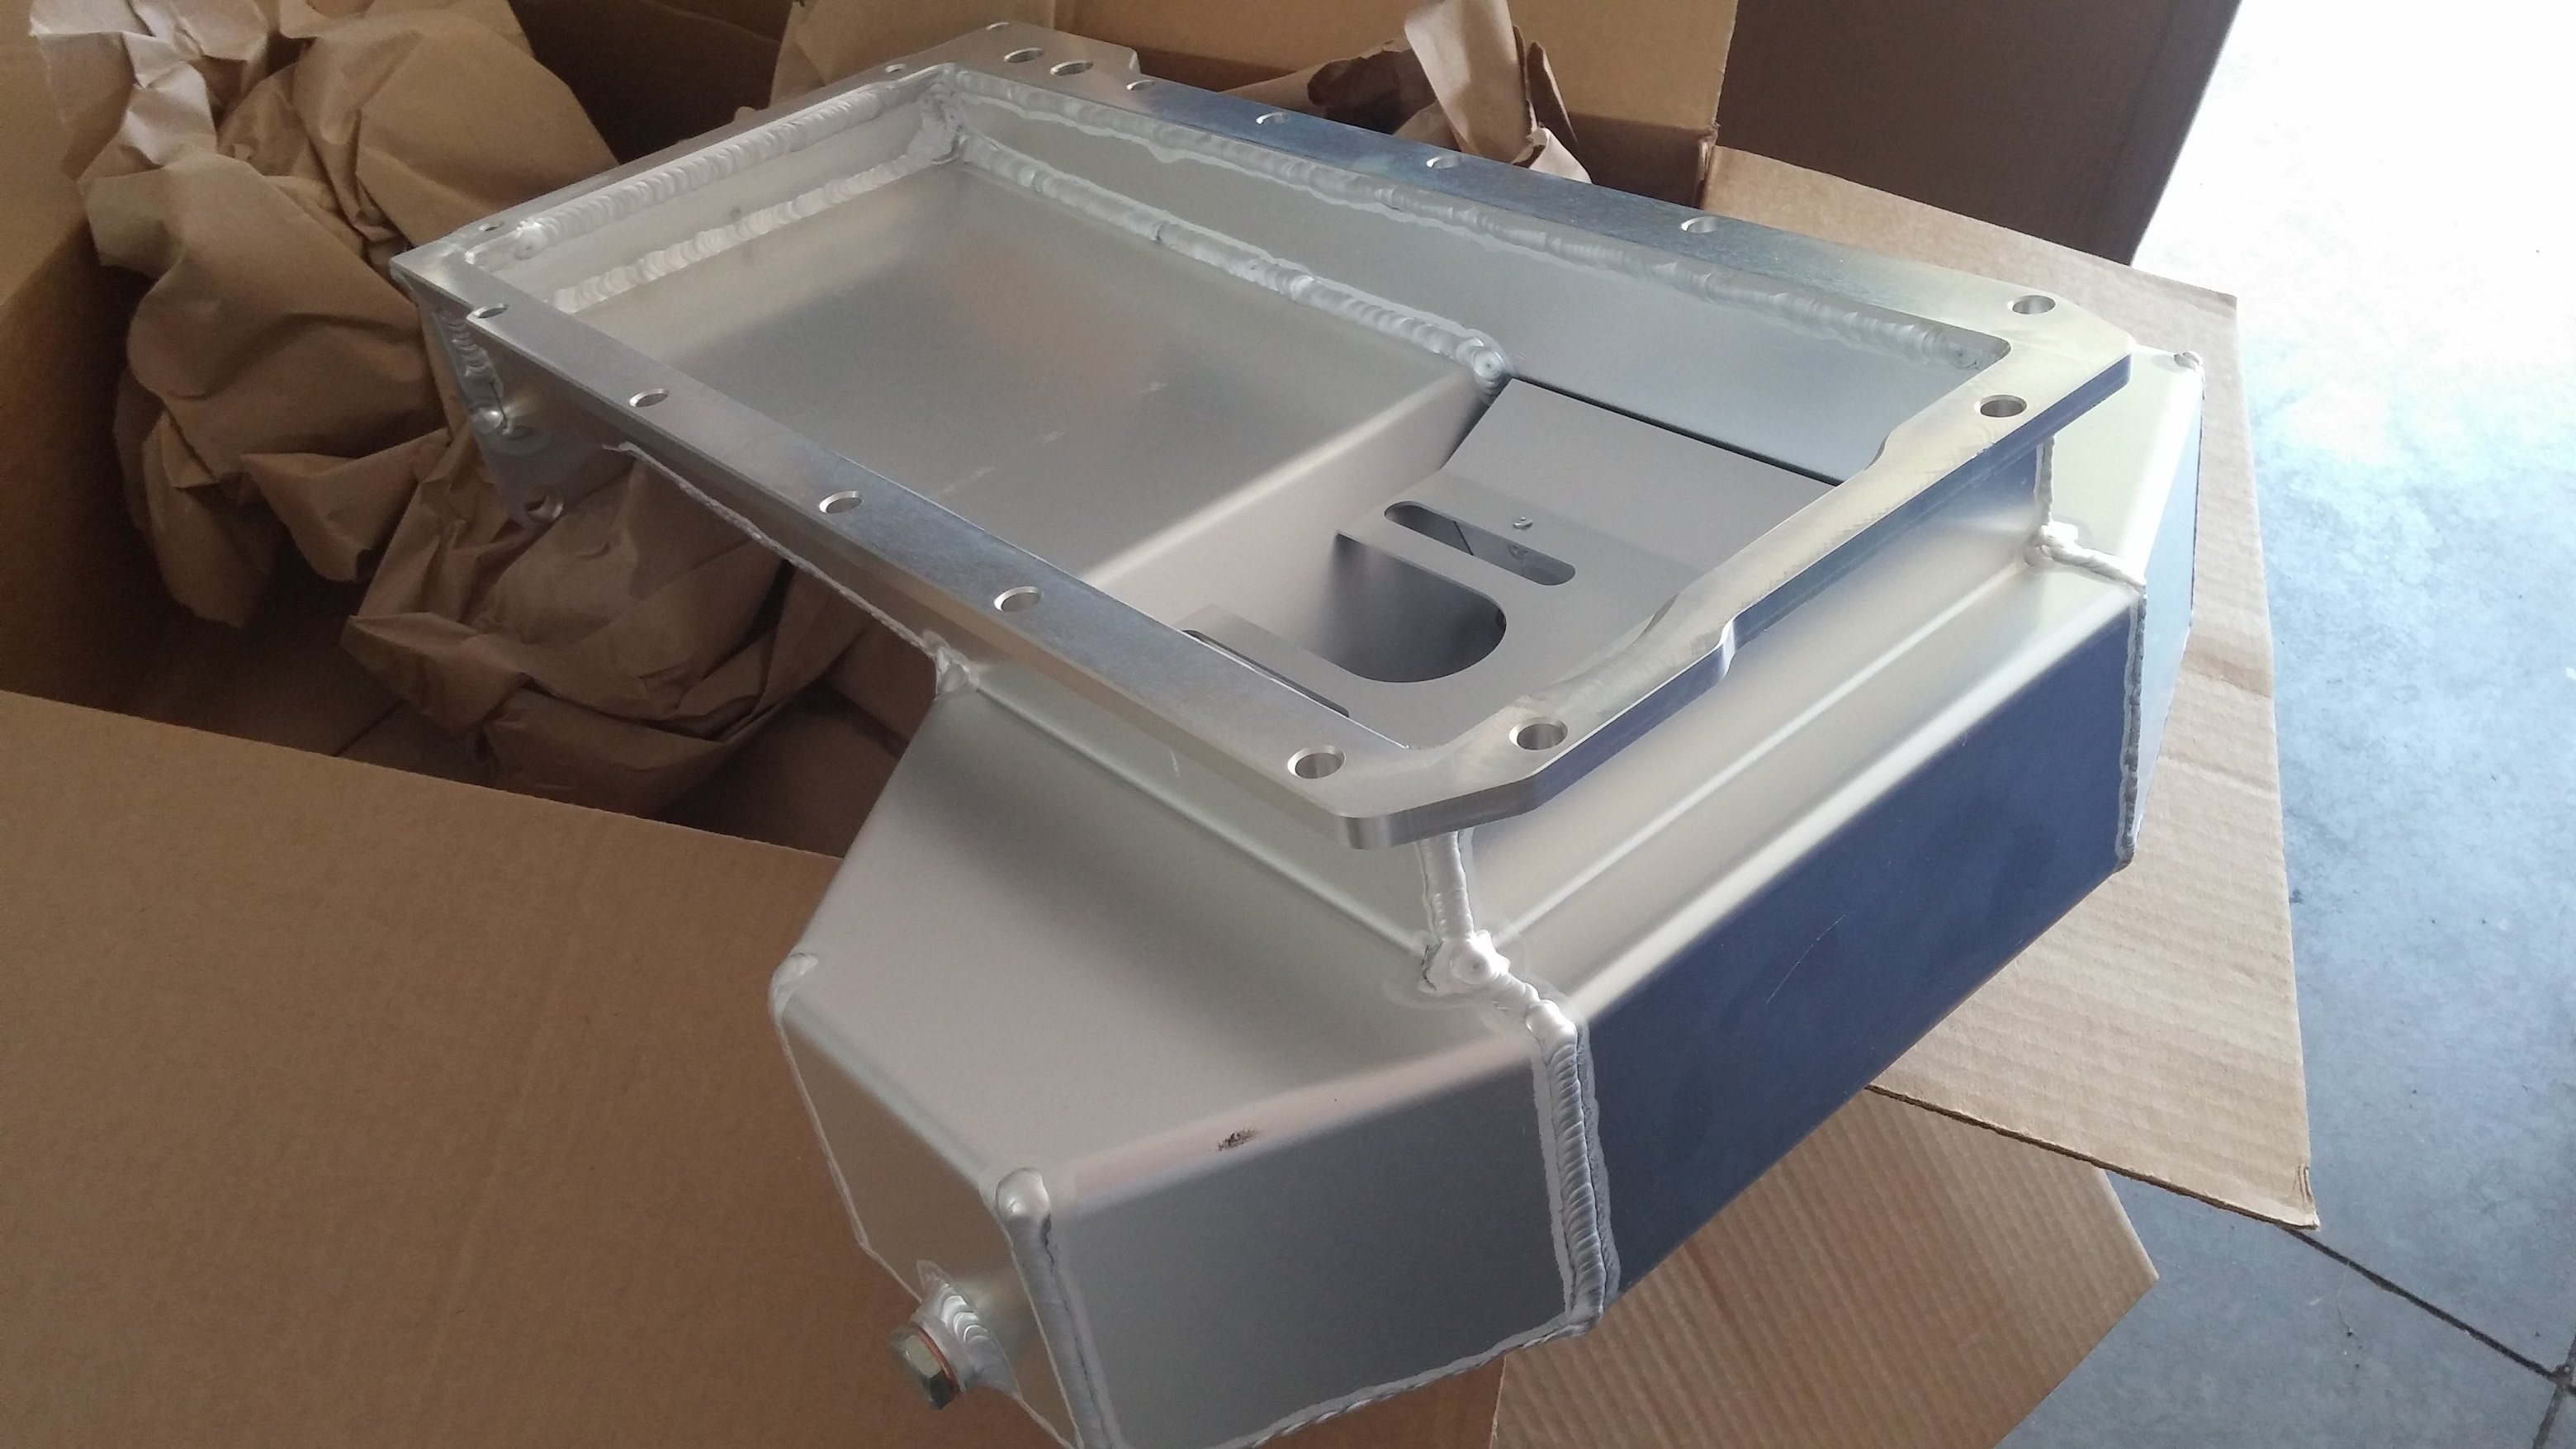
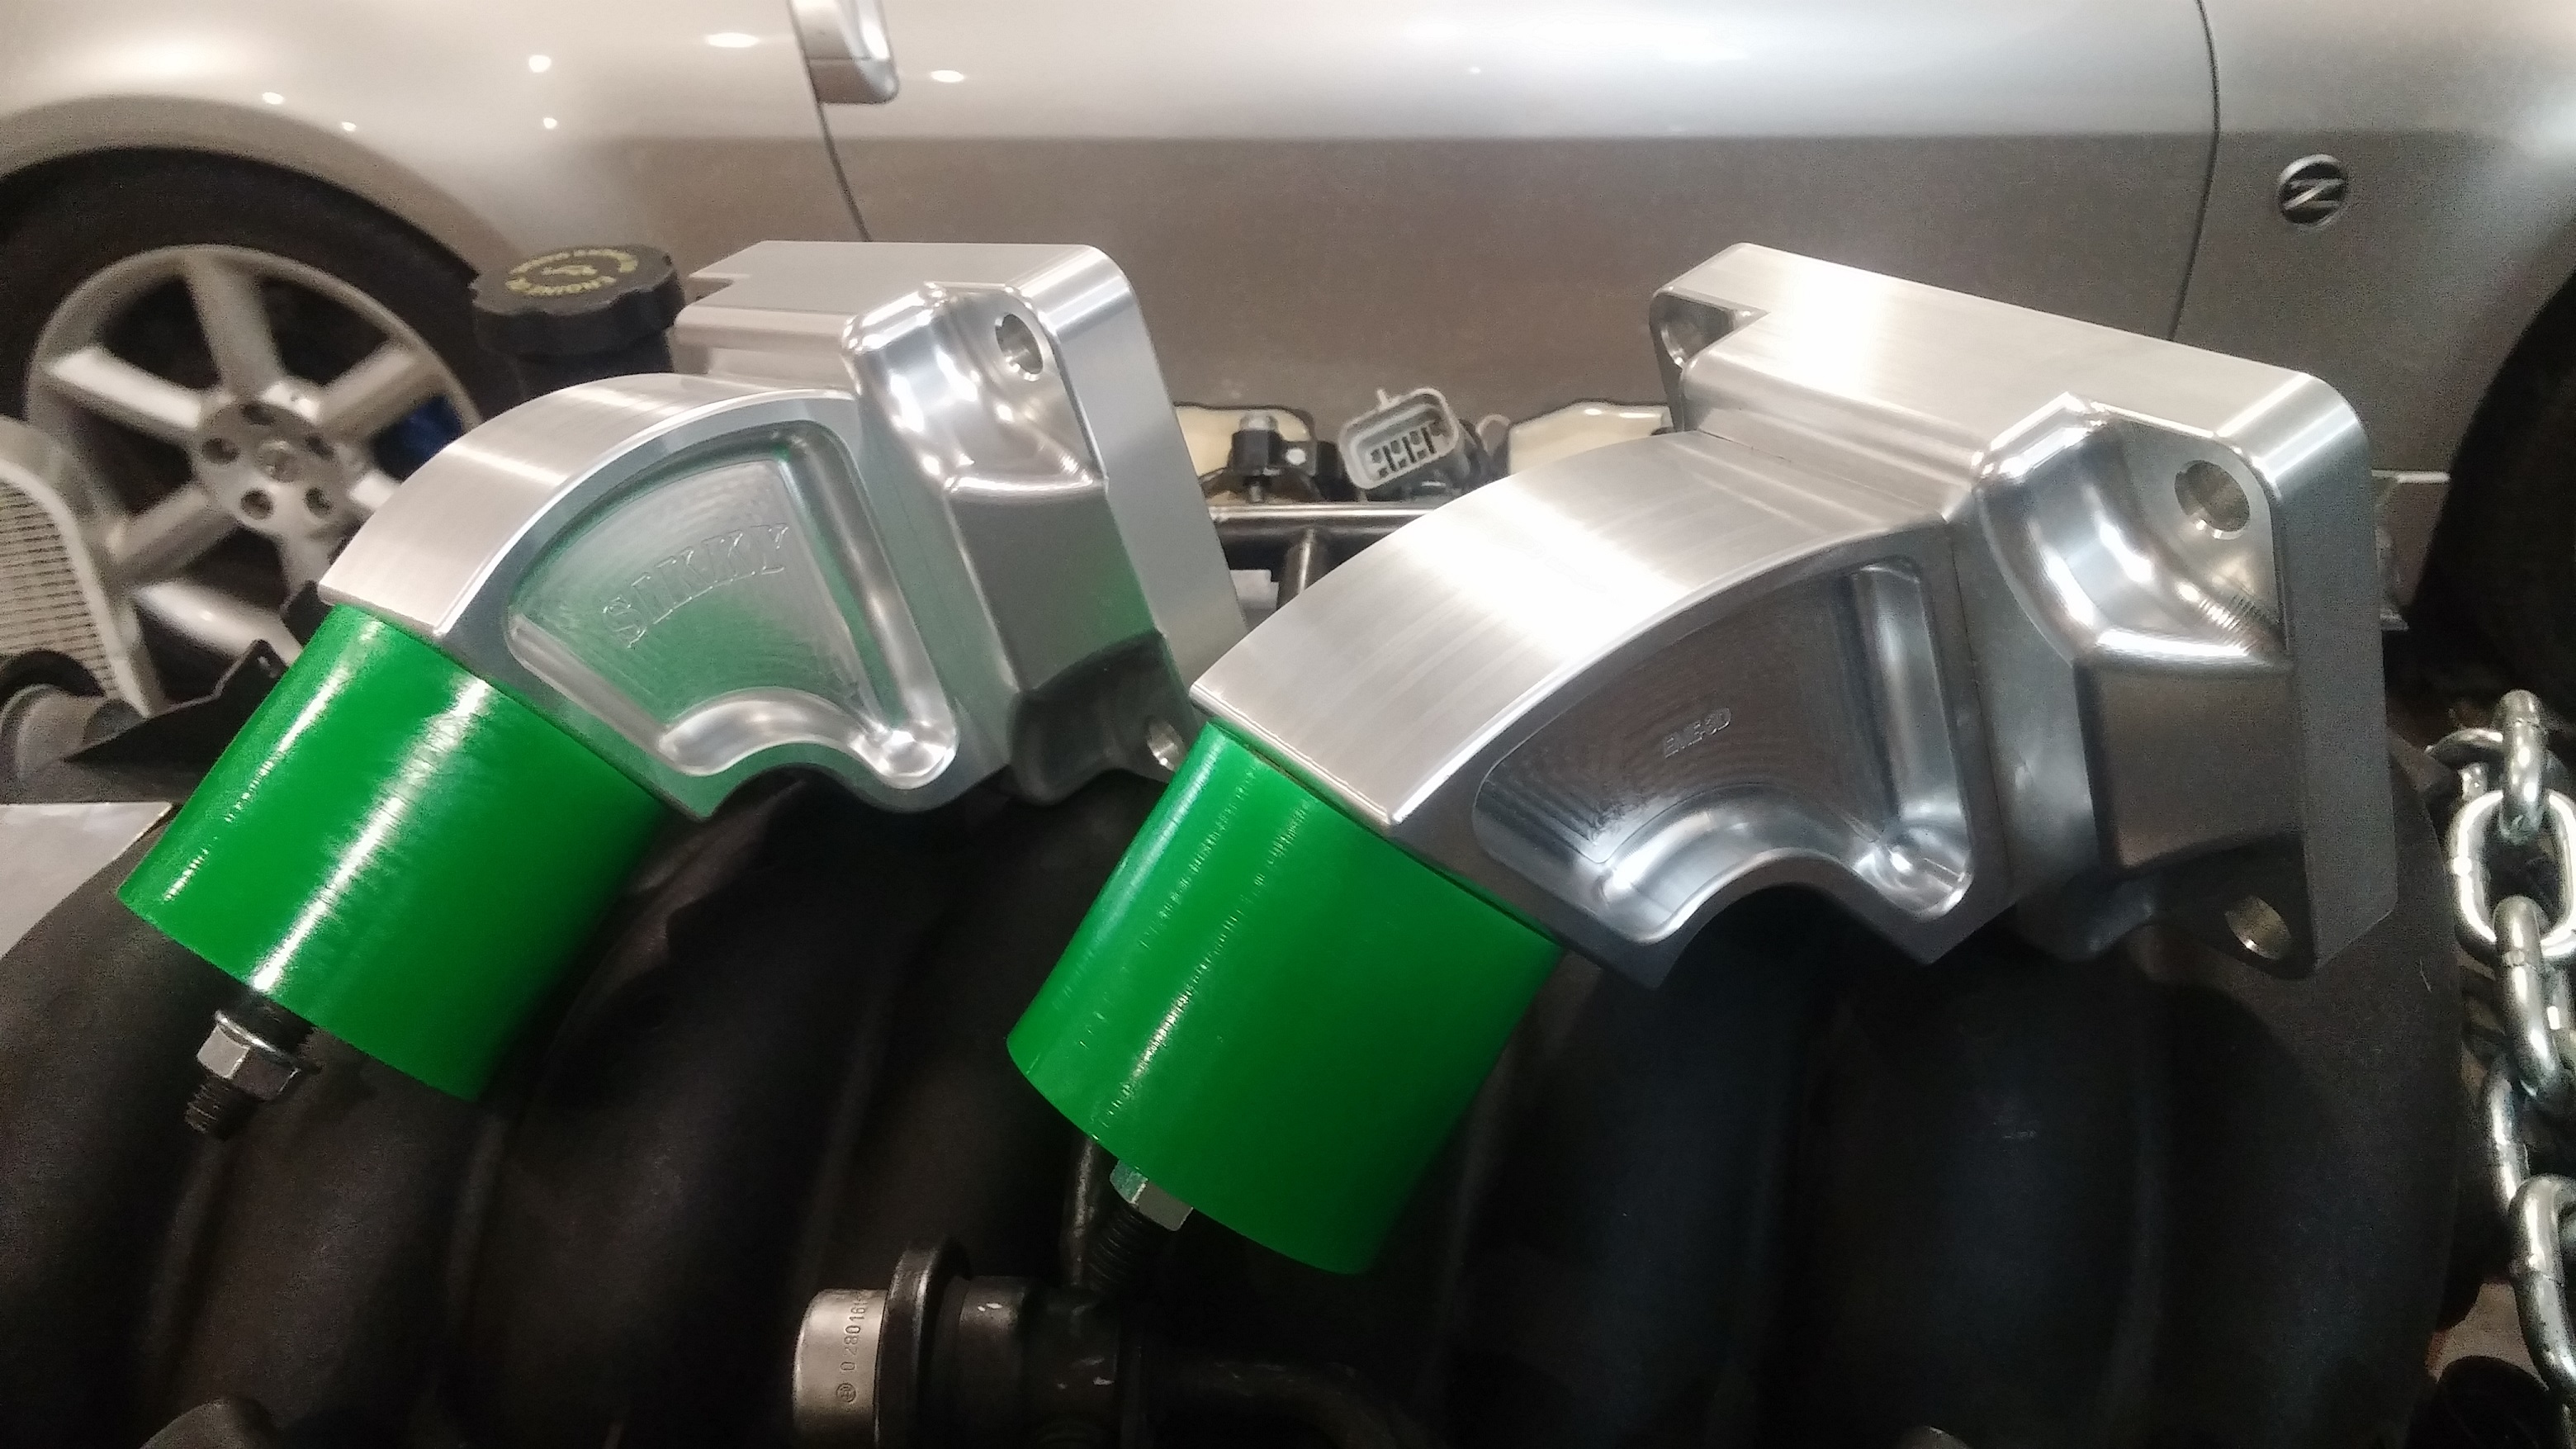
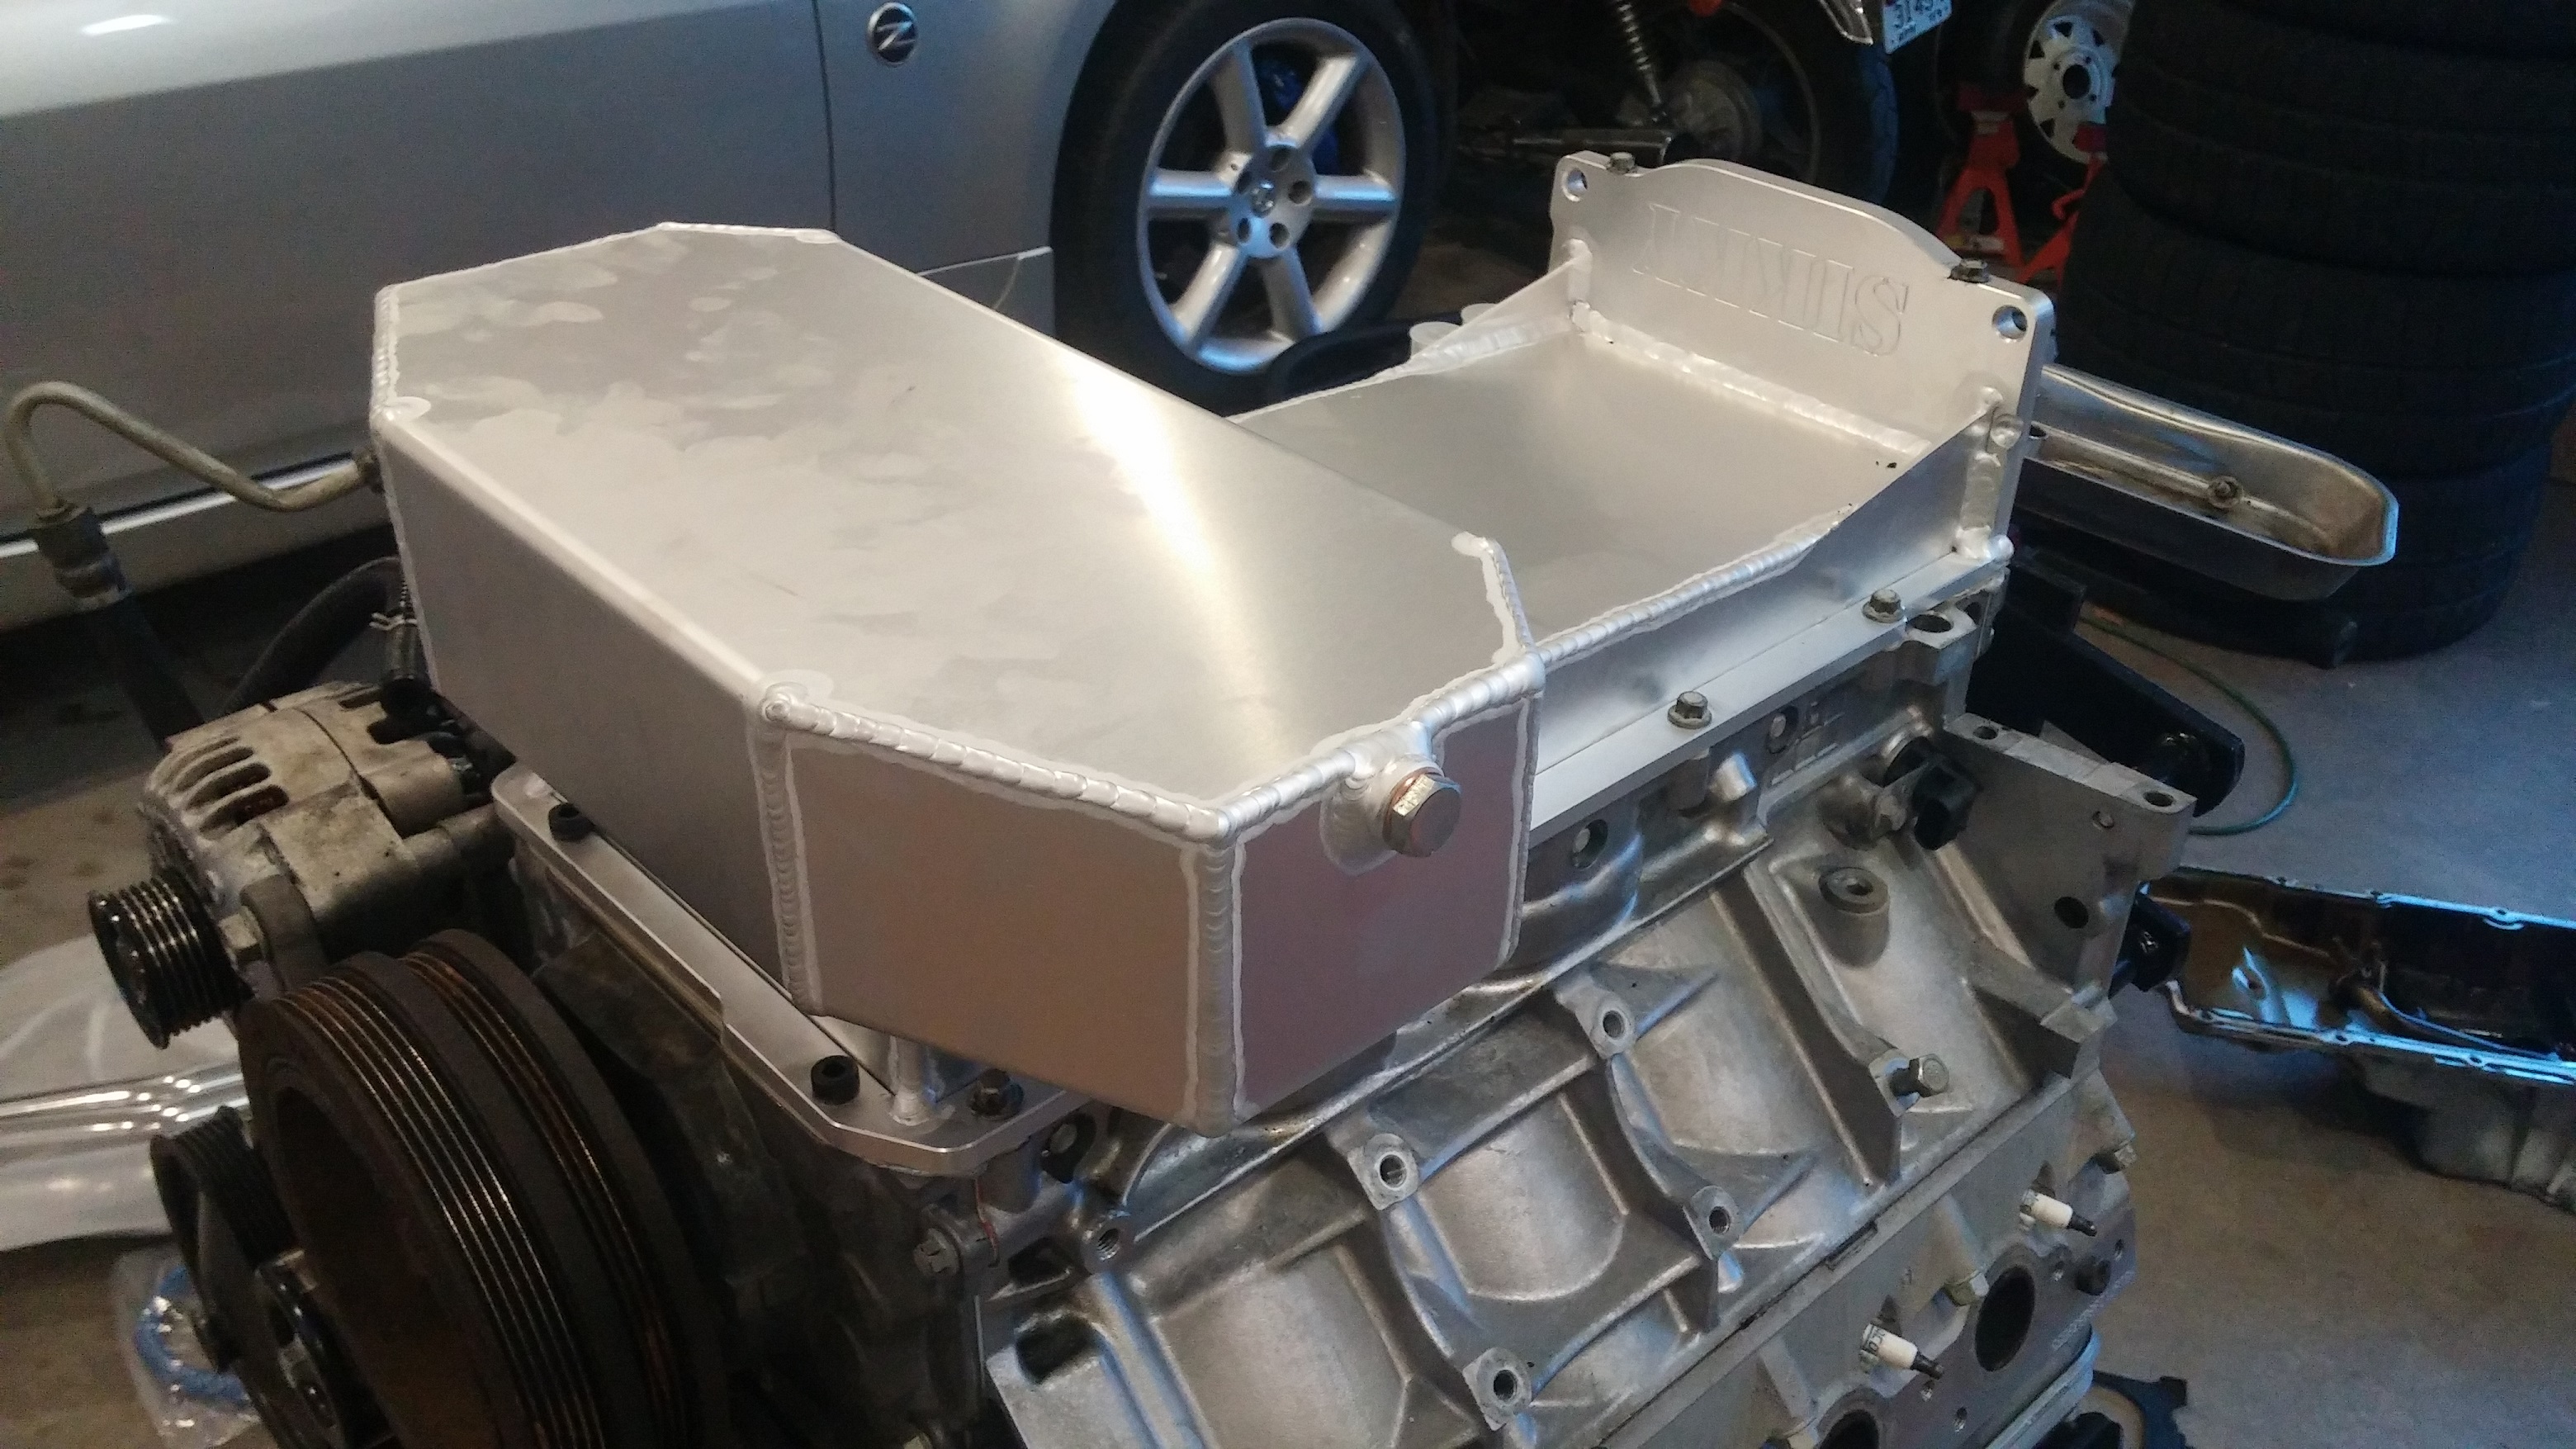
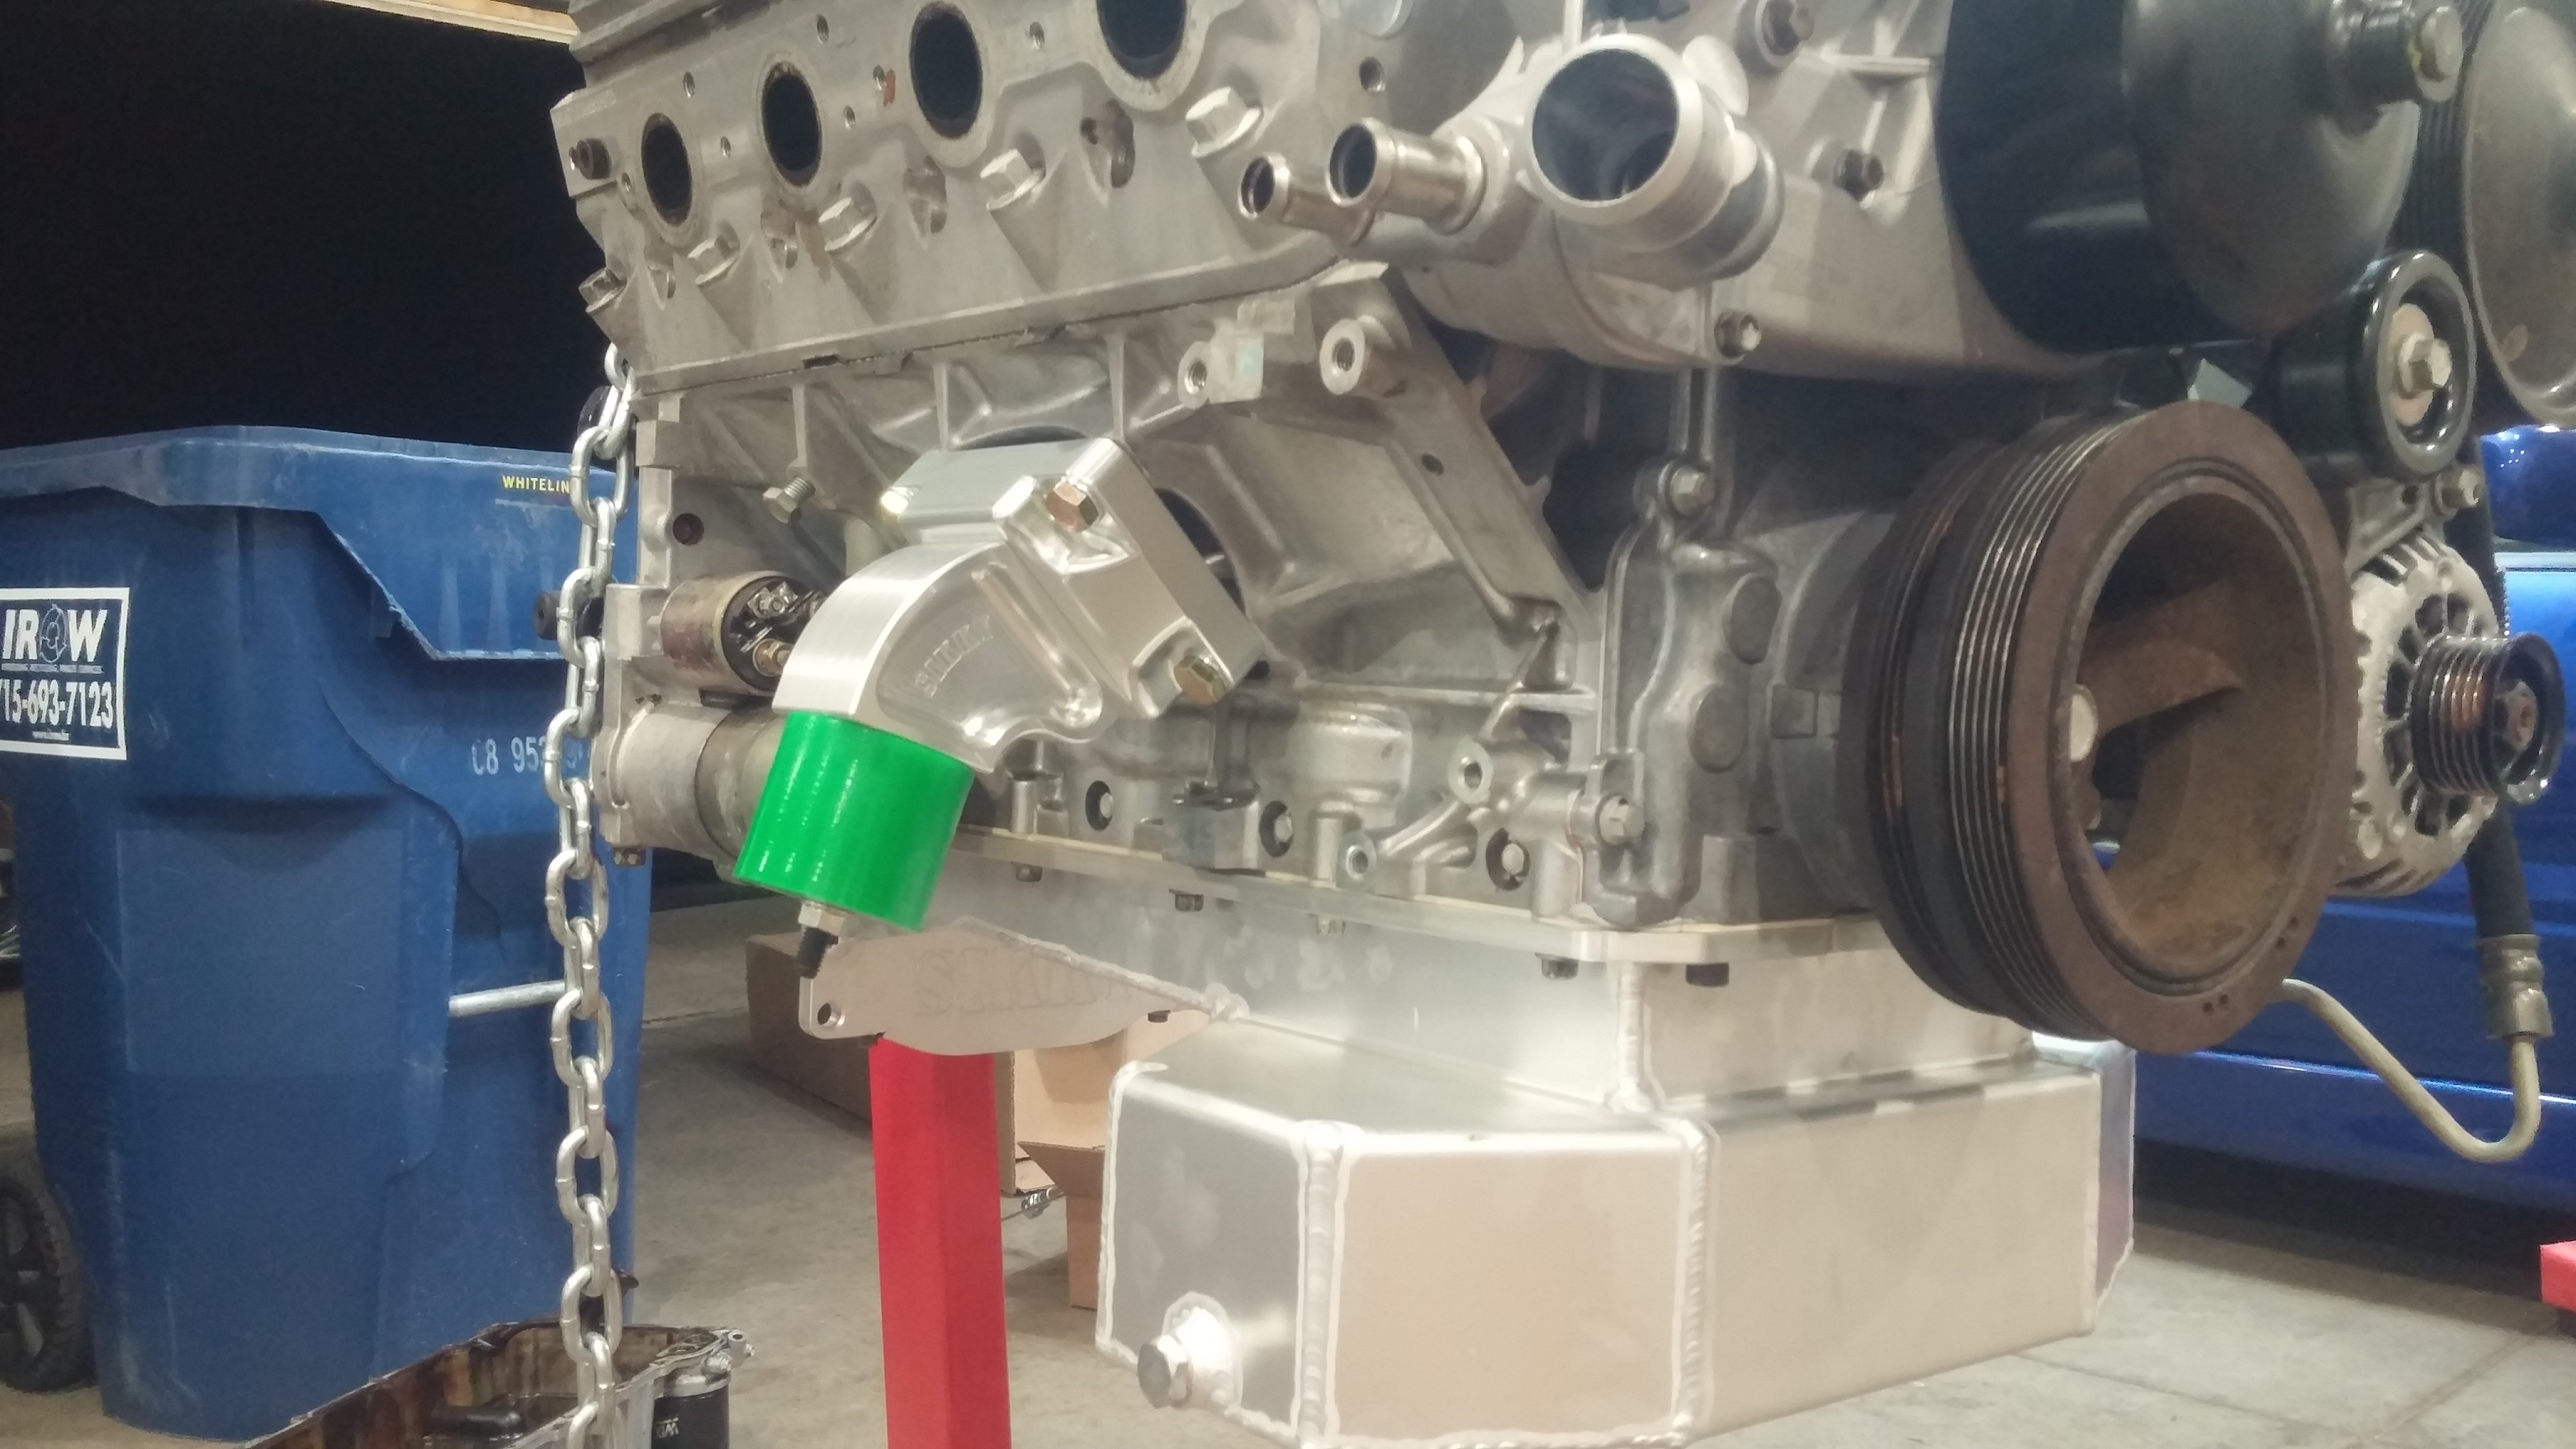
To start I prepared the motor for its new home.  This included removing the stock oil pan, a new oil pick up, custom Sikky oil pan, and custom Sikky motor mounts to start.

20150724_200056

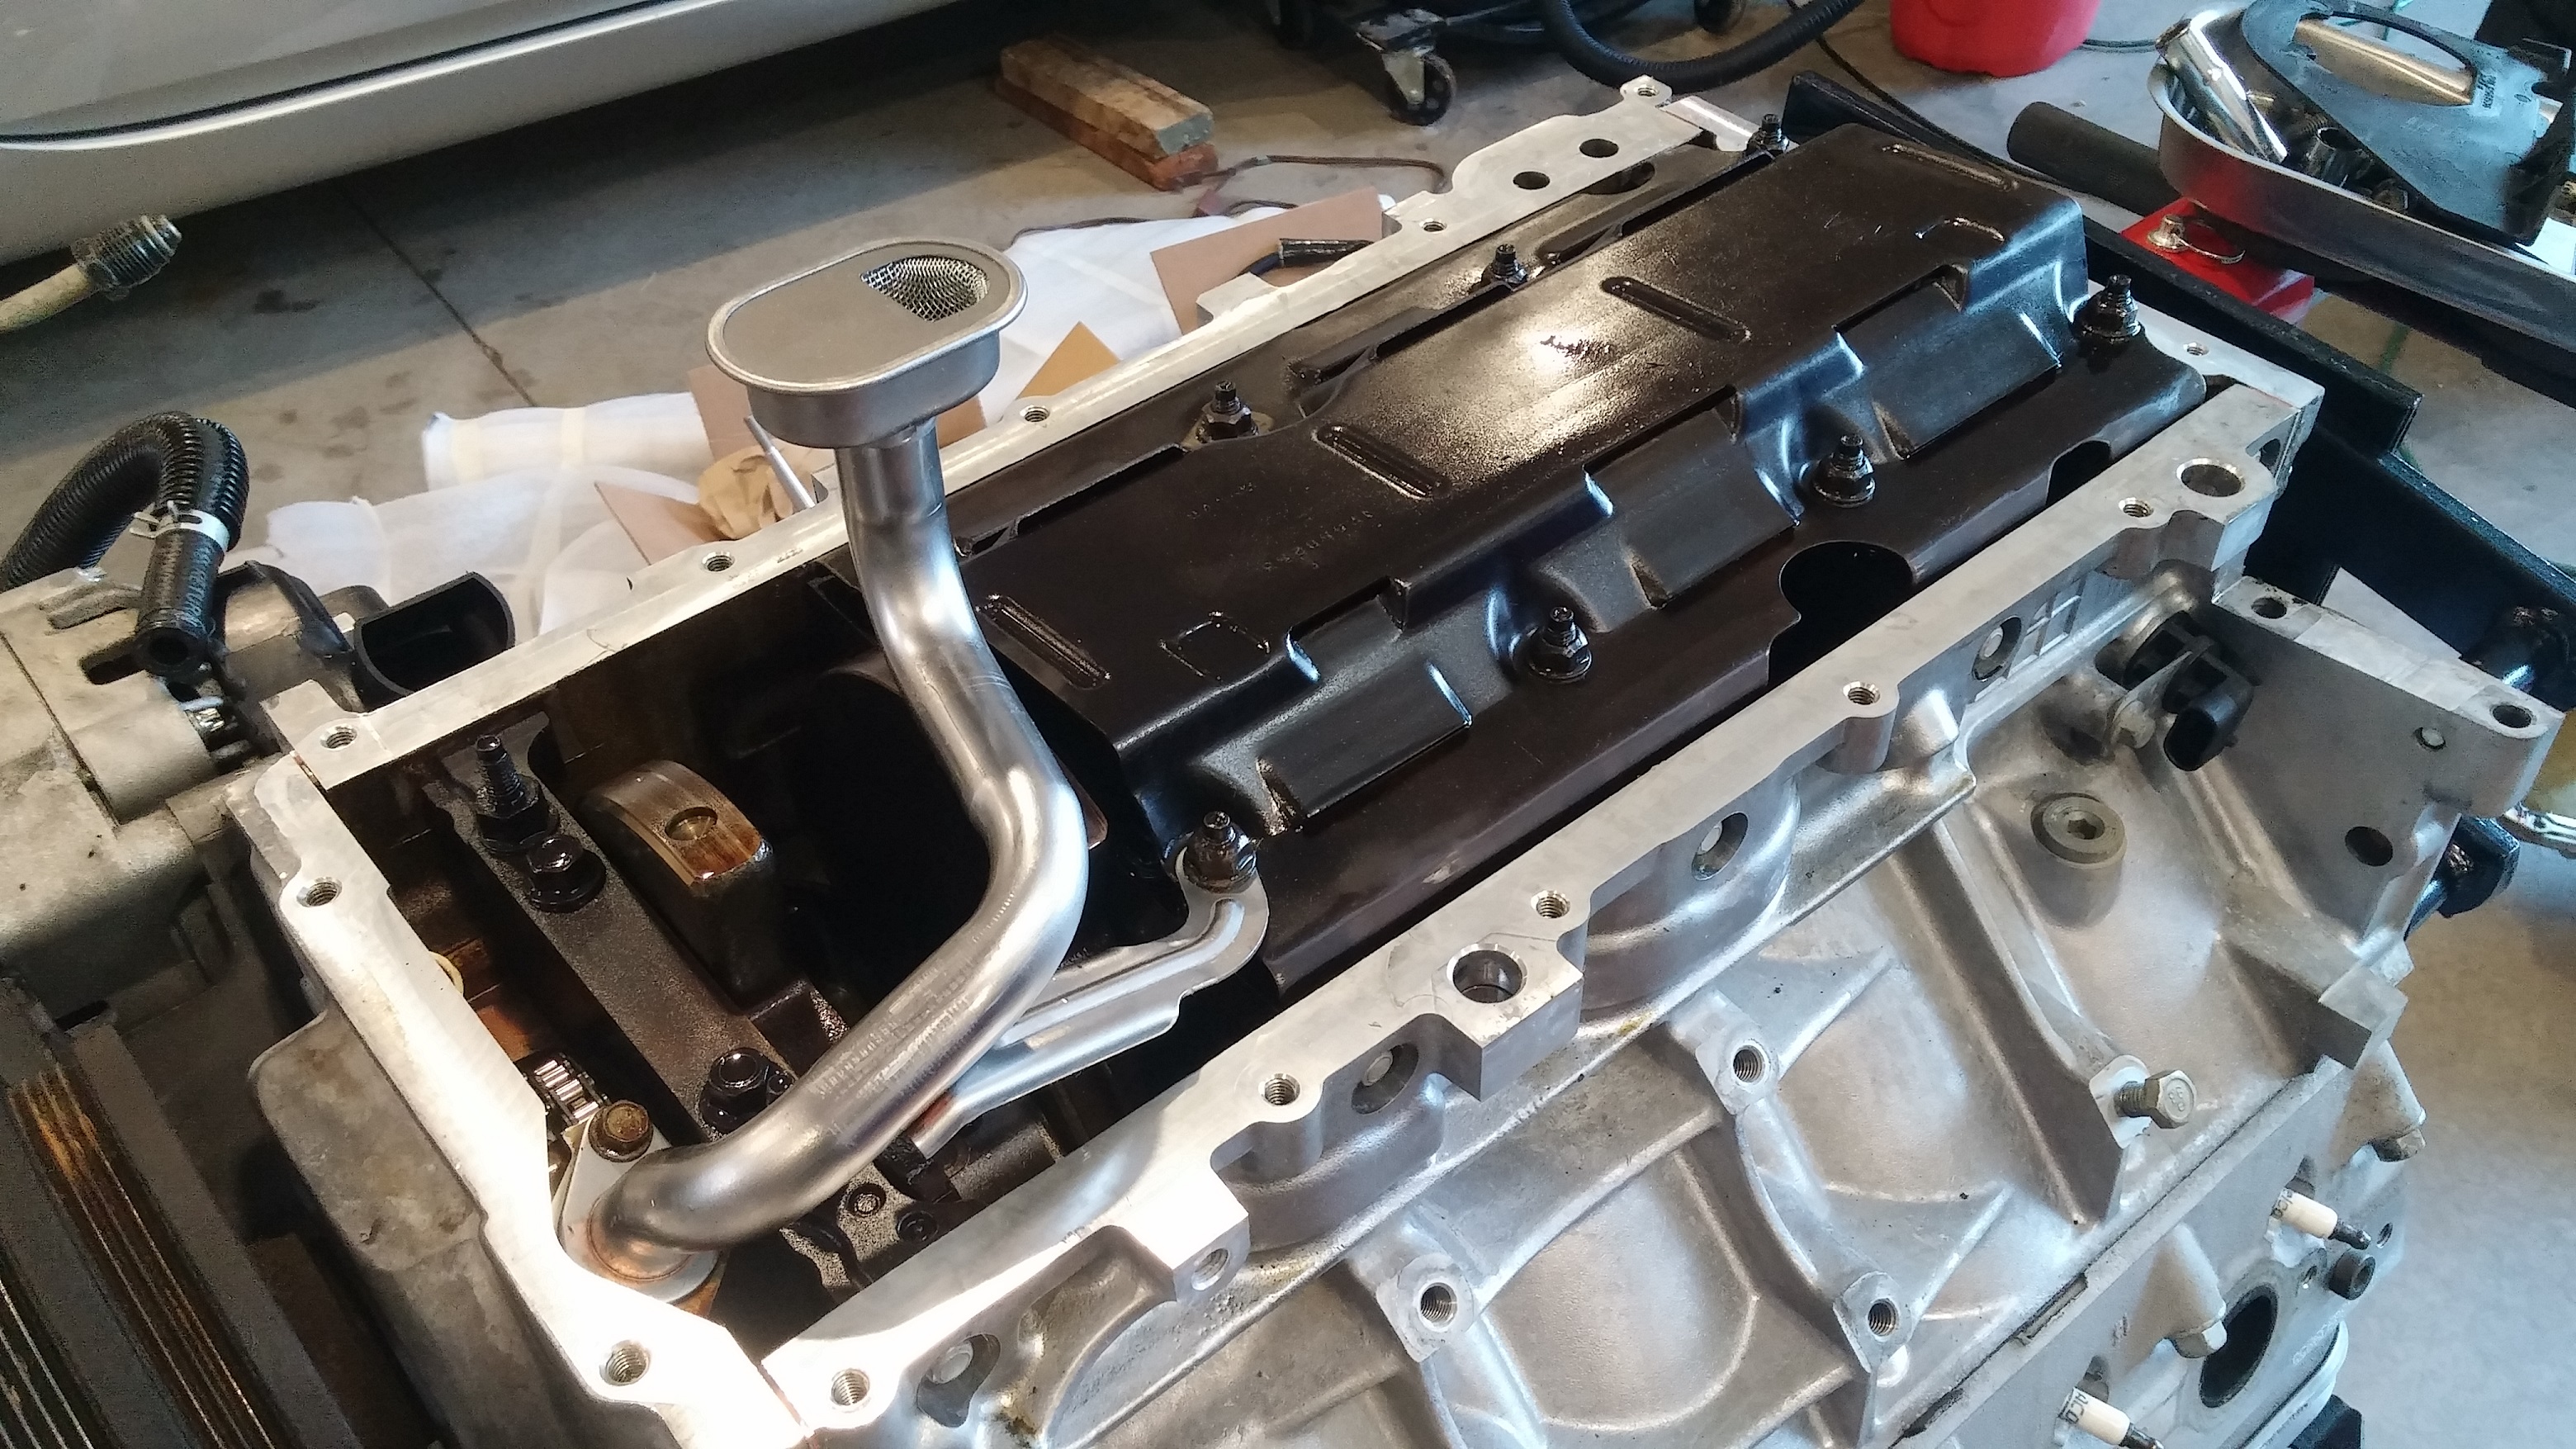
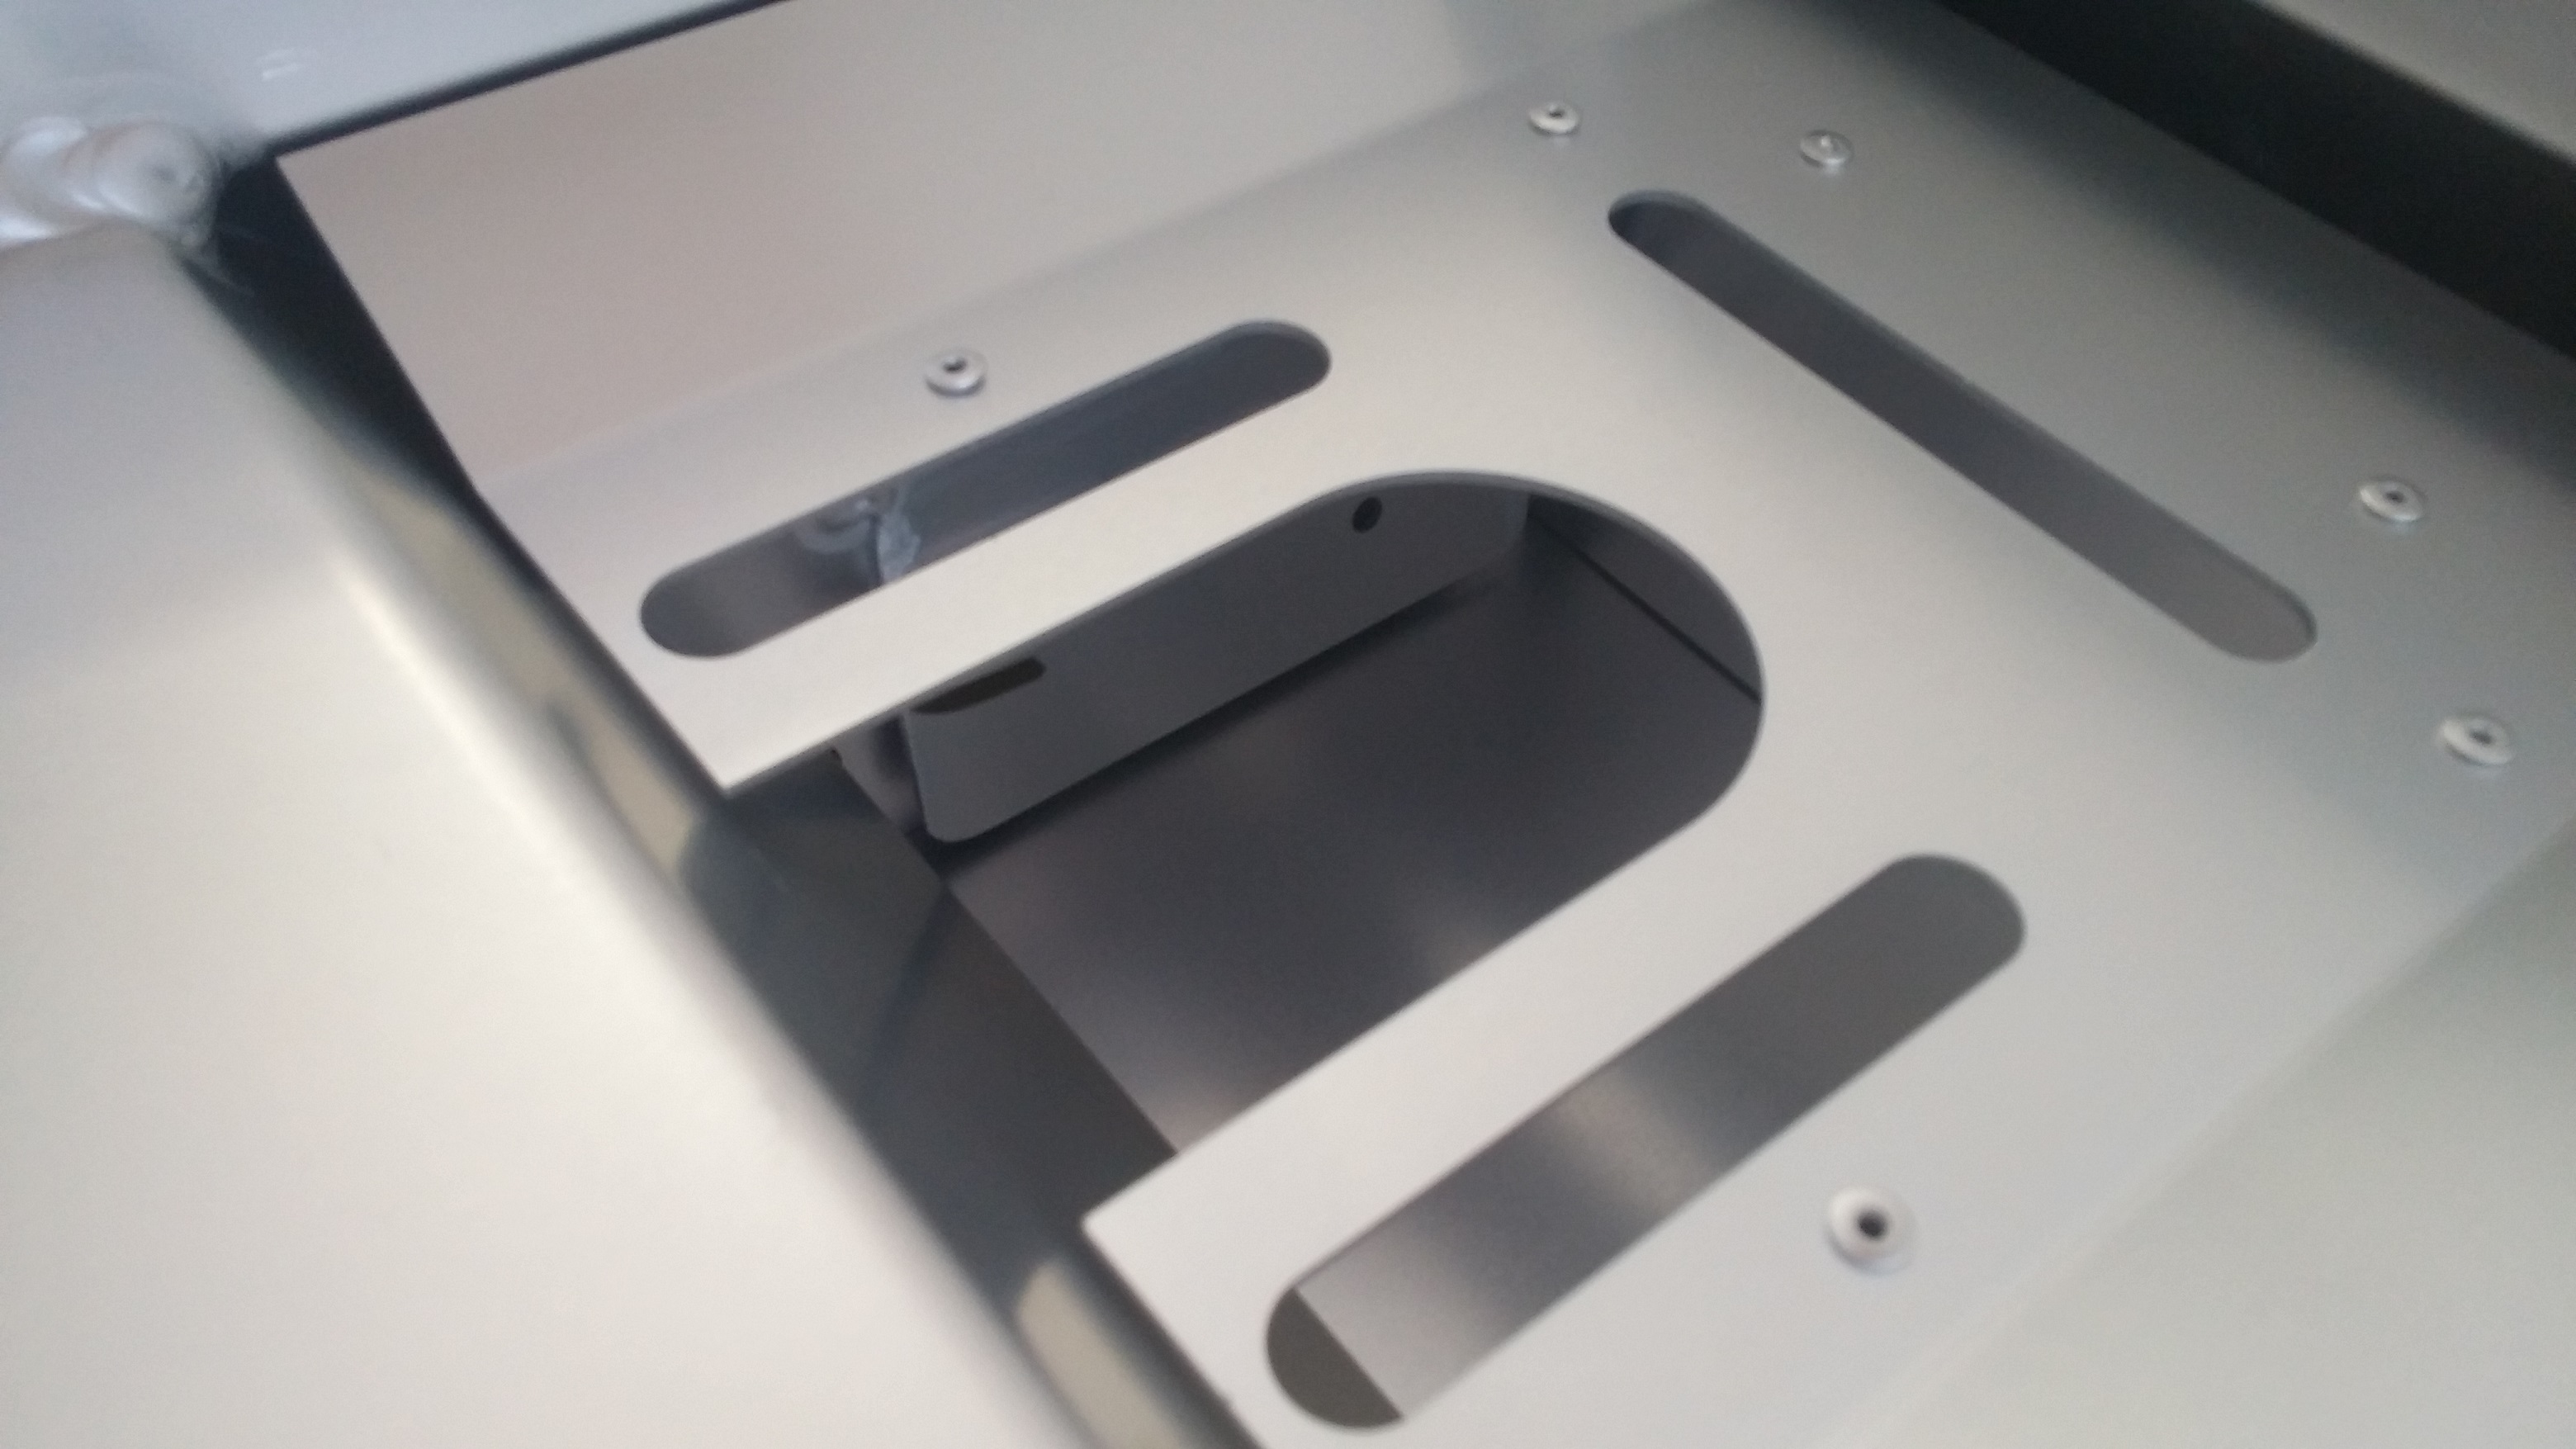
The oil pan should function as nice as it looks with the internal baffle system.

20150724_160145

20150724_202453

Megan has got her hands dirty a few times in this project.  So we know if things break what we all can say… #damnitMegan!

20150724_214032


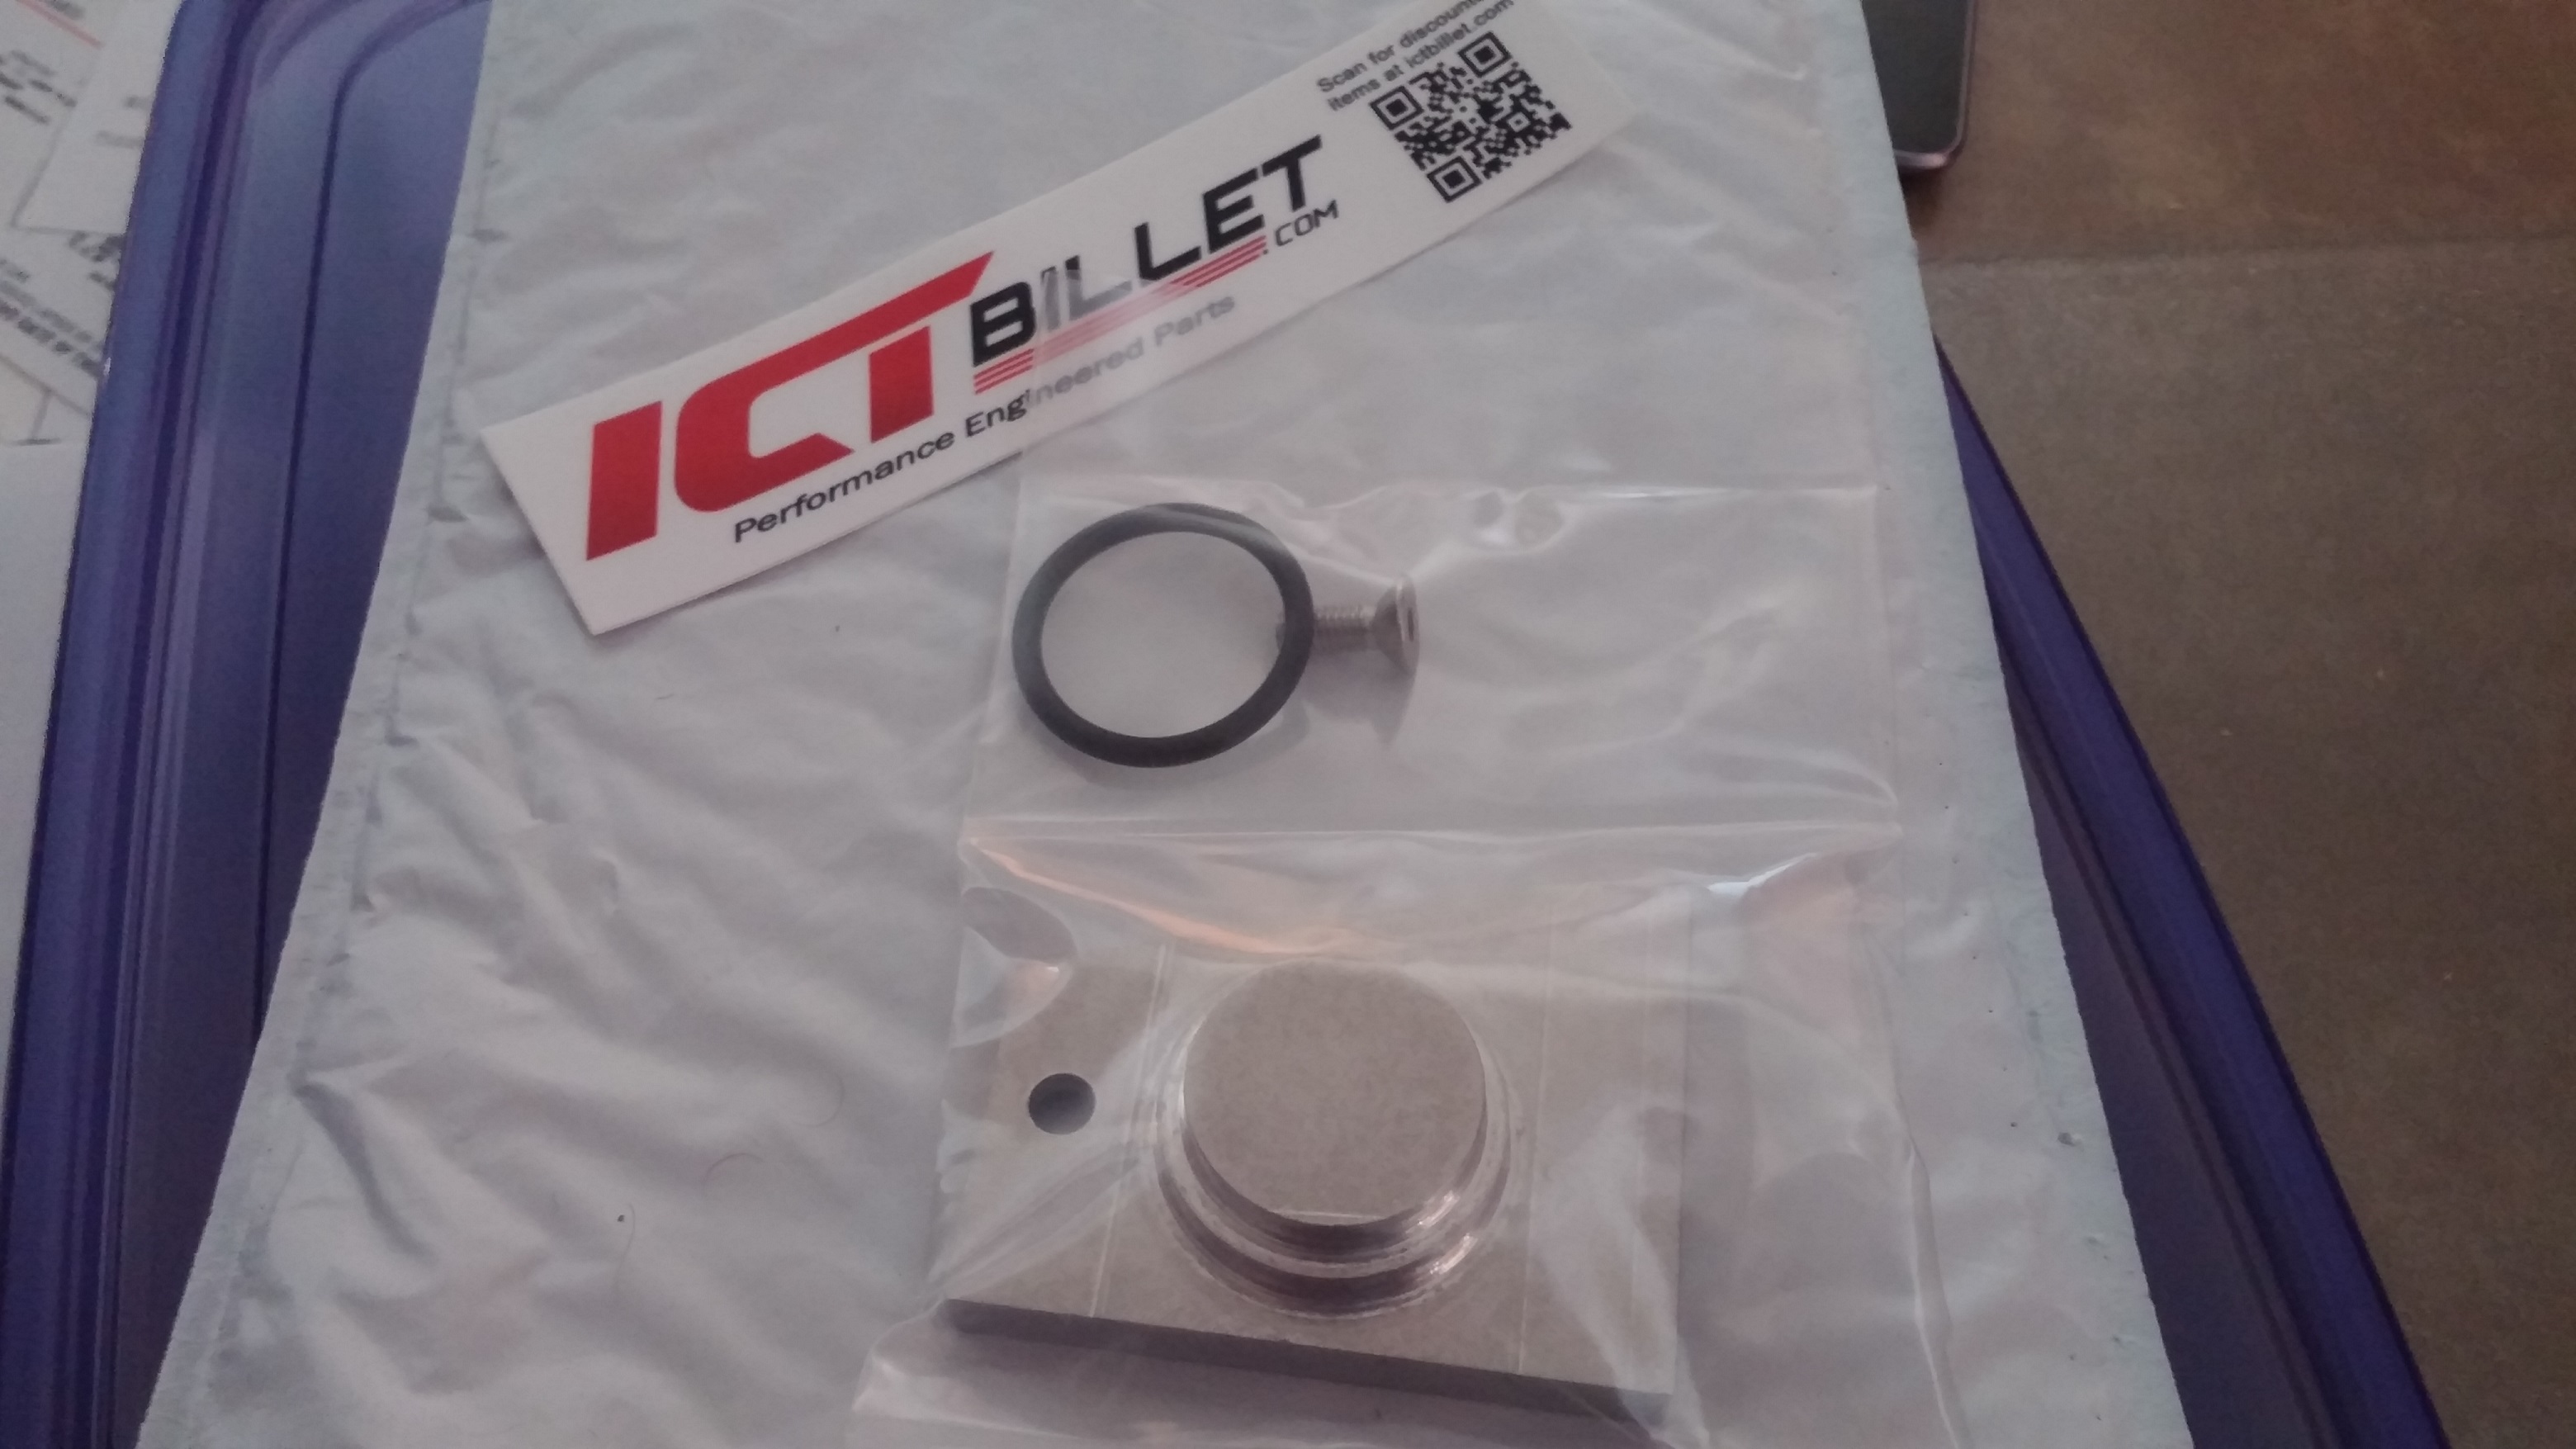
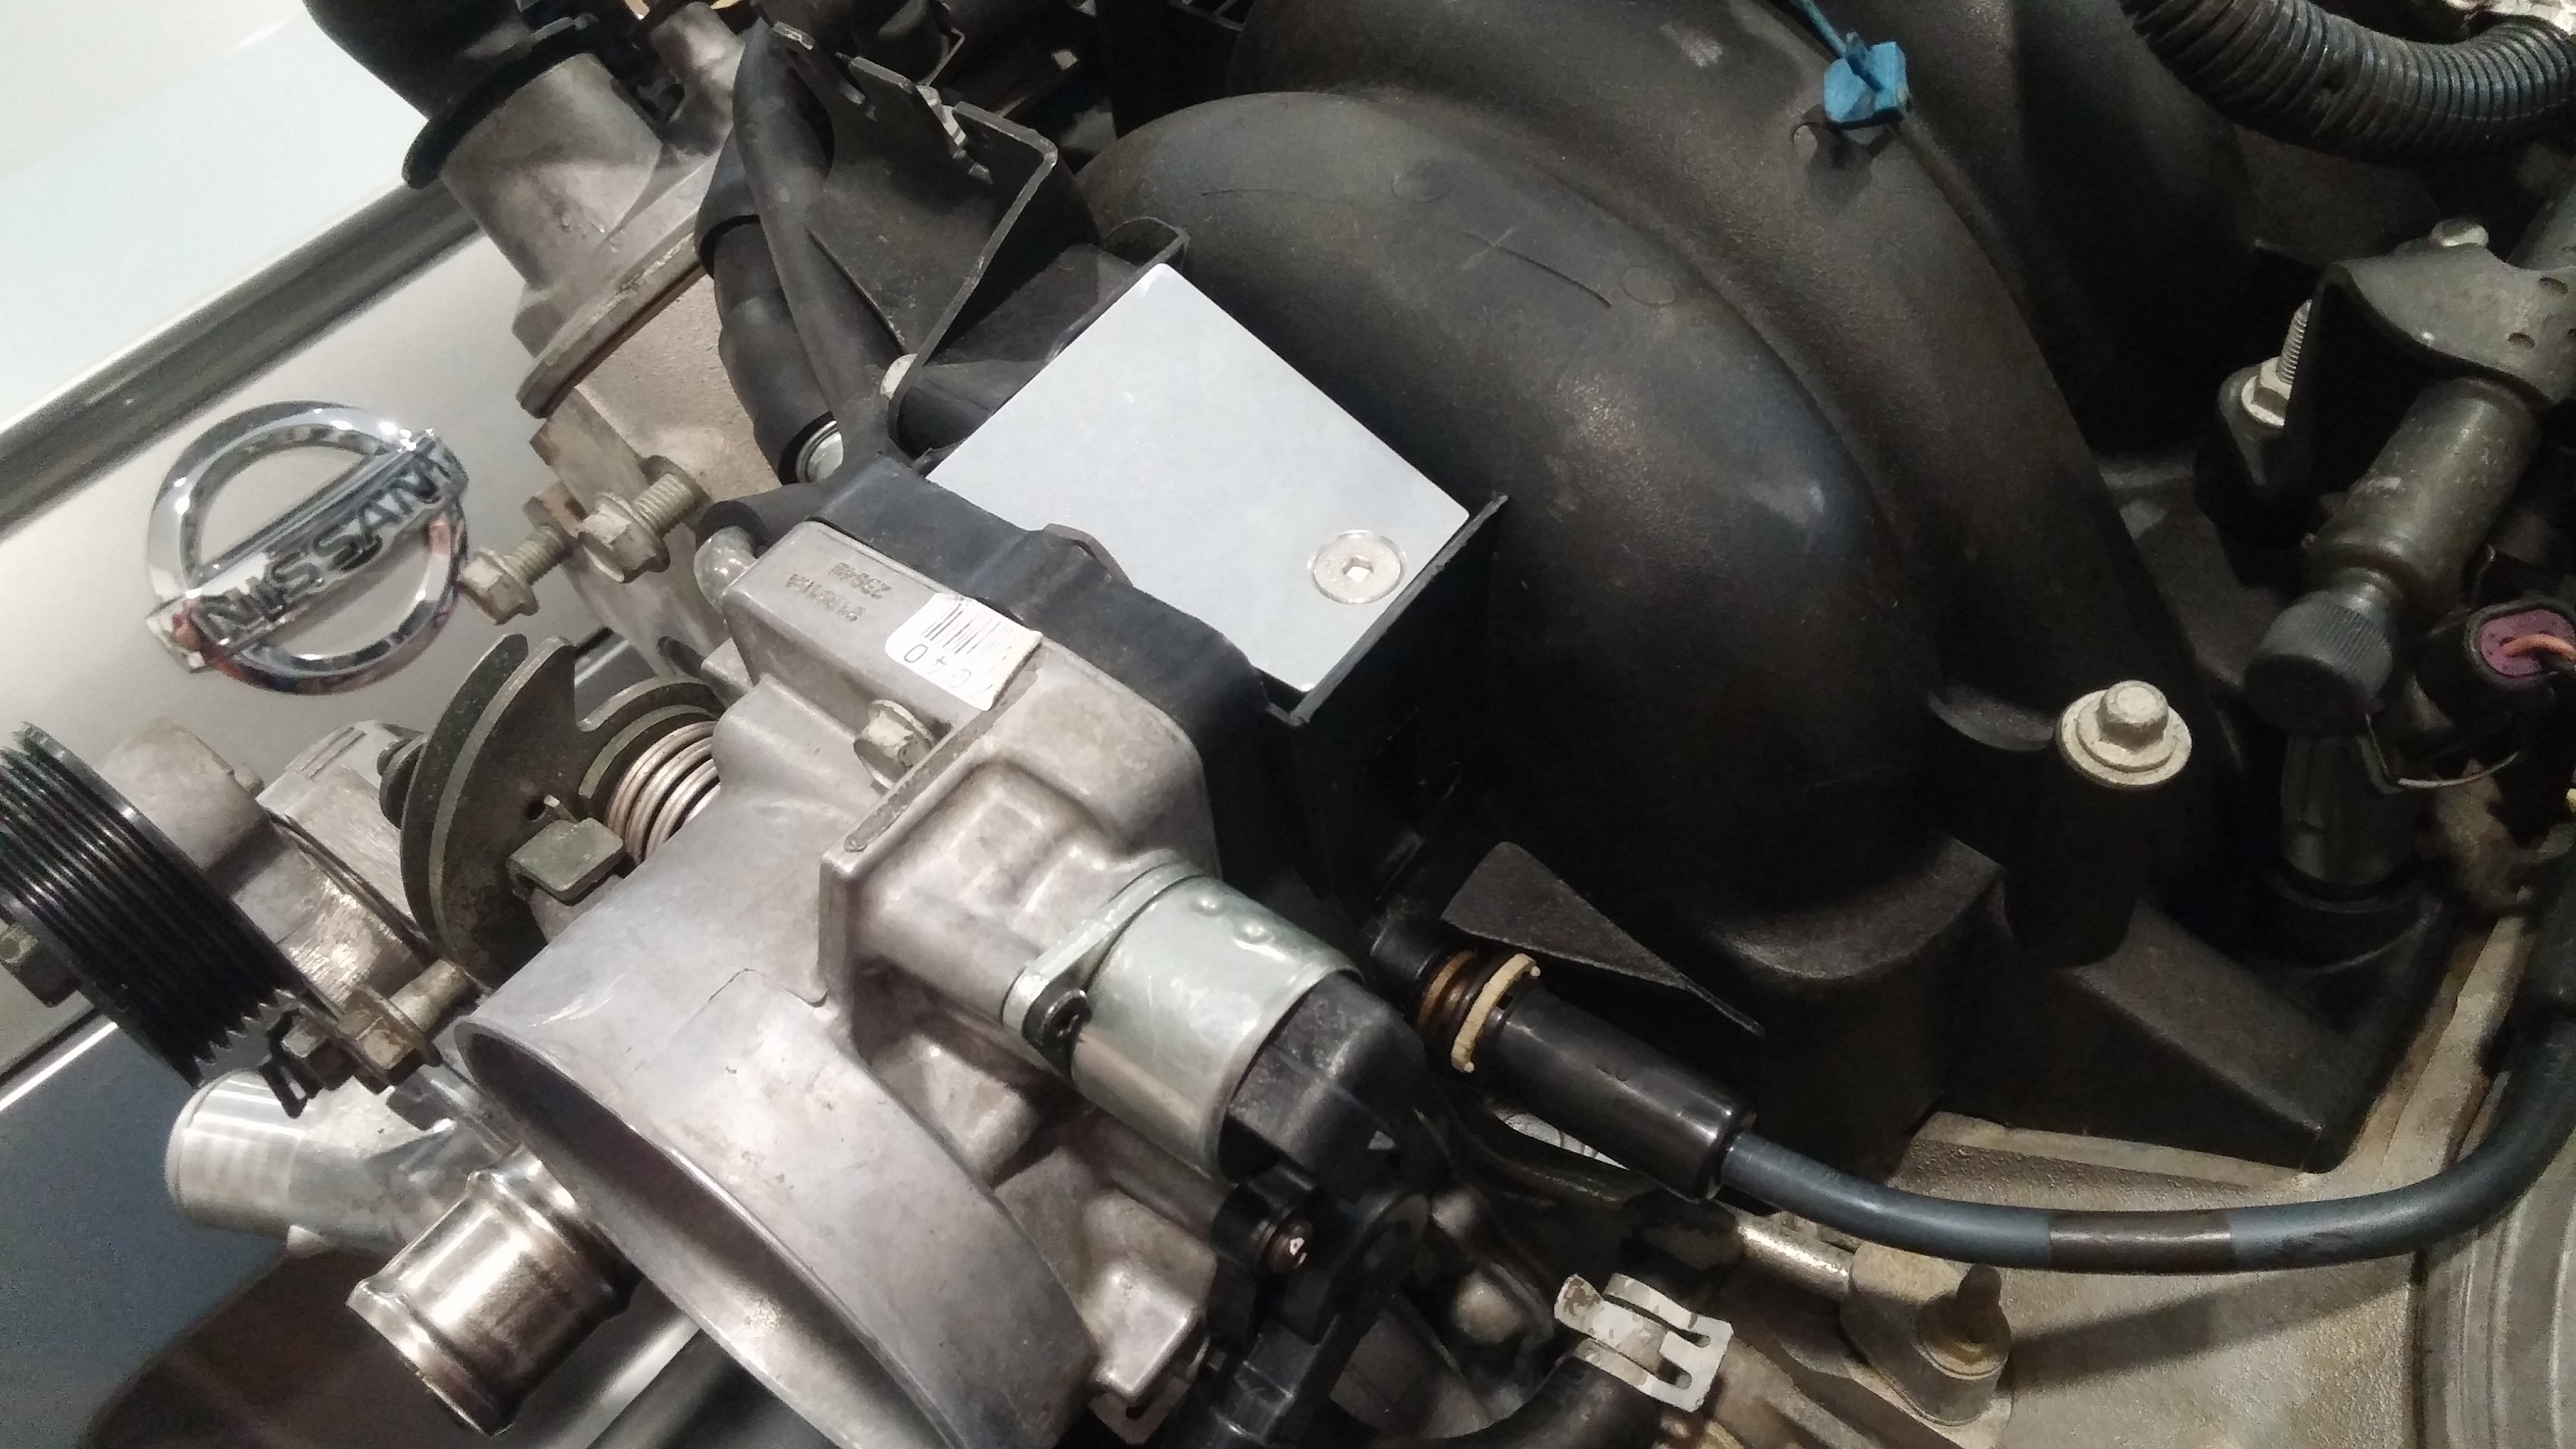
Removed the emissions/EGR system which requires the use of a block off plate.  This one was sourced from Amazon.  More billet!

20150717_161917

20150717_162518

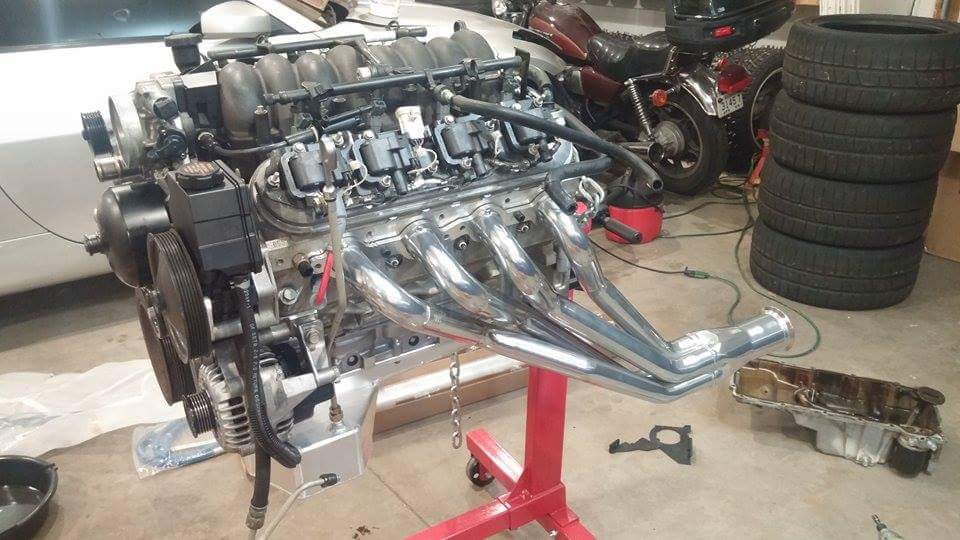
Motor prep complete! (For now)  A few things not pictured that were replaced on the motor as well were the water pump and a new thermostat.

20150724_220250


At this point, everything has gone smoothly so far on this 108k mile motor/trans purchase.  That is until I inspected the transmission/clutch assembly.  First thing I notice when I separated the transmission from the motor was the incredible amount of black, gooey, gunk everywhere inside the bell housing.  I know a lot of you are saying, “Eric, the clutch dust and dirt is normal.  You don’t have to shine up the inside of the bell housing!”  We you’re right, but this was like a black mud in every crevice in there.  Wish I had taken a picture but I didn’t, sorry.  My first thought was leaking slave cylinder.  Those of you friends with me on Facebook may remember my Z06 clutch/trans escapades.  One of the issues on there was a leaking slave cylinder.  Anyone that knows T56 knows that this slave cylinder is the worst design ever.  So word of advice to anyone with a T56 transmission:  If you have the transmission out of the car replace your slave cylinder whether you think you need to or not.  These fail constantly.  For $75 or whatever they are, just do it.  You’ll thank me later.  The one in the car was in rough shape for sure.  I unbolted it from the transmission and out pours a few ounces of red transmission fluid…umm…what?  Well we found where this black muck was coming from.  Transmission fluid mixed with clutch dust.  Yum.

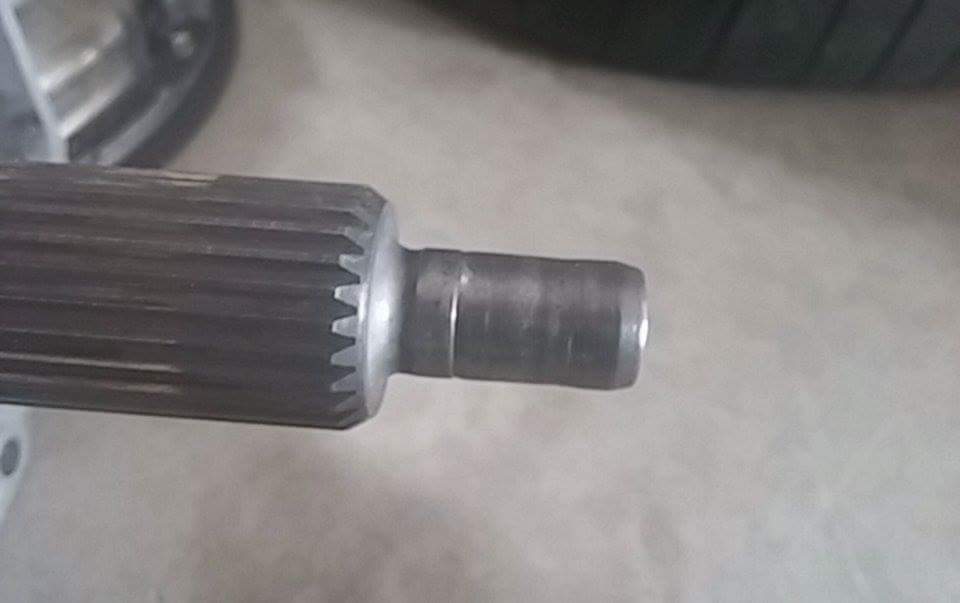
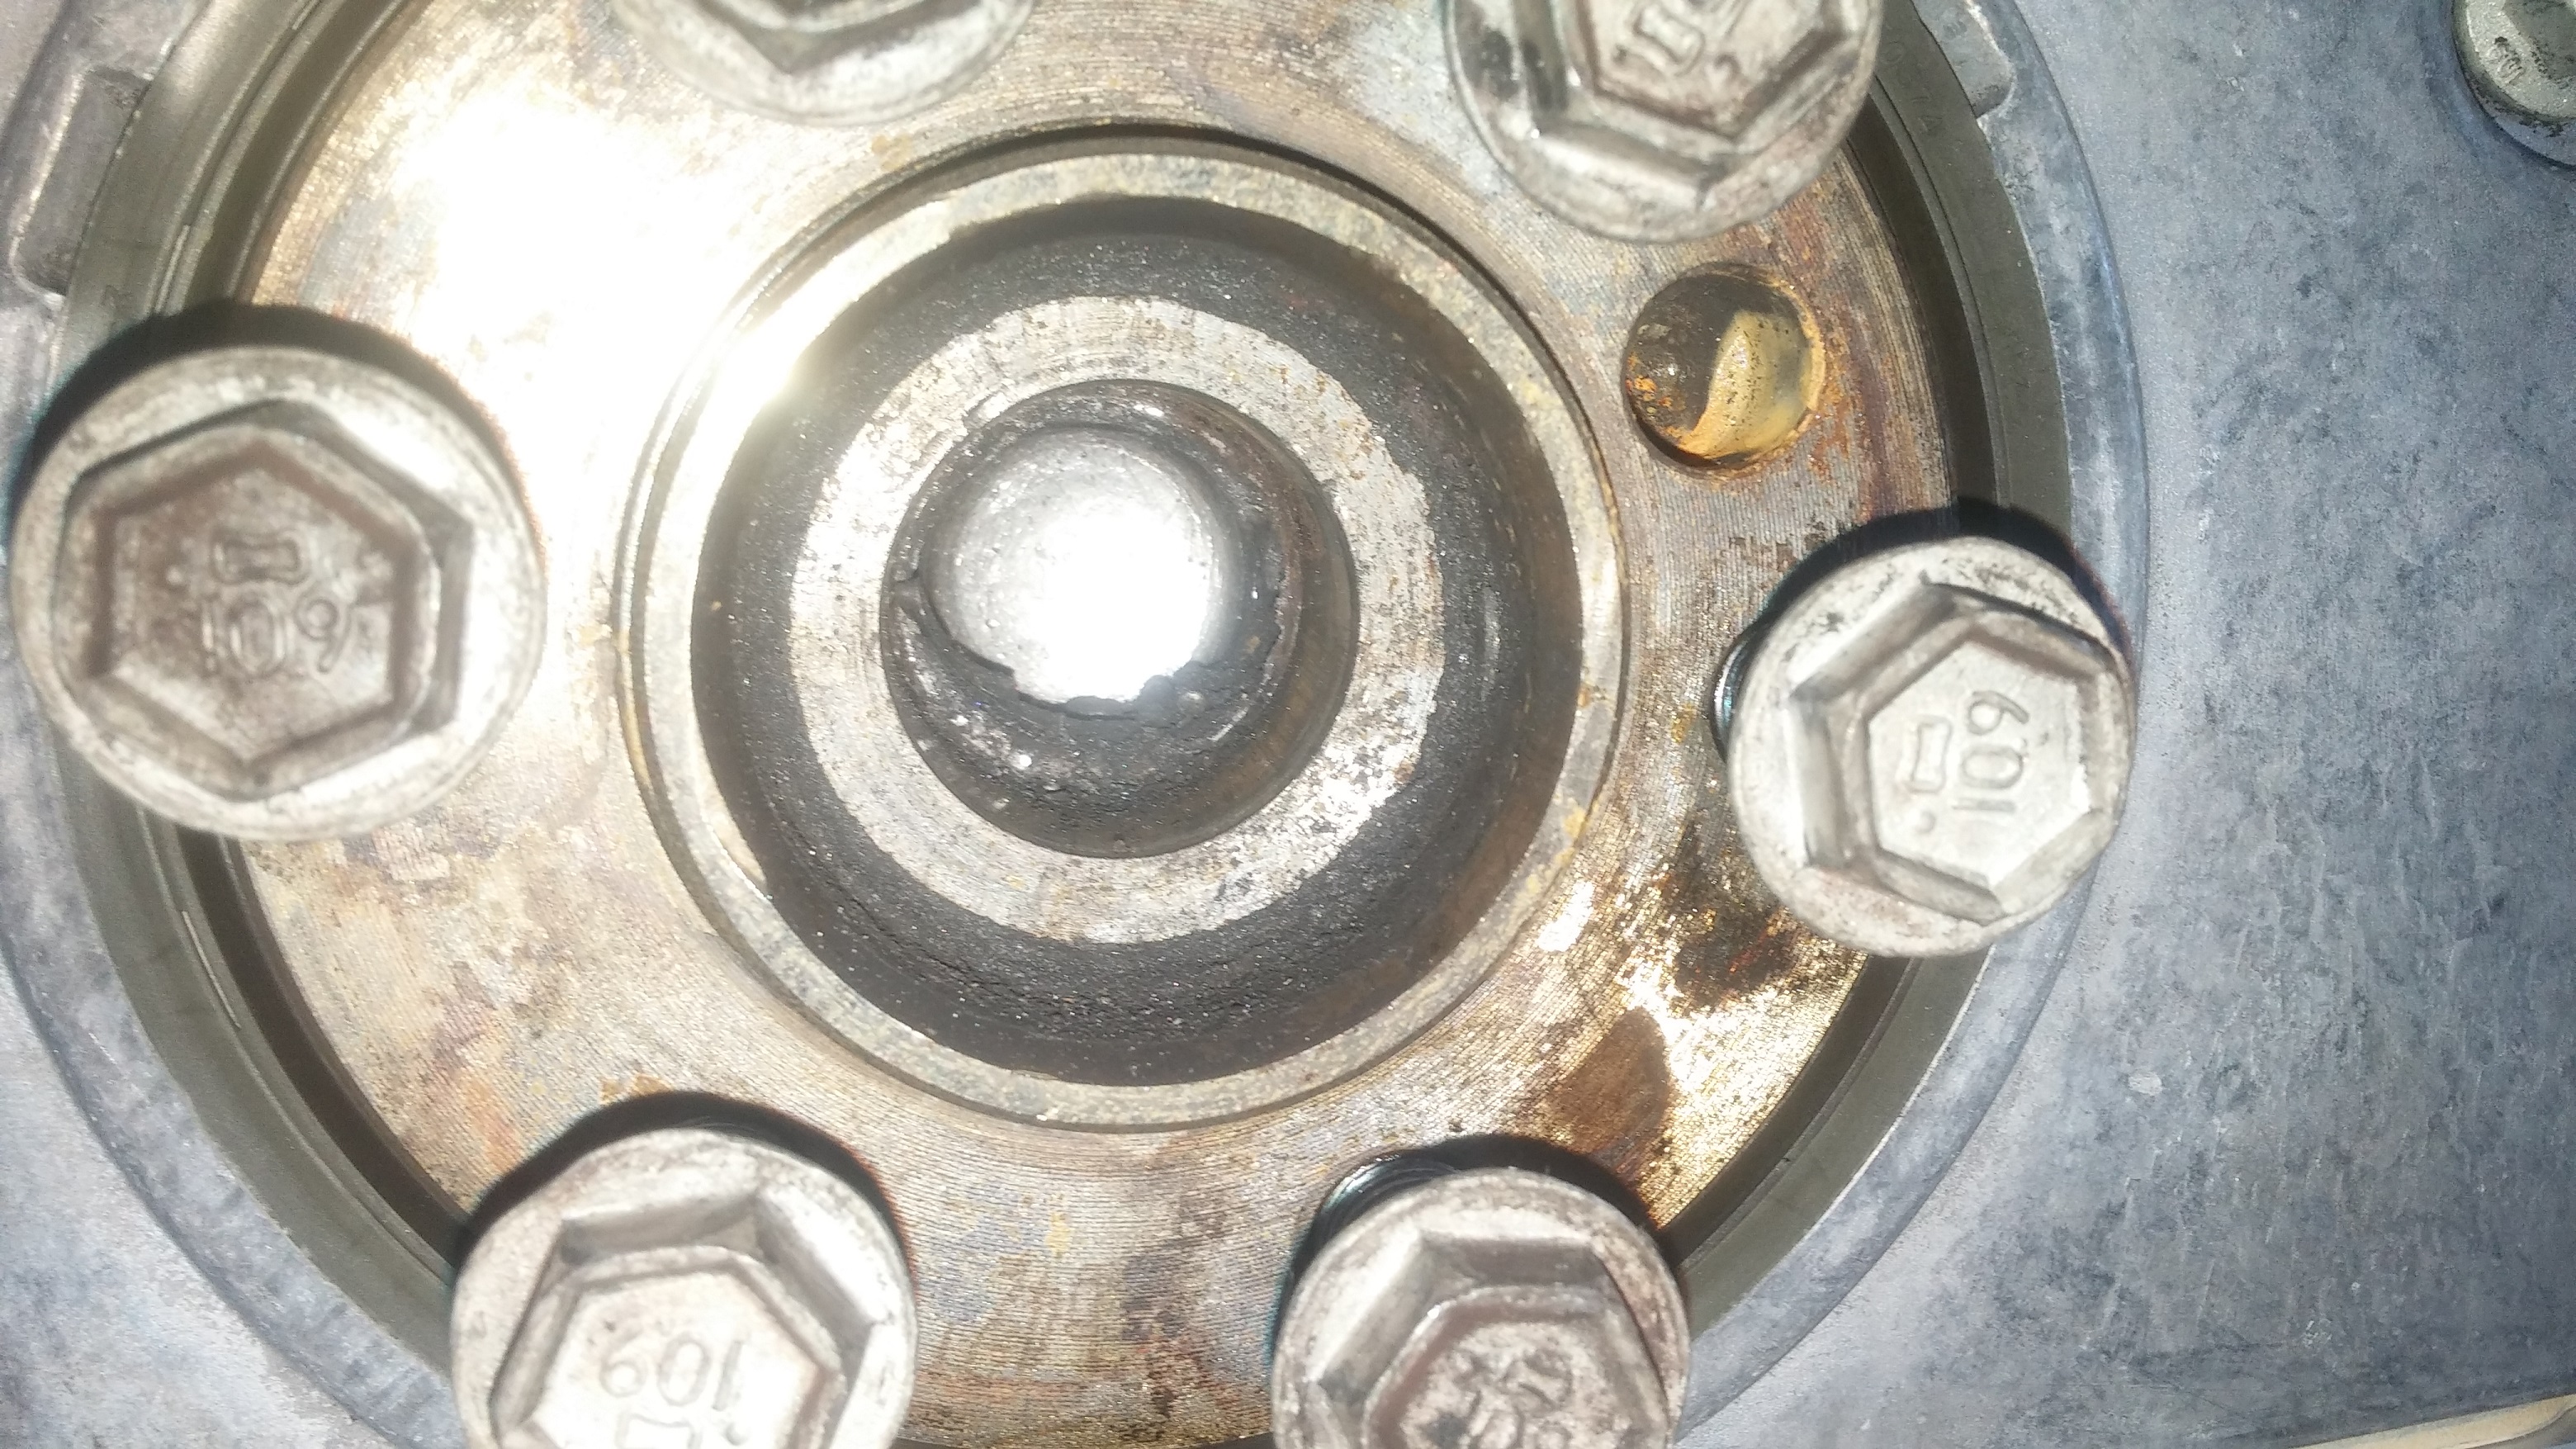
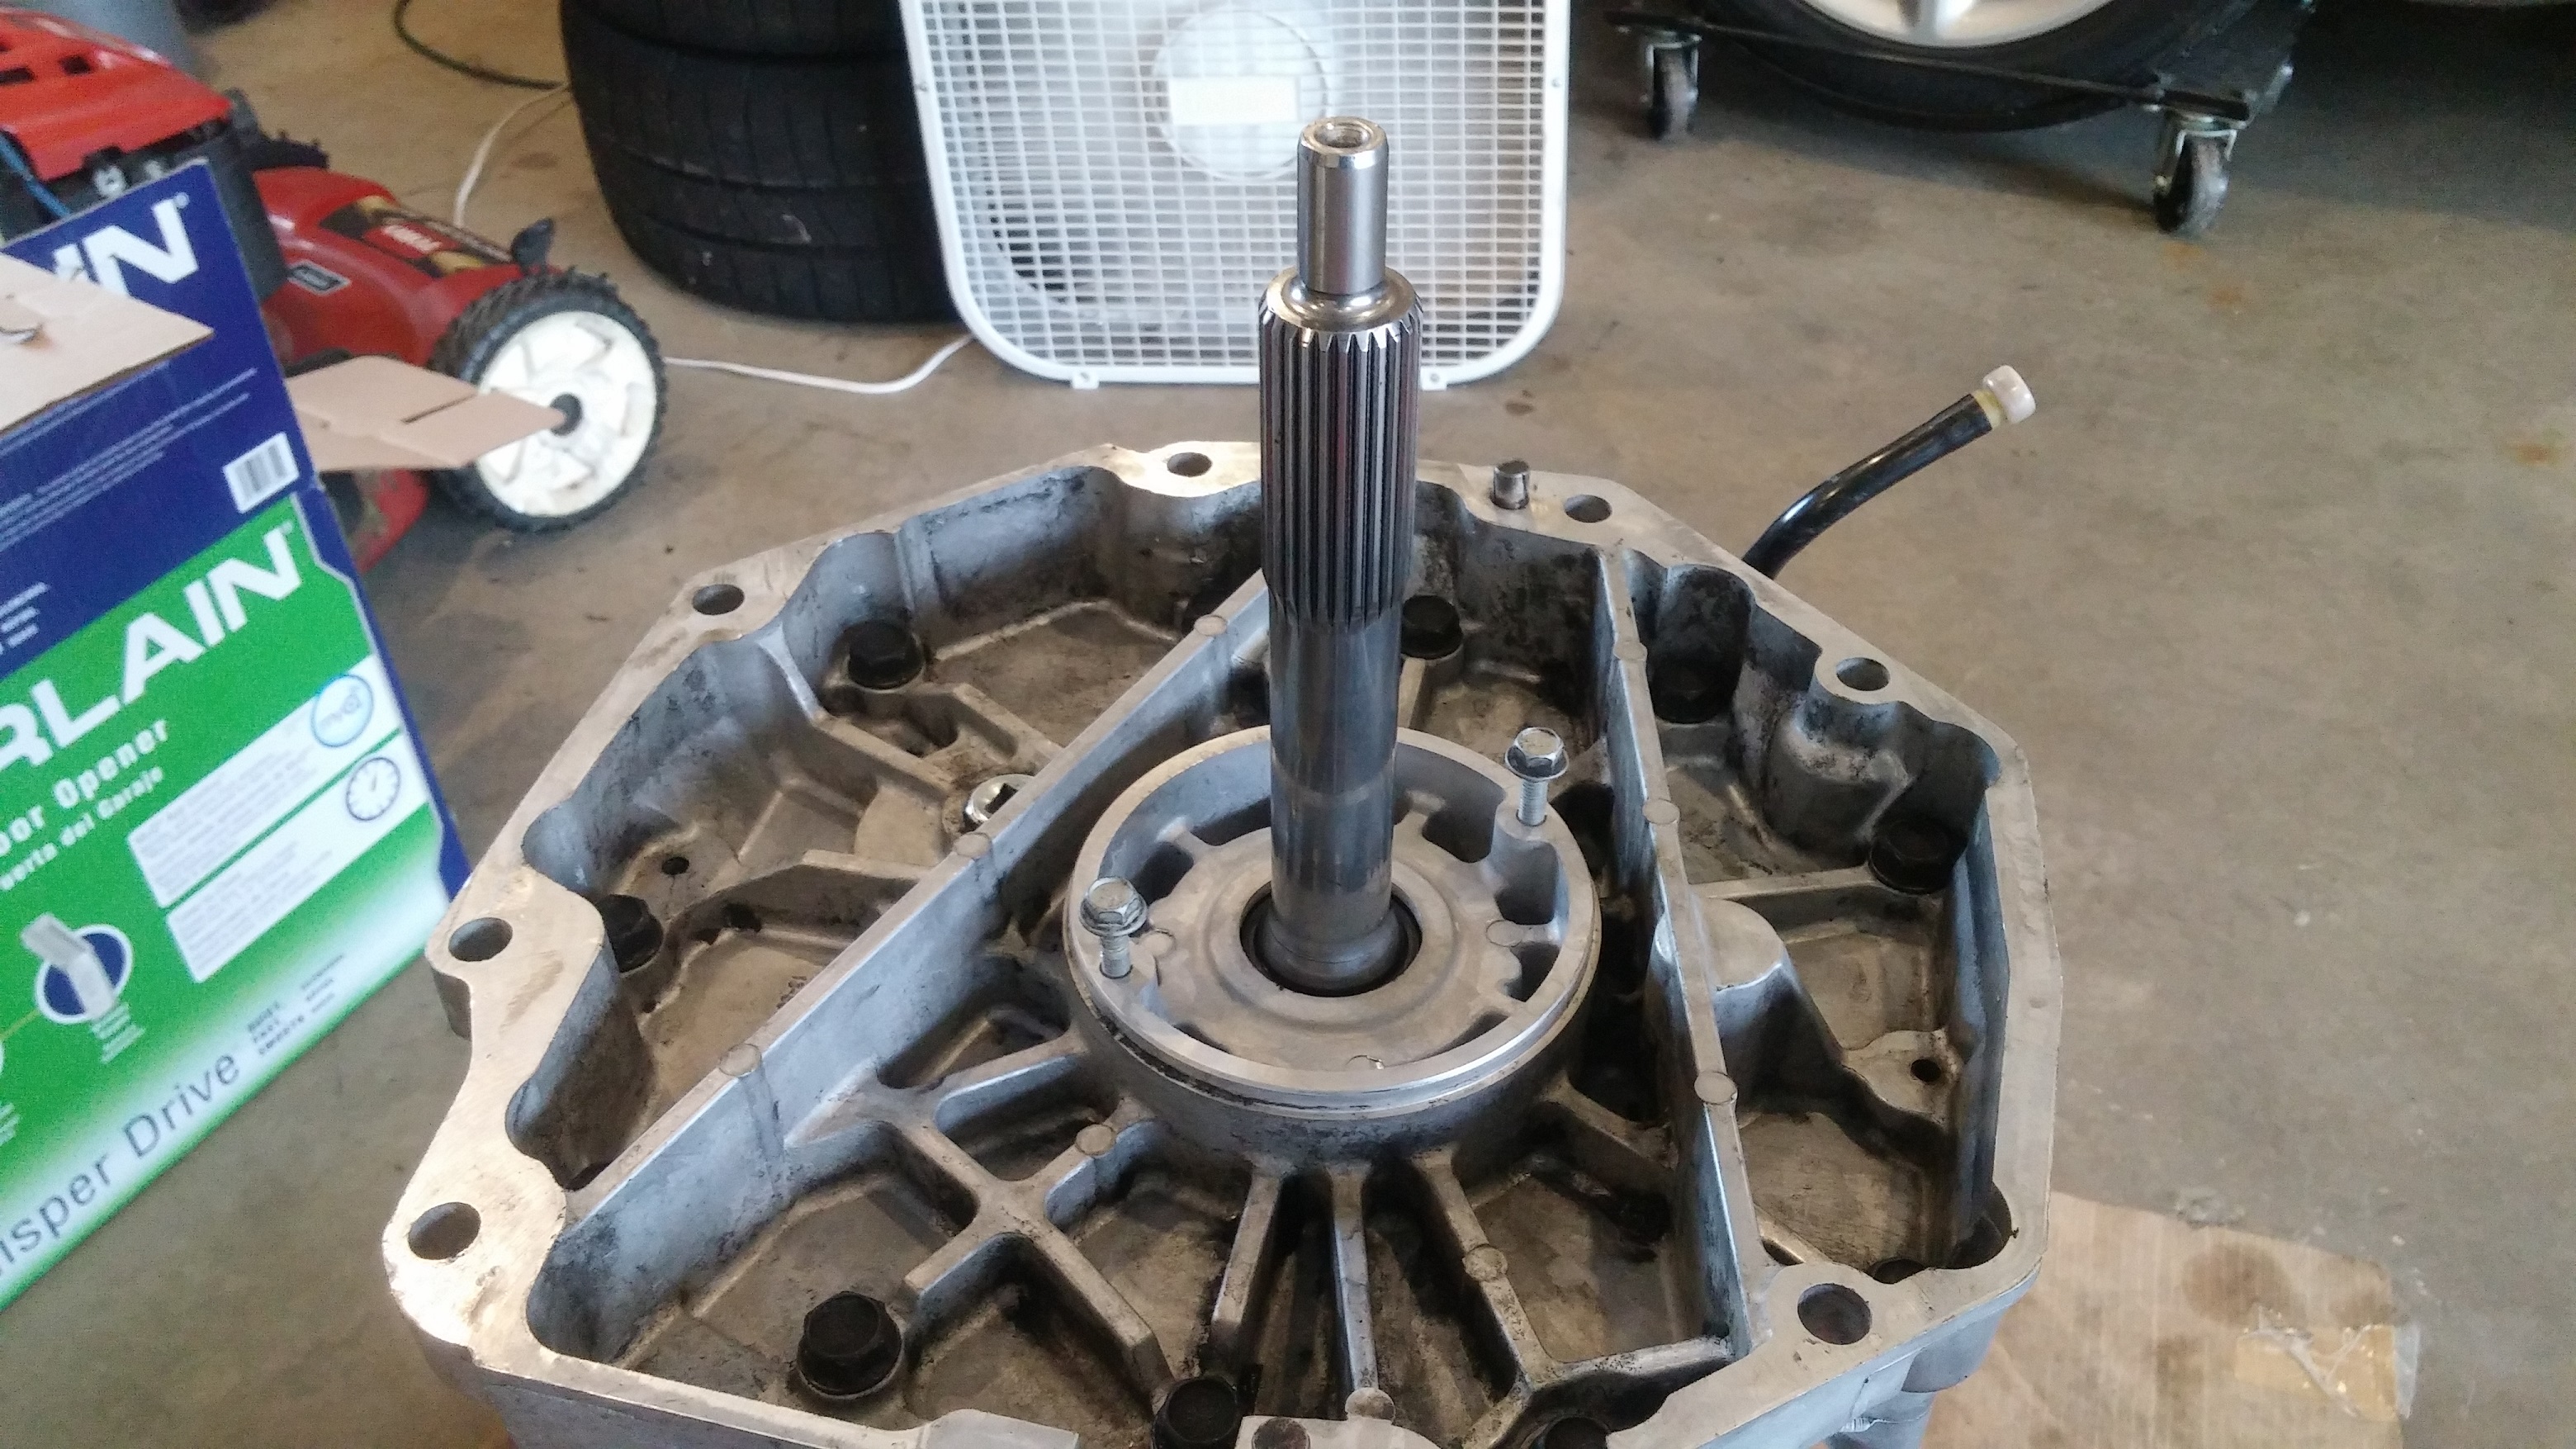
Now I need to figure out why this is happening.  Was it just the input shaft seal?  What else could be the problem?  First sign of something bad happening was this.  This is the part of the input shaft that slides into the bearing in the crank.  Not good.

received_10100725692919222

The input shaft also had more than a fair amount of play to it side to side.  Some is normal, but this was beyond that.  So at this point, we know the pilot bearing in the crank shaft is shot.  Lets take it out and see how bad it is.  Please, please, please be something left so it didnt wreck the crank.

20150725_105830

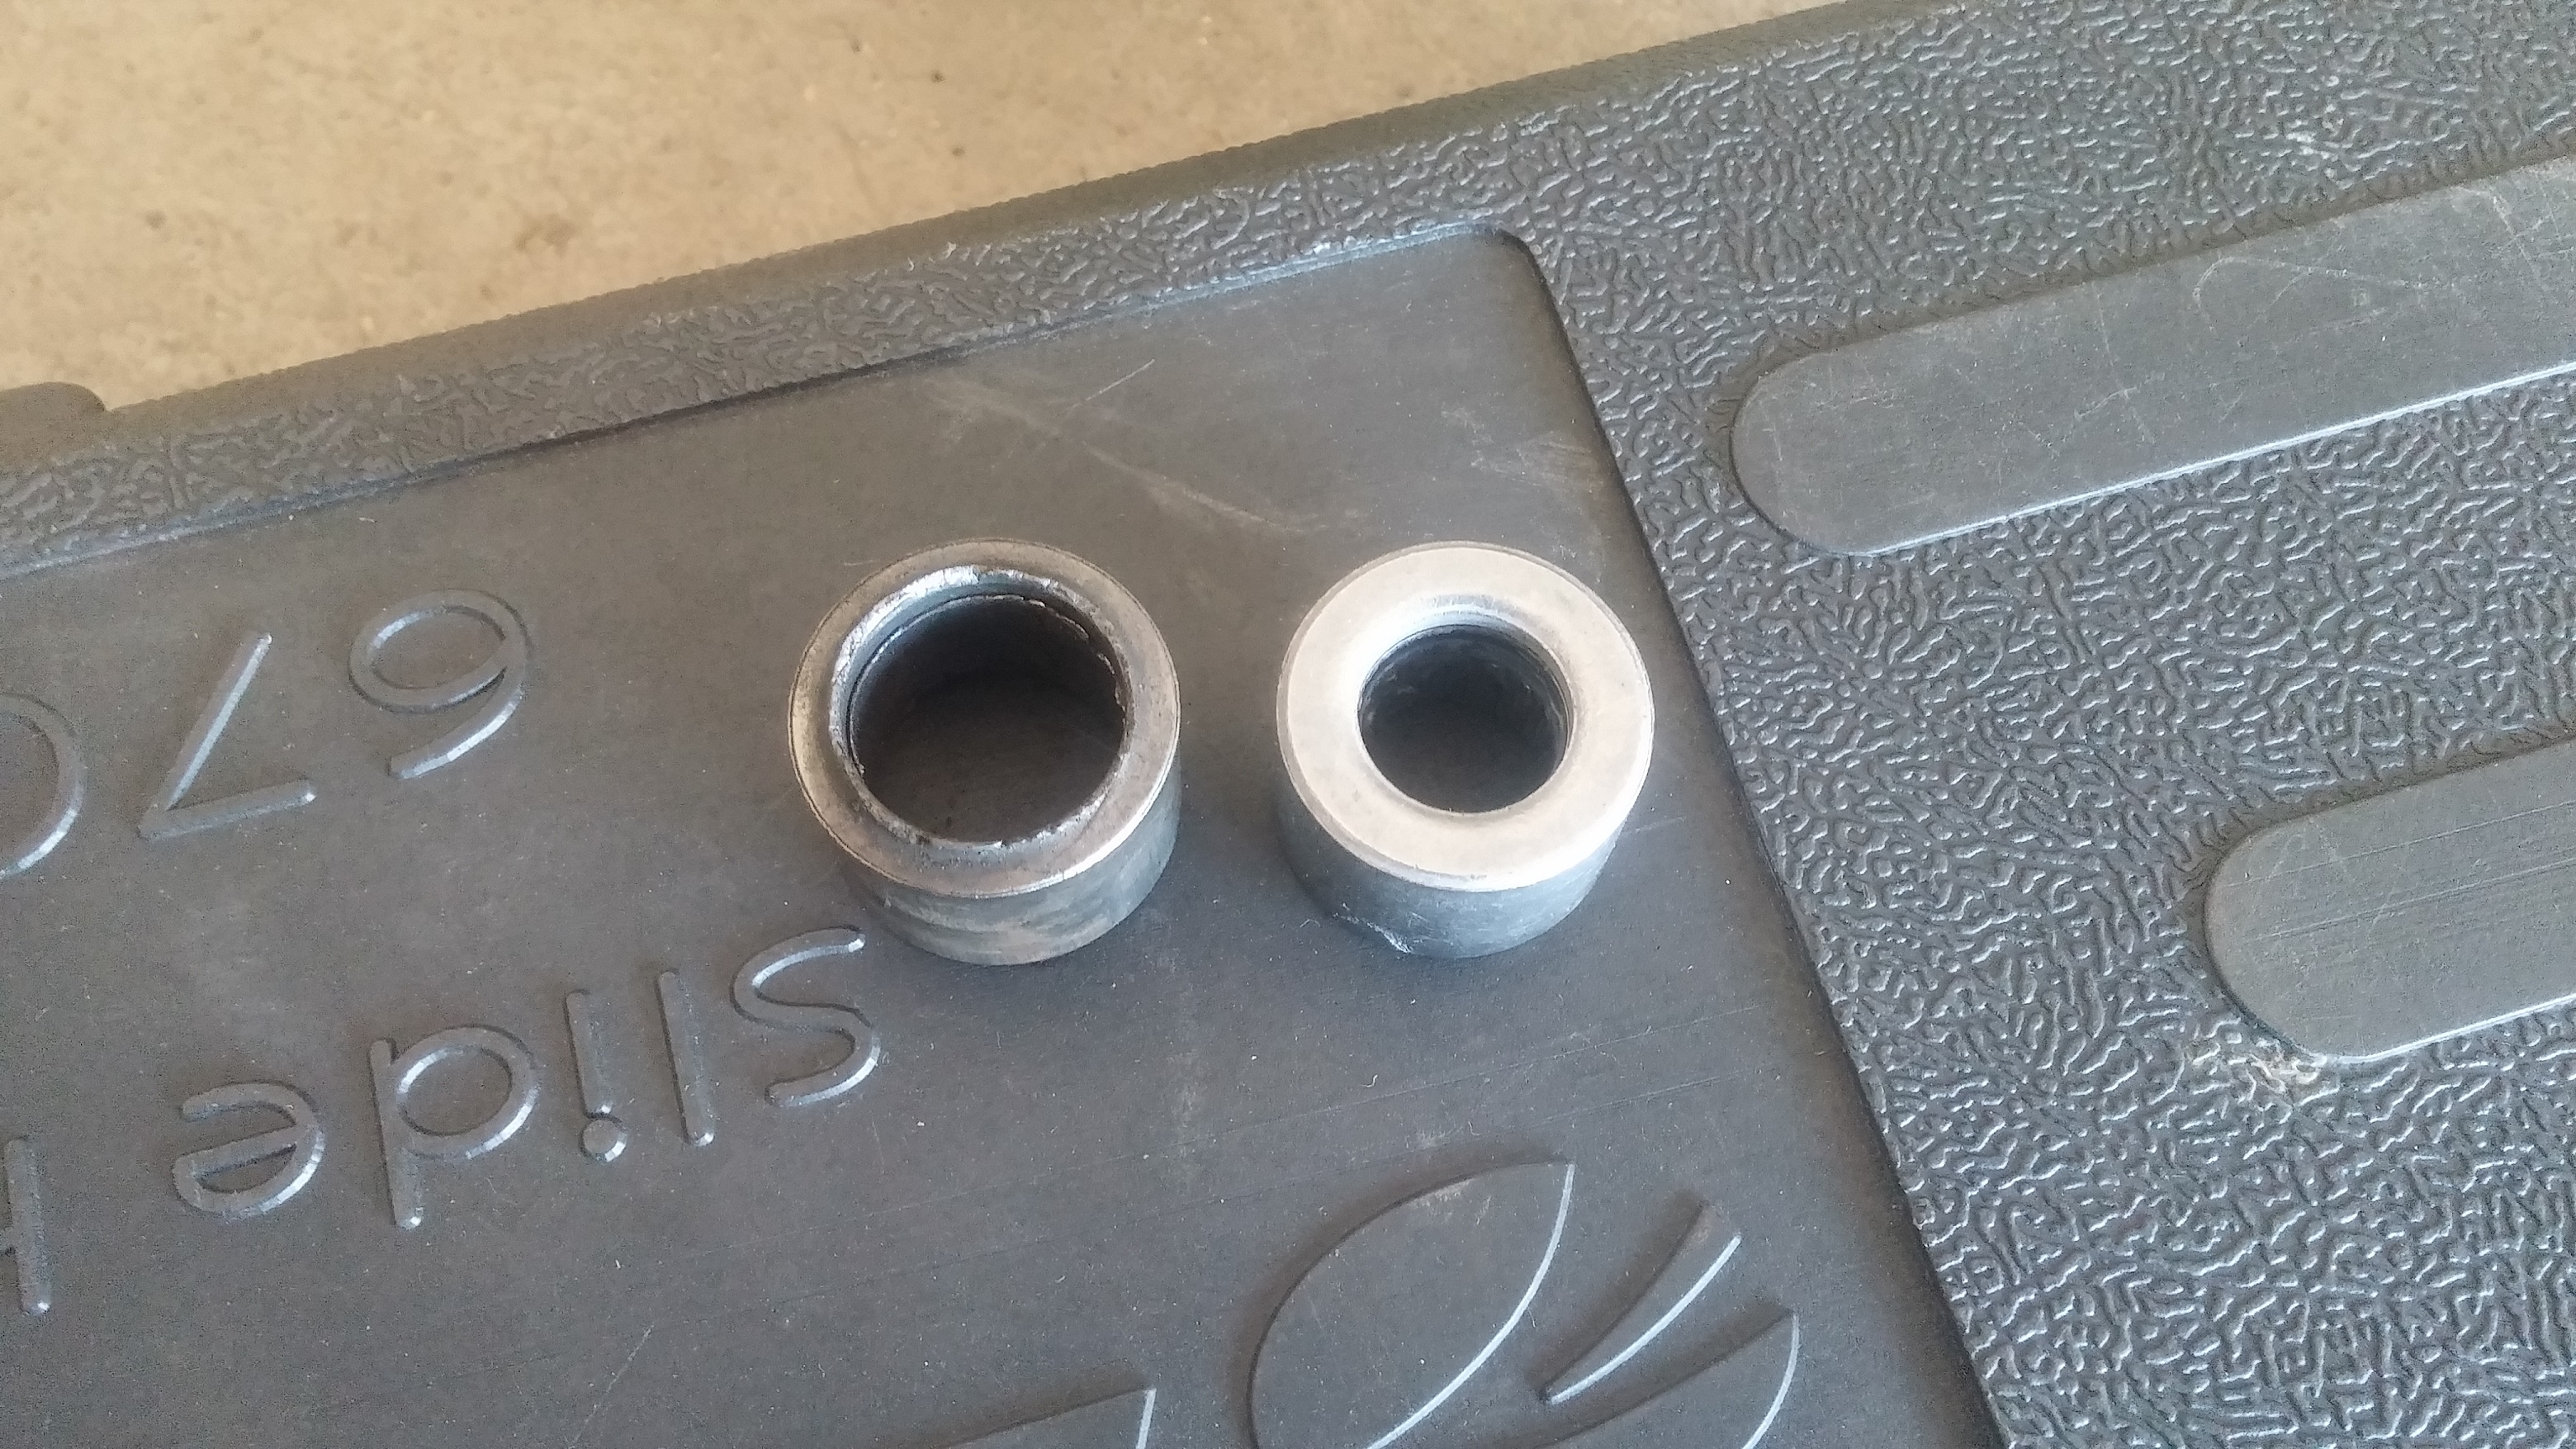
Old, removed pilot bearing on the left, new pilot bearing on the right.  Whew!  Crank is saved hallelujah! Hey look at that, I found the rest of the old bearing!

20150725_110345

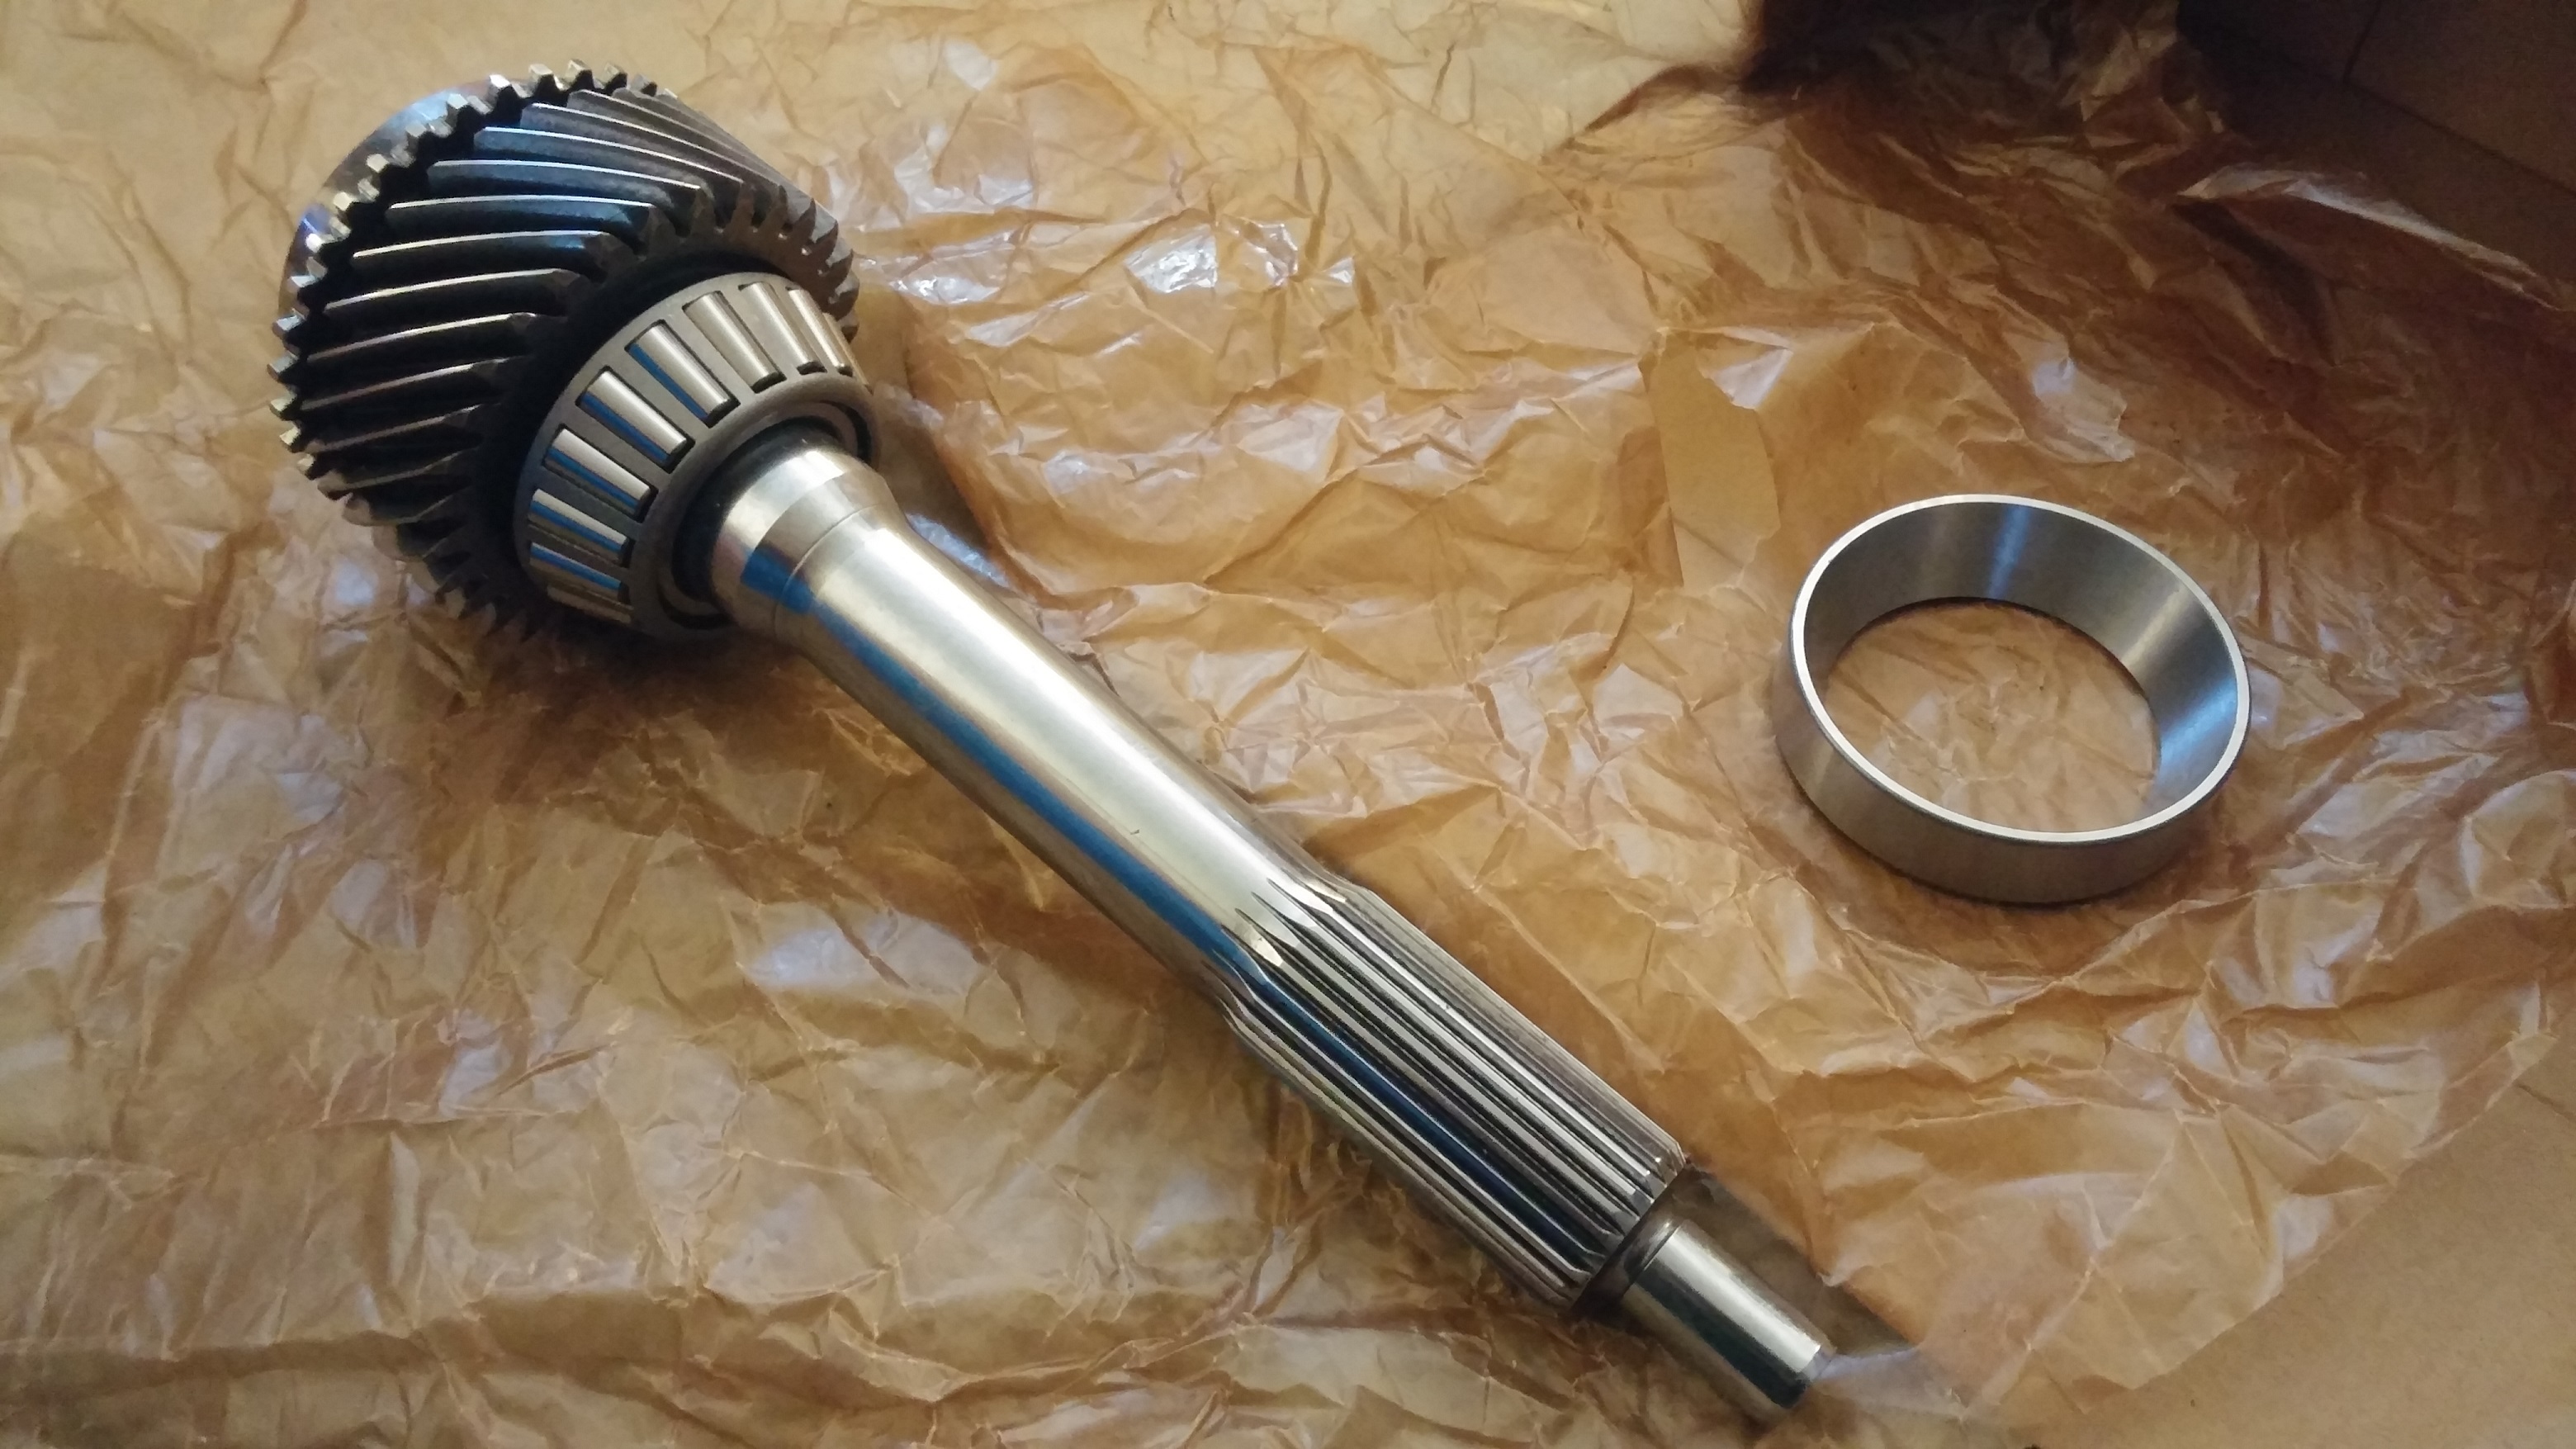
So without the support of the pilot bearing, the input shaft was allowed to wobble around.  This in turn, probably wore out the input shaft seal causing the leak.  Problem solved, kinda.  The input shaft end was now ruined and no longer usable unfortunately and required replacement.  I was scared at first, fearful I had to tear the entire transmission apart to get at this.  Luckily, Gm designed the transmission end plate to be removable from the input shaft end.  So I ordered a new input shaft and bearing from The GearBox, extremely nice people out of Michigan.  They even pressed the new bearing onto the input shaft for me for free before shipping it out.  It’s a shame cool parts like gears and moving parts are hidden away in cars.  They really do look cool.

20150716_174857

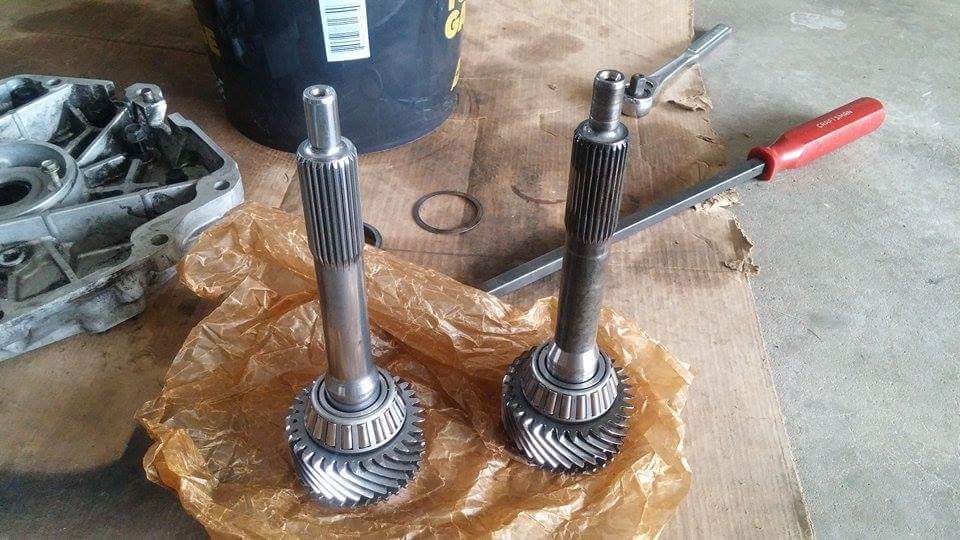
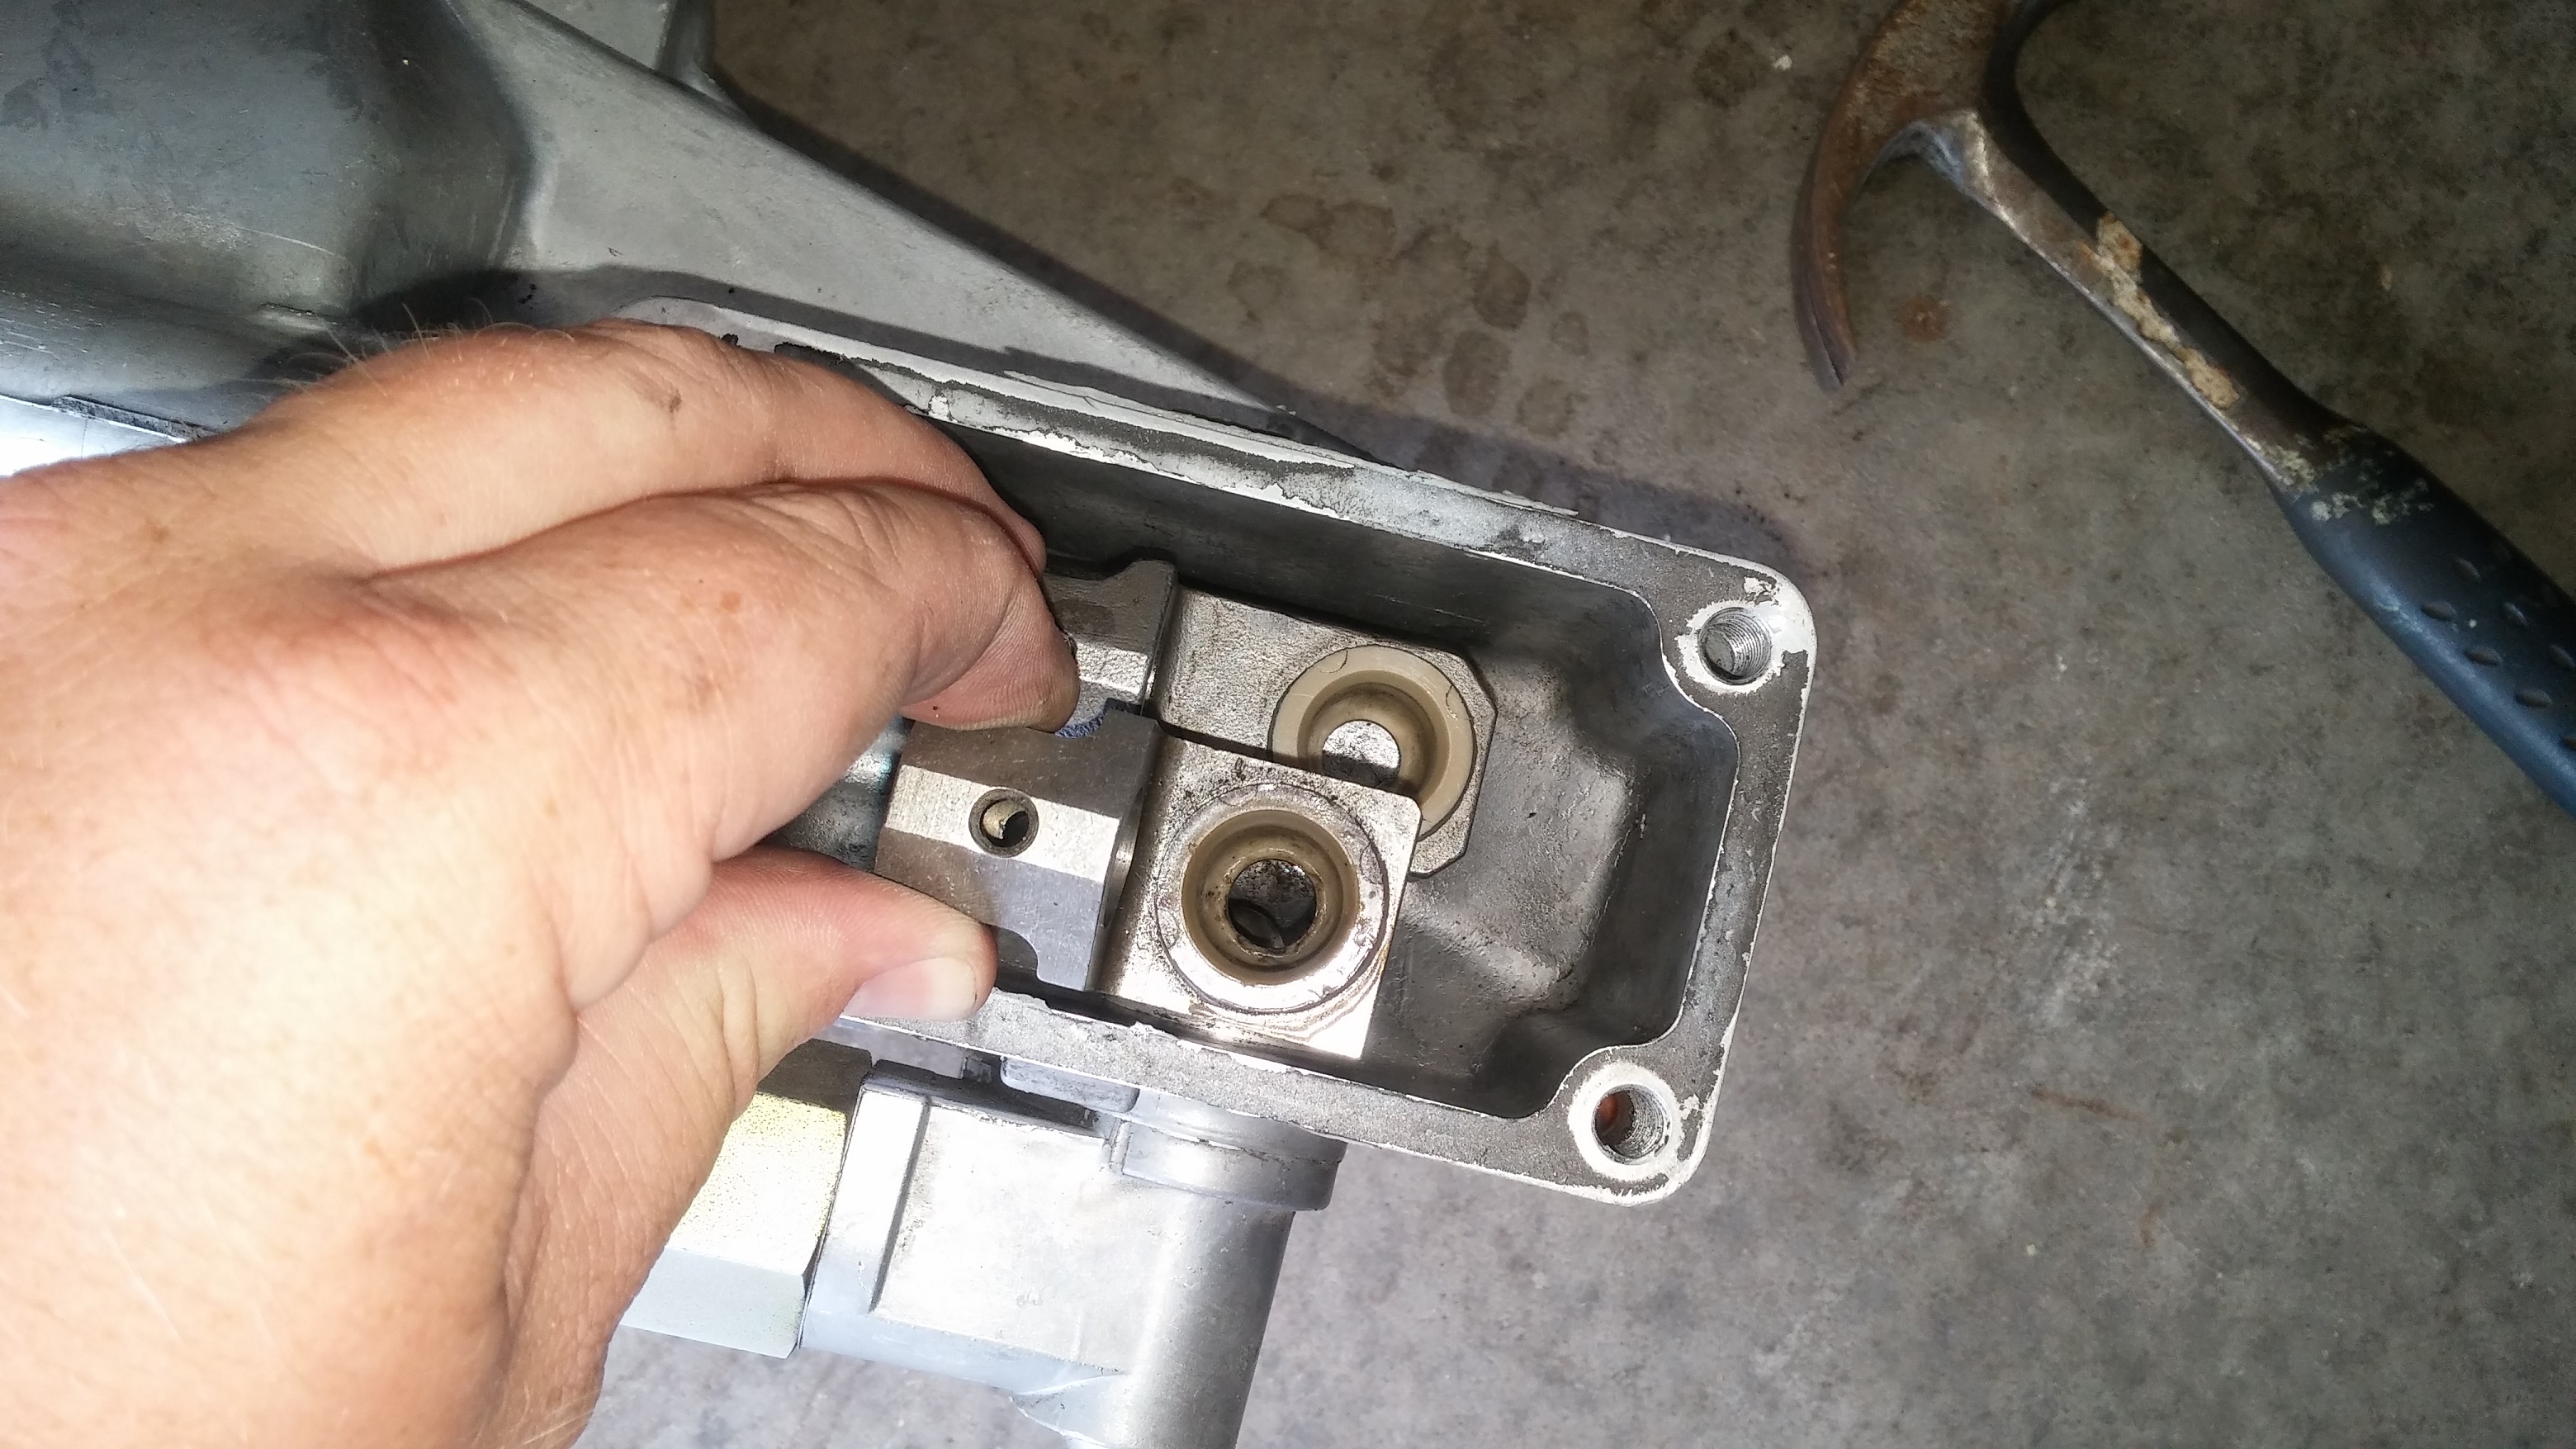
Old input shaft next to new input shaft.  You can see the removable transmission end plate on the ground to the left.  See all that black gunk.  That is AFTER I spent an hour or so trying to clean it all up.

received_bWVzc2FnZV9ibG9iX2F0dGFjaG1lbnQ6MTAxMDA3MzE3NDQ1MDE4MDI


The input shaft is pretty simple to replace.  This whole switch out didn’t take more than 30 minutes.  The hardest part was trying to keep the bearing race from falling out of the cover while I lowered it down onto the transmission again.  Tolerances are very very tight so it had to be just right.

20150722_180940

20150722_192551

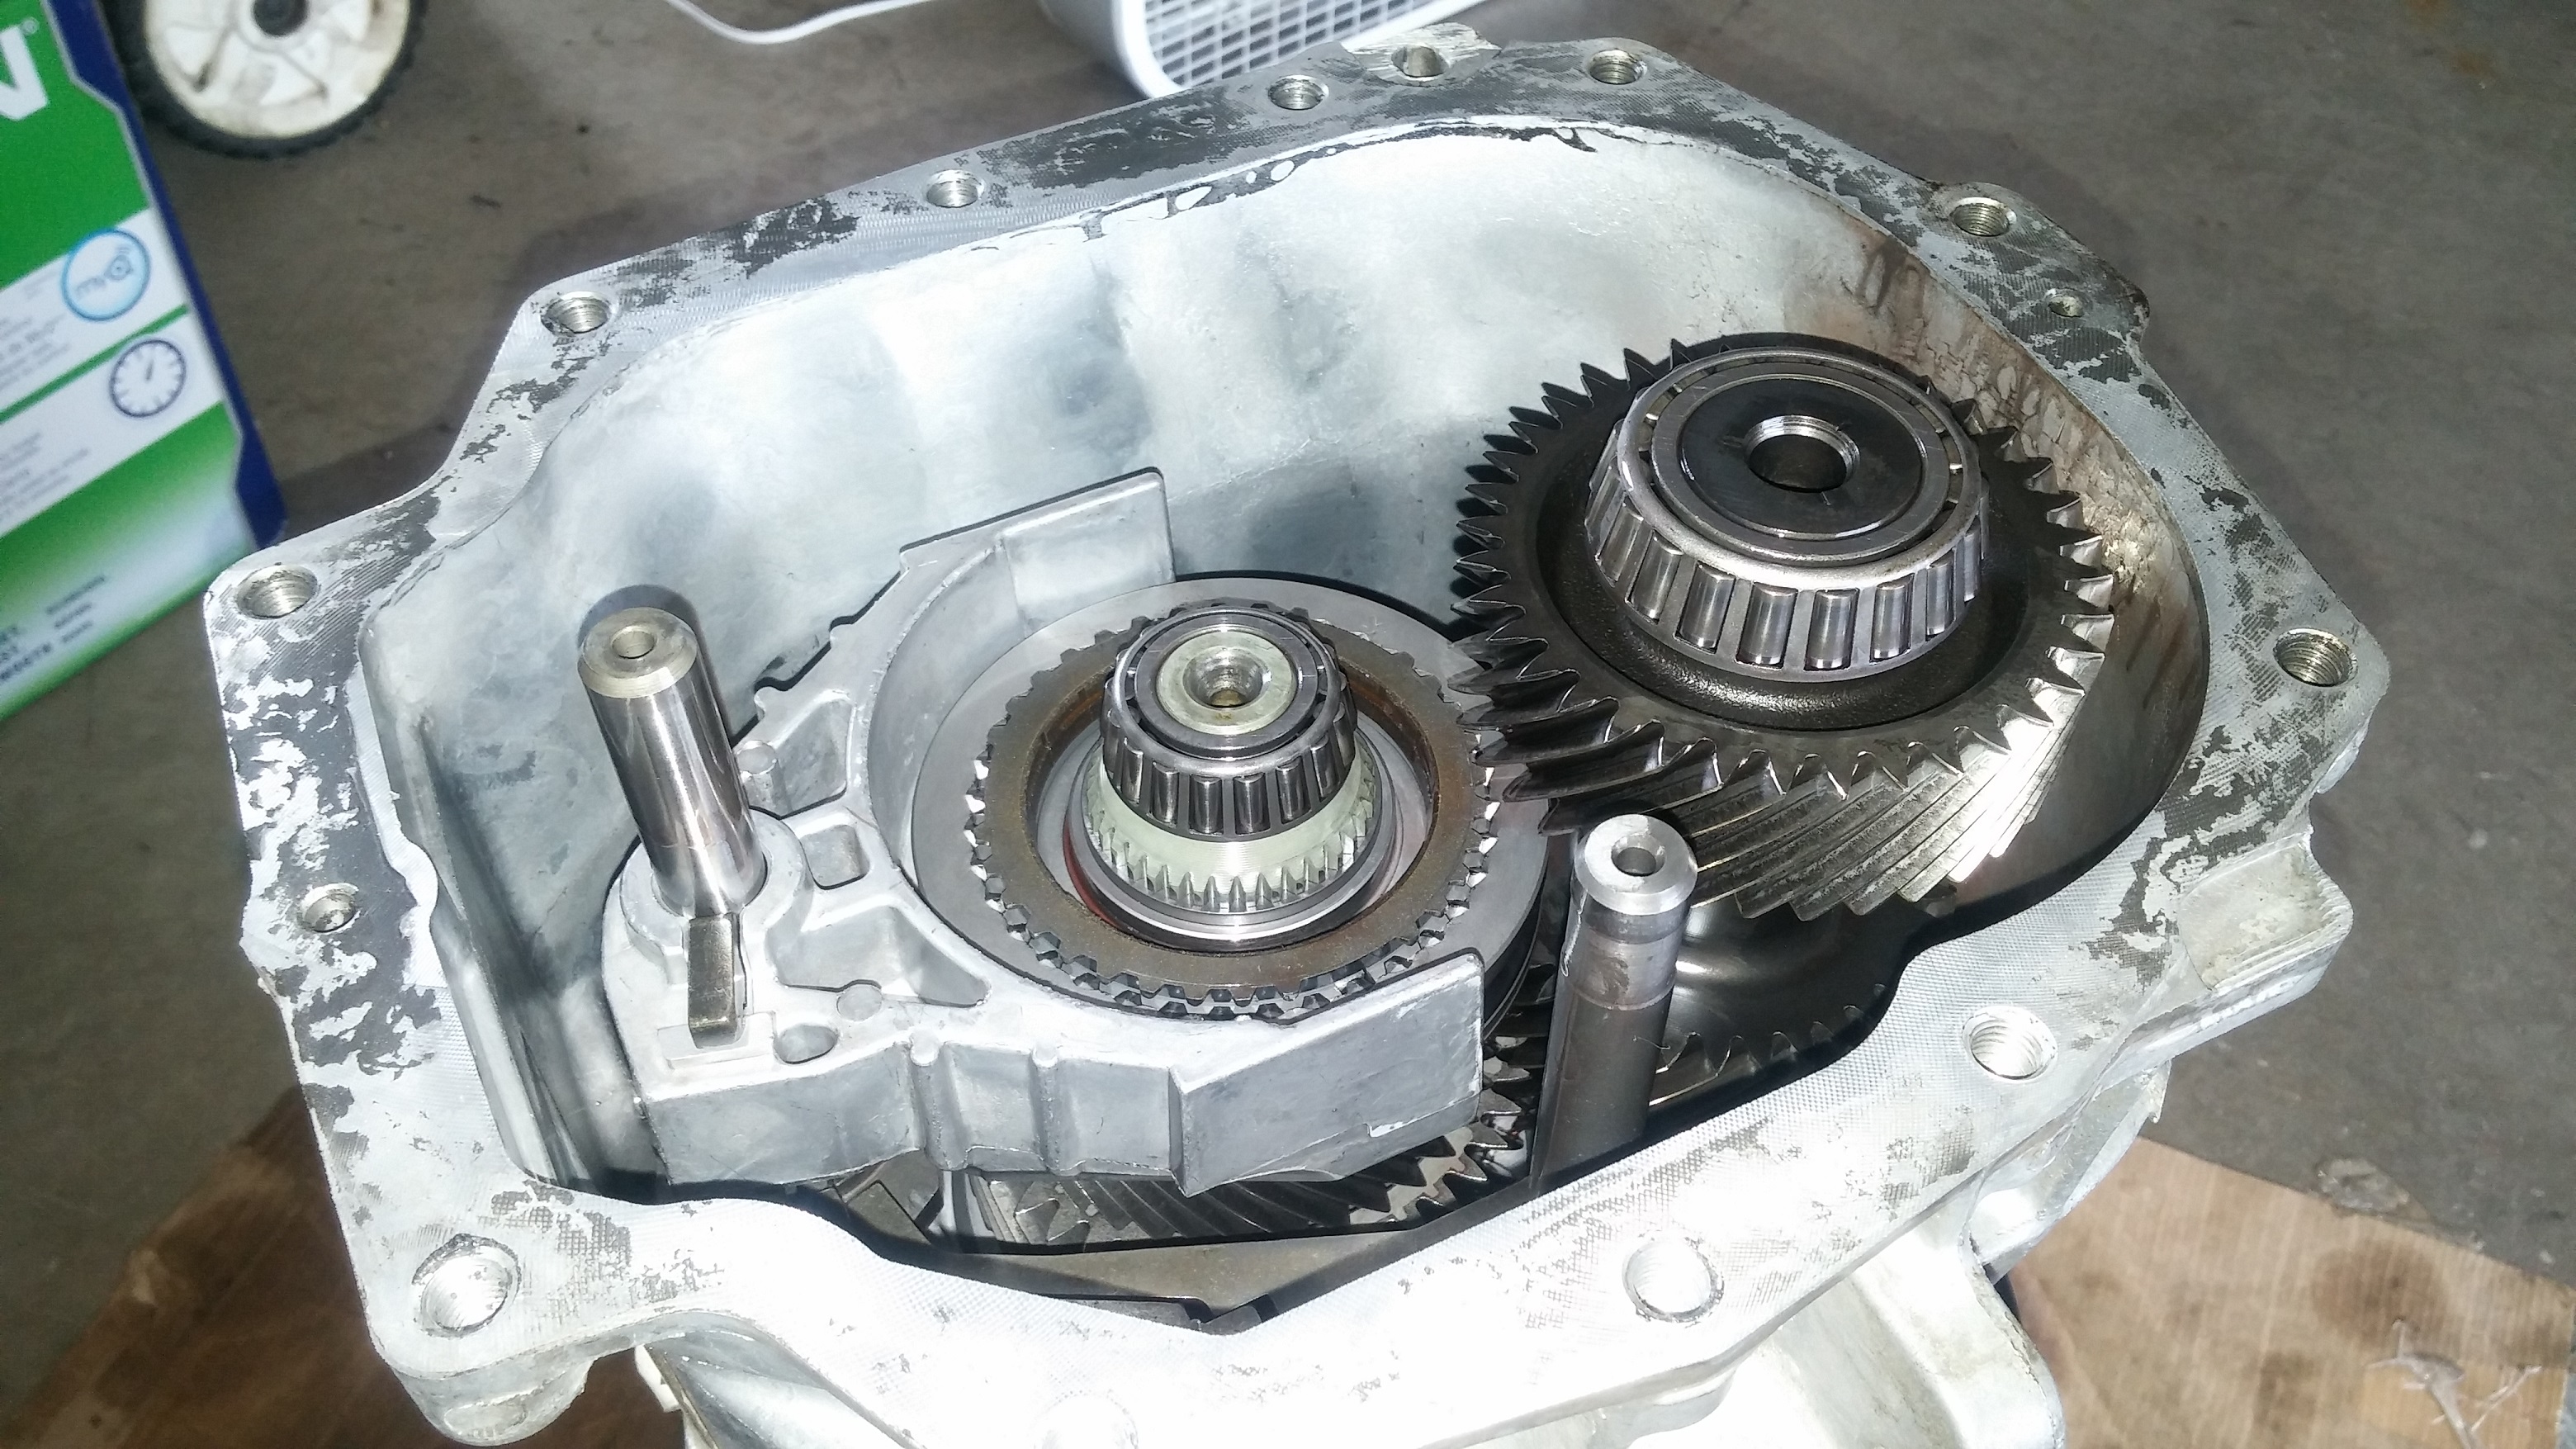
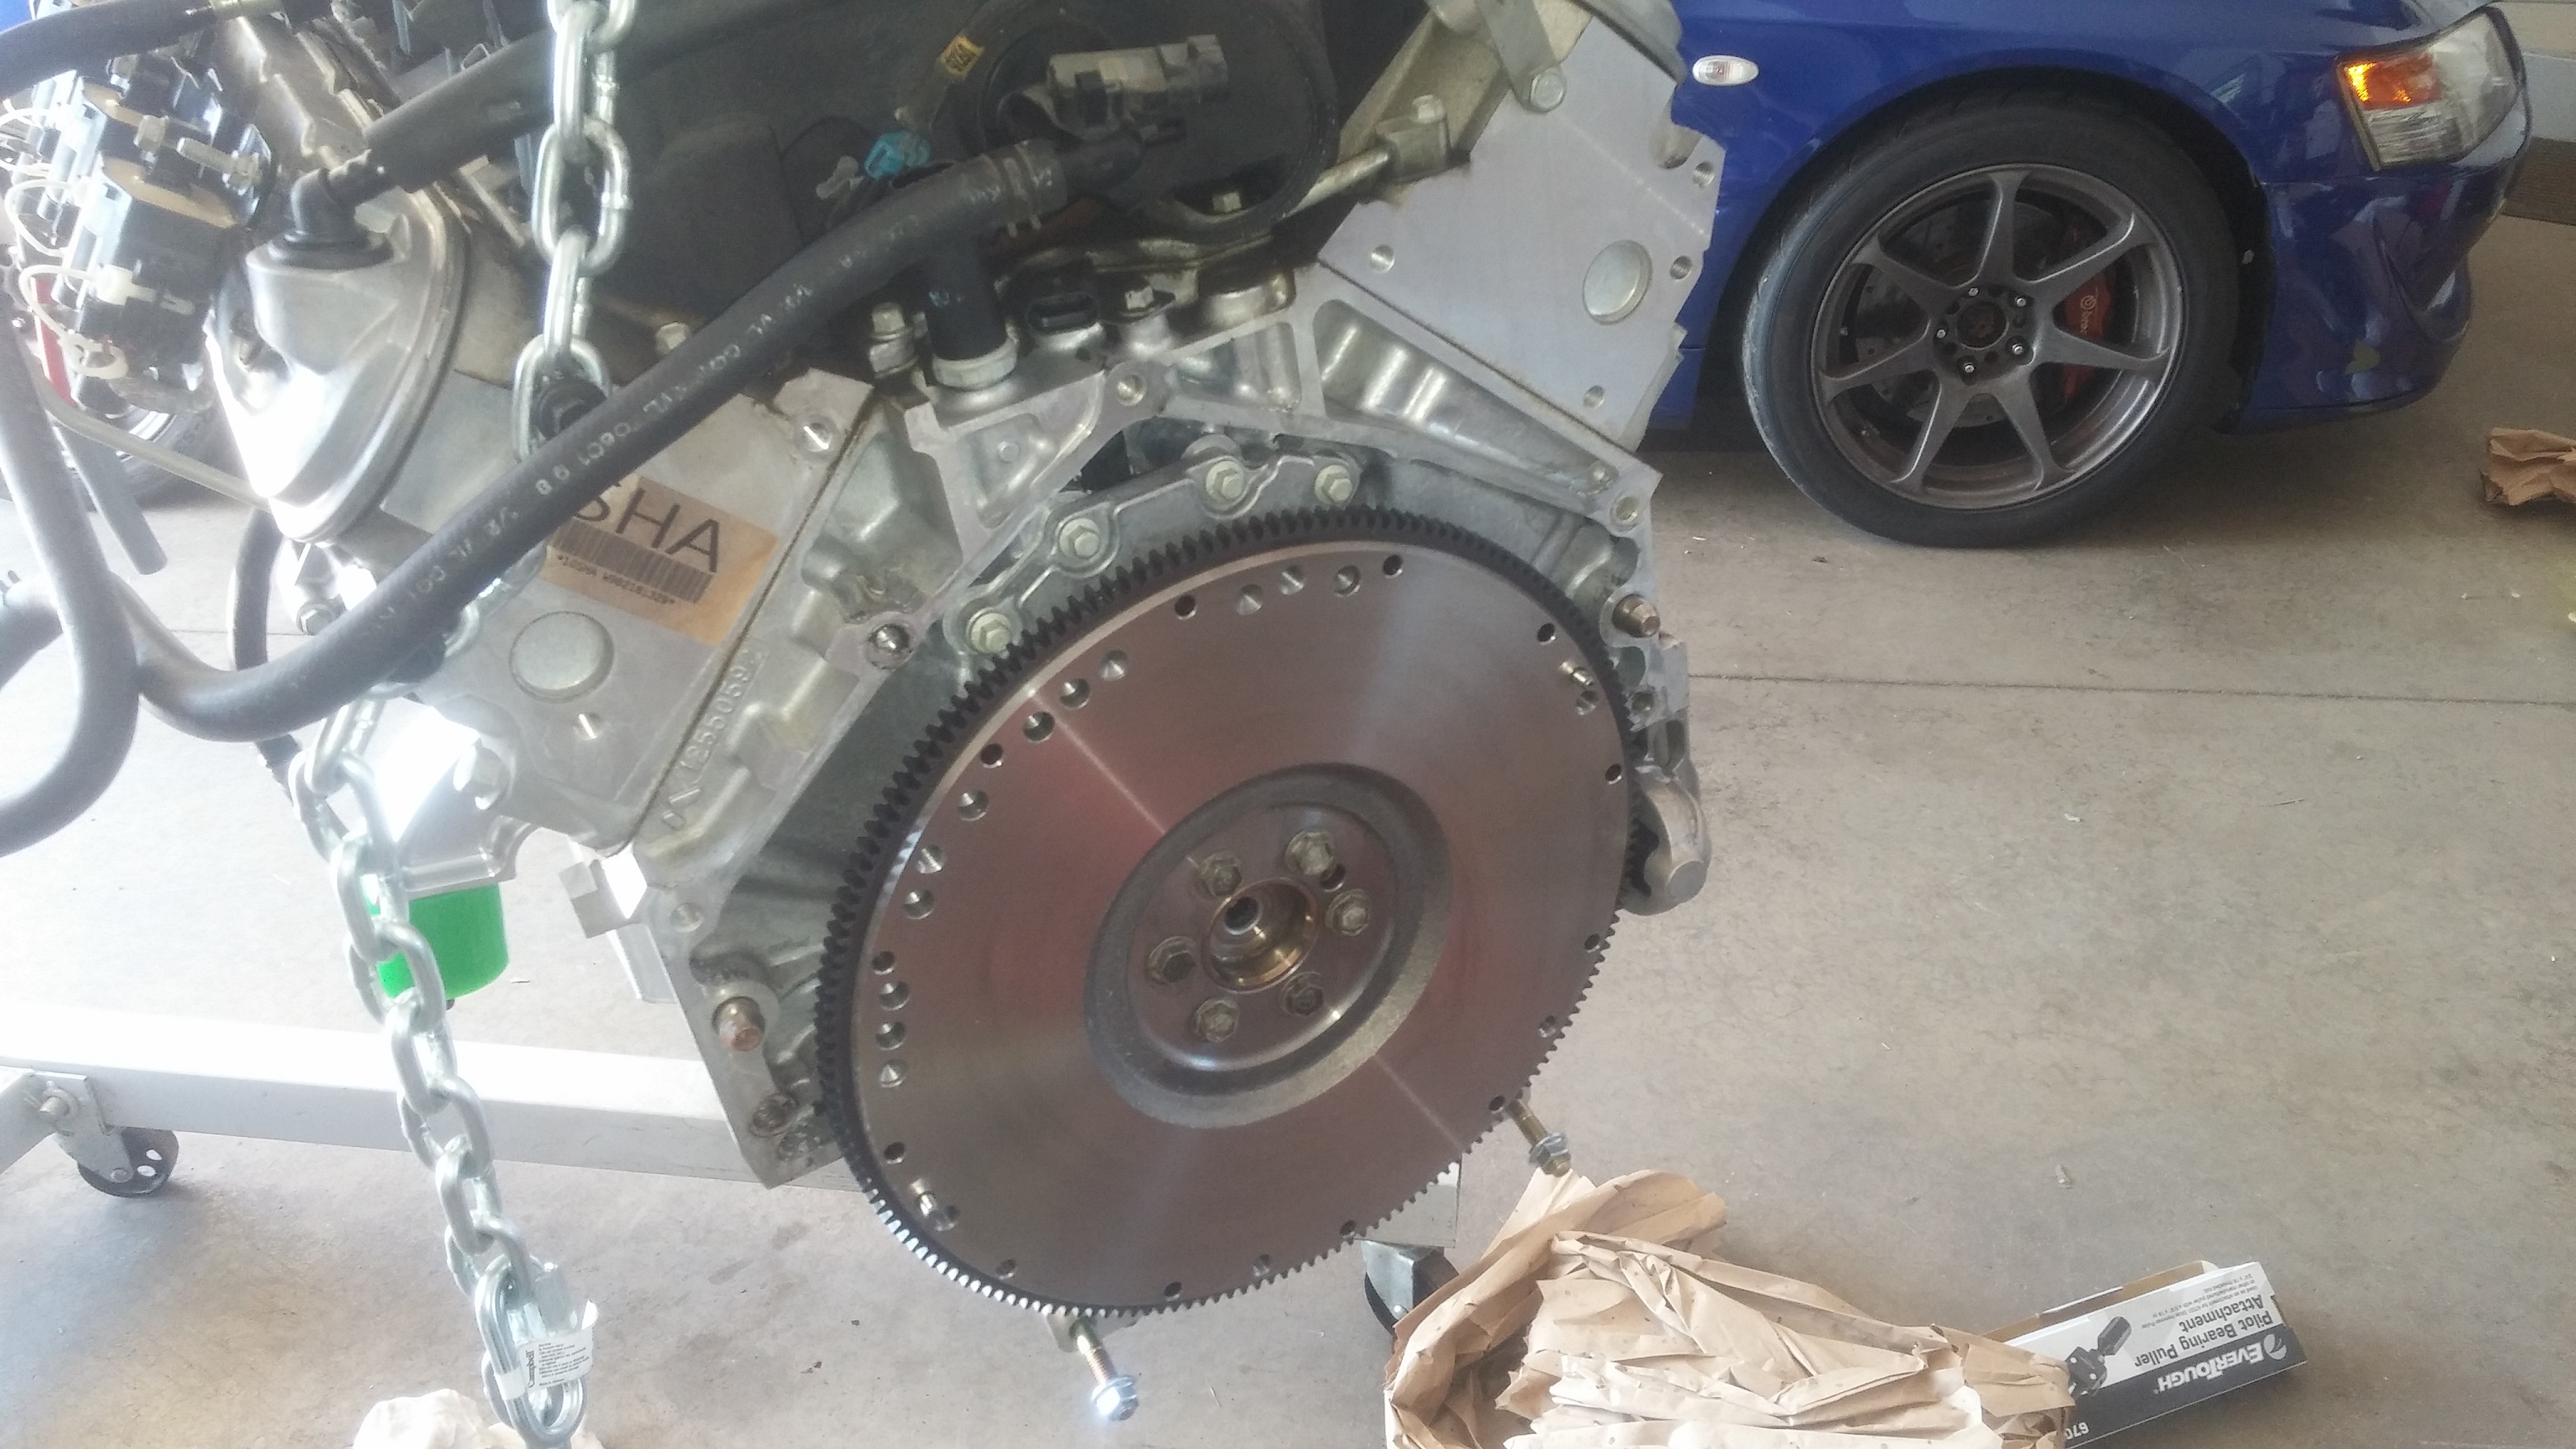
And there we have it.  A wobble free, leak free, input shaft assembly with a new pilot bearing.  Hopefully good for another 100k miles.  For now at stock power levels and while the swap is sorted out, the car got a new OEM/stock replacement flywheel and clutch.  Once the car gets more power, I have dreams of running a nice and small 7″ twin disc Quartermaster clutch.  But for now, OEM will do. (Clutch not pictured, forgot to take a snap shot of it)

20150725_112025

Final few touches to the transmission now.  The Sikky kit was developed using the longer LS2 GTO offset shift lever inside the transmission.  If you use the F-body shift lever, the car will have a tendency to pop out of gear because the offset is slightly different.  So I had to source one of these little buggers.  Guess the price.  $100.  Ouch!  Changing that out was easy.  Got to use my favorite tool to knock the roll pin out, slide on new shift lever, hammer roll pin back in.  Done.

20150728_163207


Last few items to bolt onto the transmission.  New slave cylinder, with the Sikky supplied master cylinder line, and a remote slave bleeder line.


20150730_173236


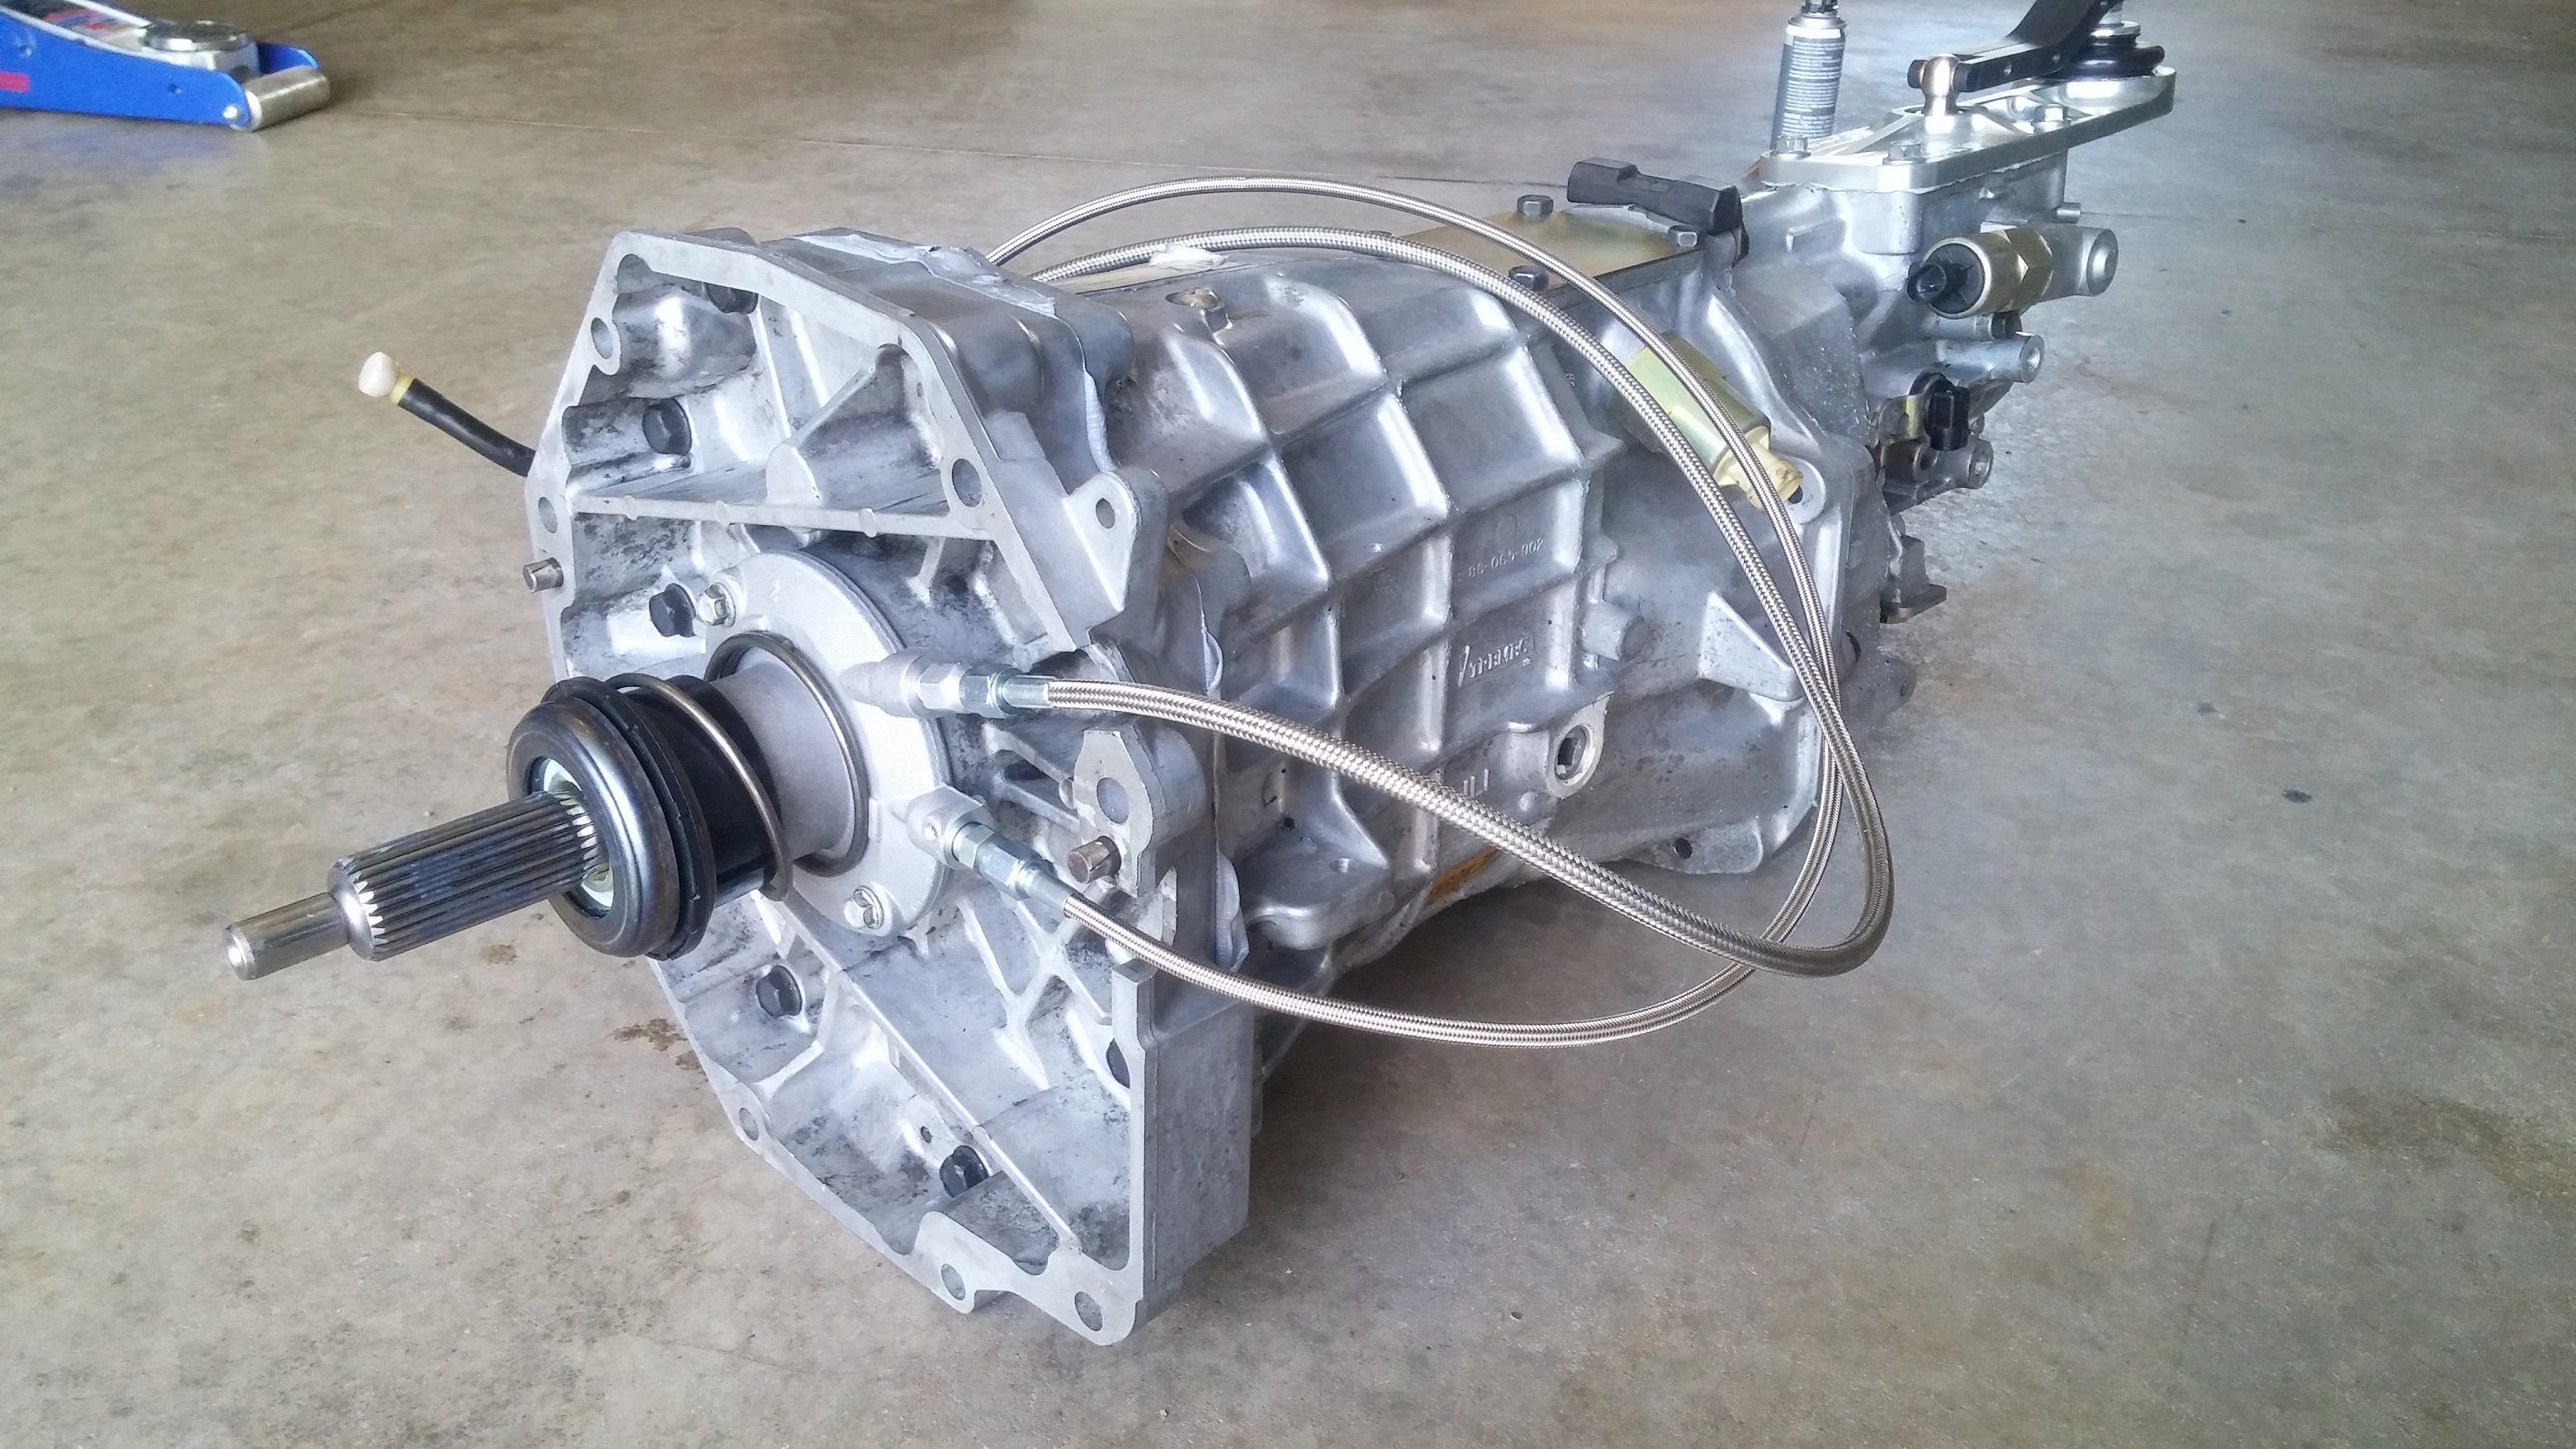
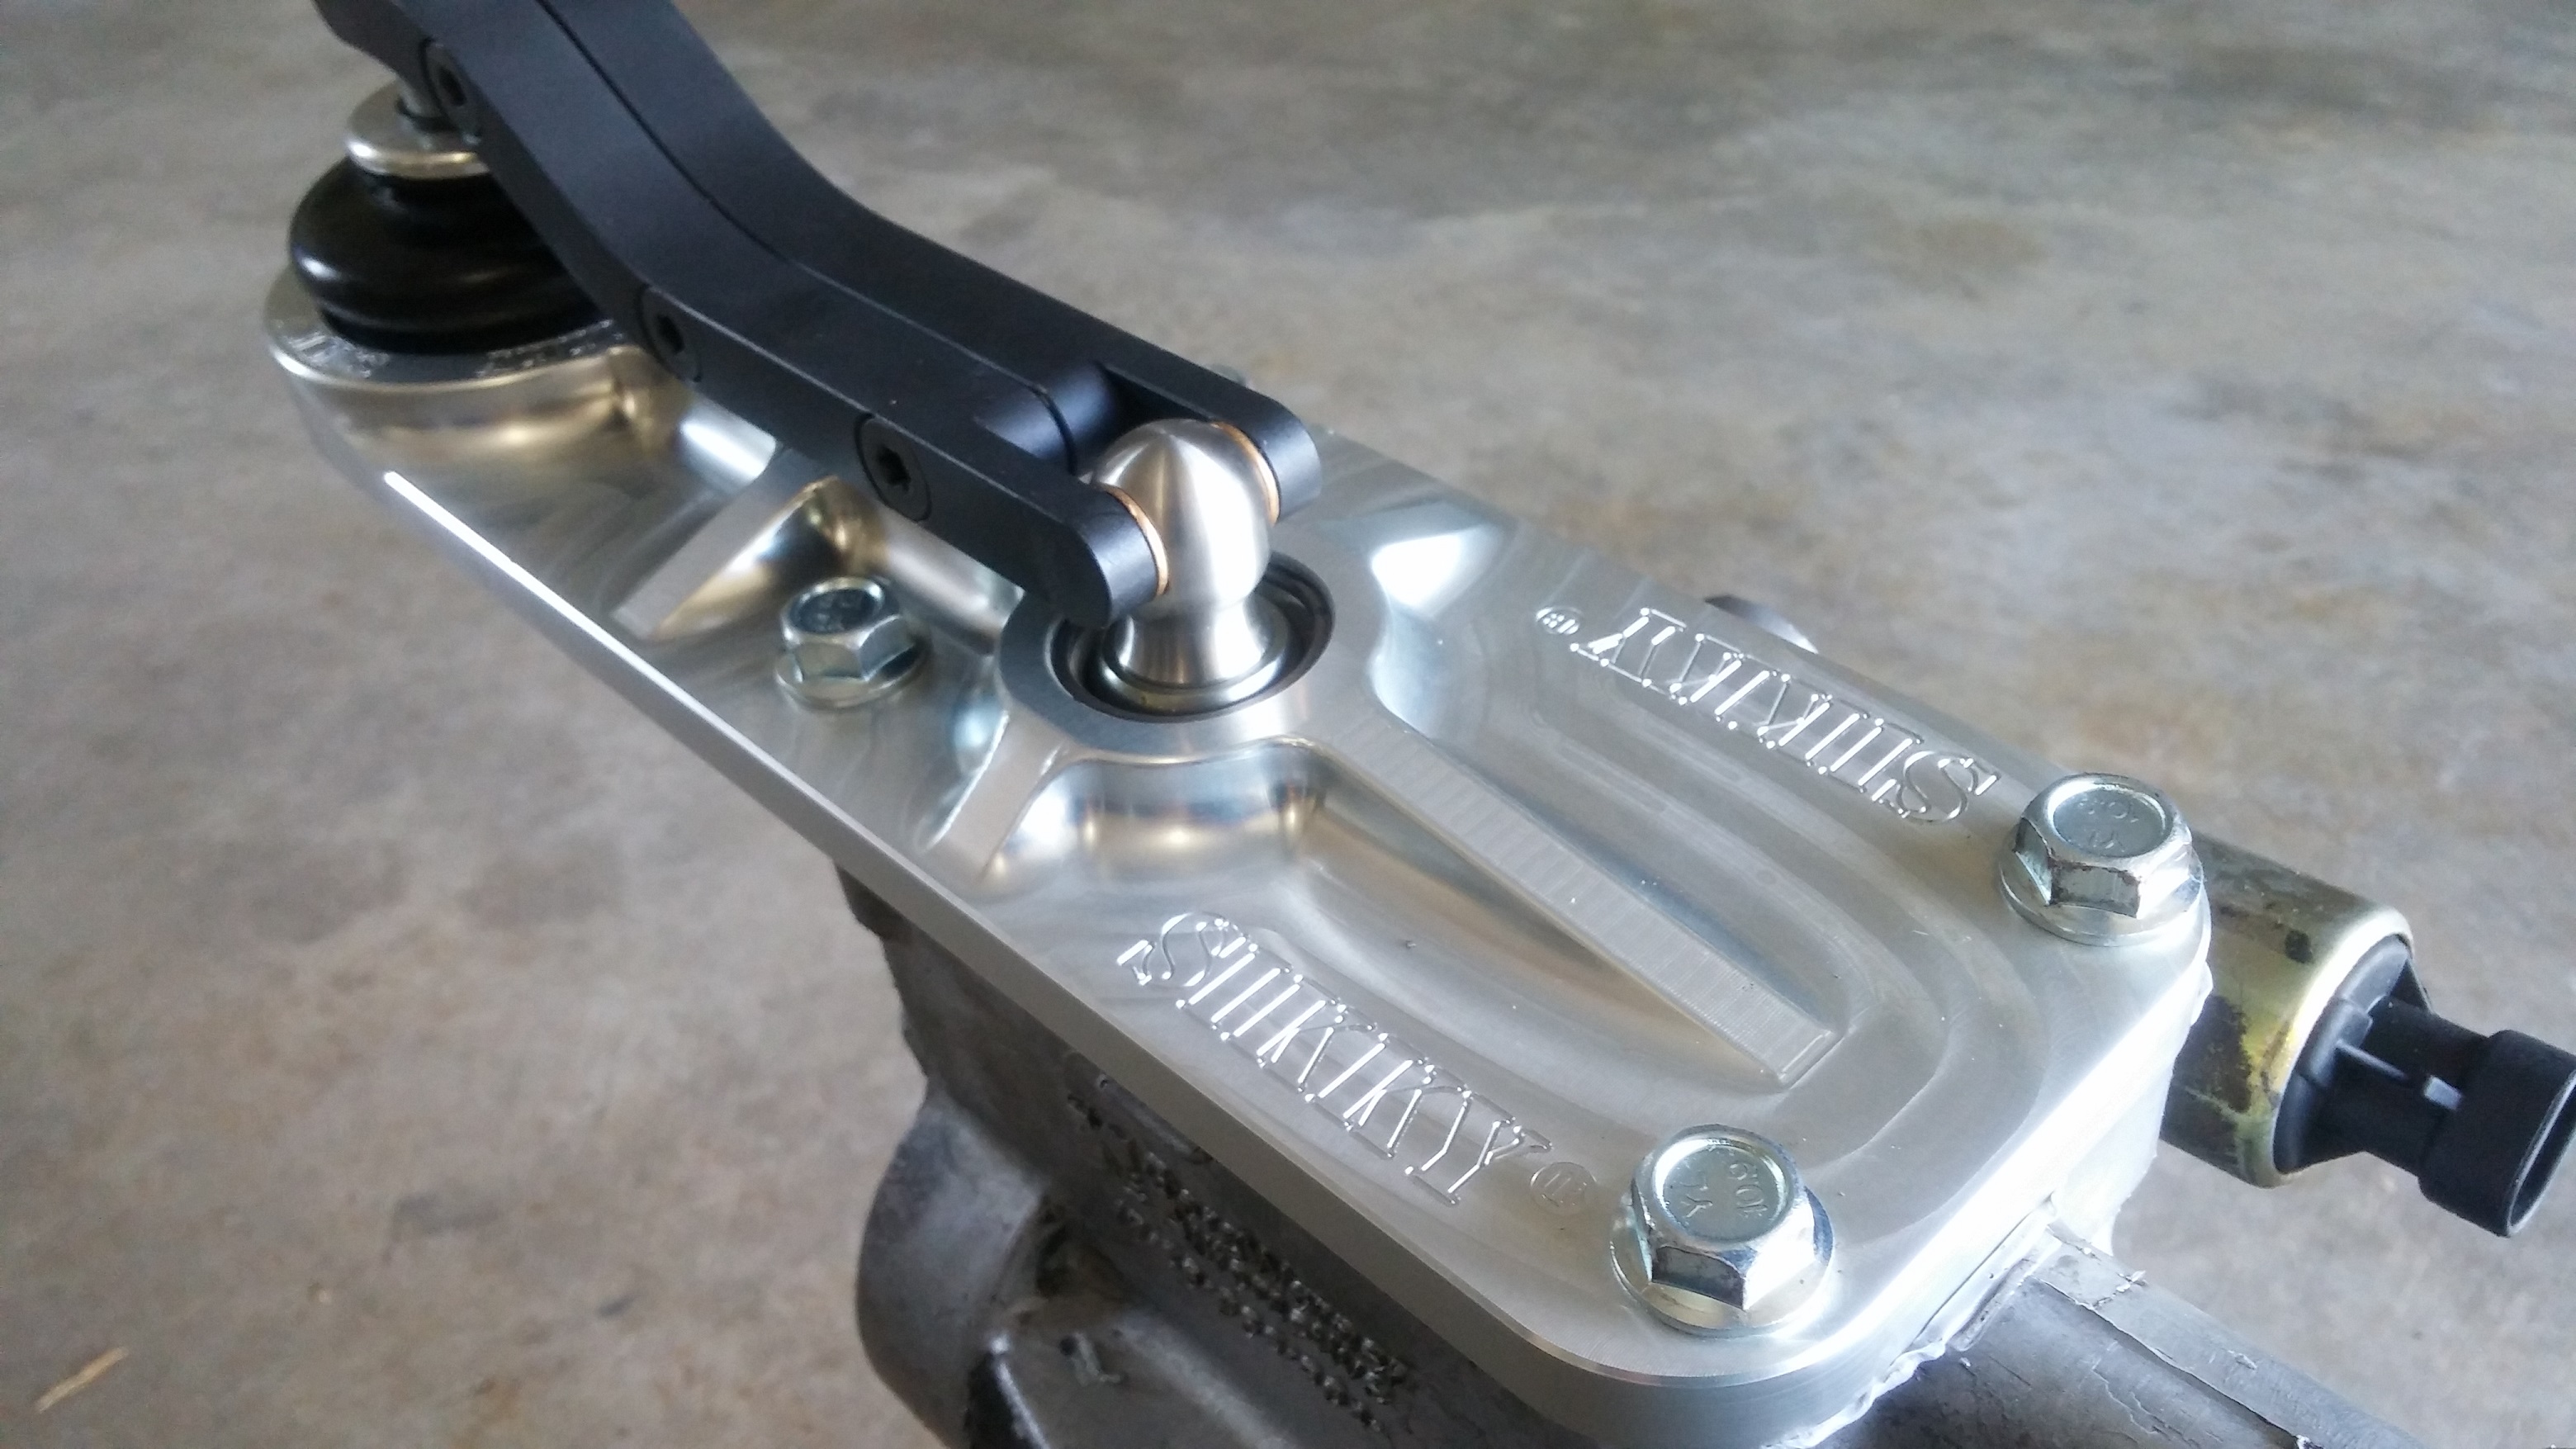
To top it all off like the angel or star on top of the Christmas tree, the Sikky shifter.  The LS/T56 shifter combo sits about 6 inches further forward, so Sikky had to come up with this awesome looking shifter relocation set up.

20150730_173251 20150730_173301

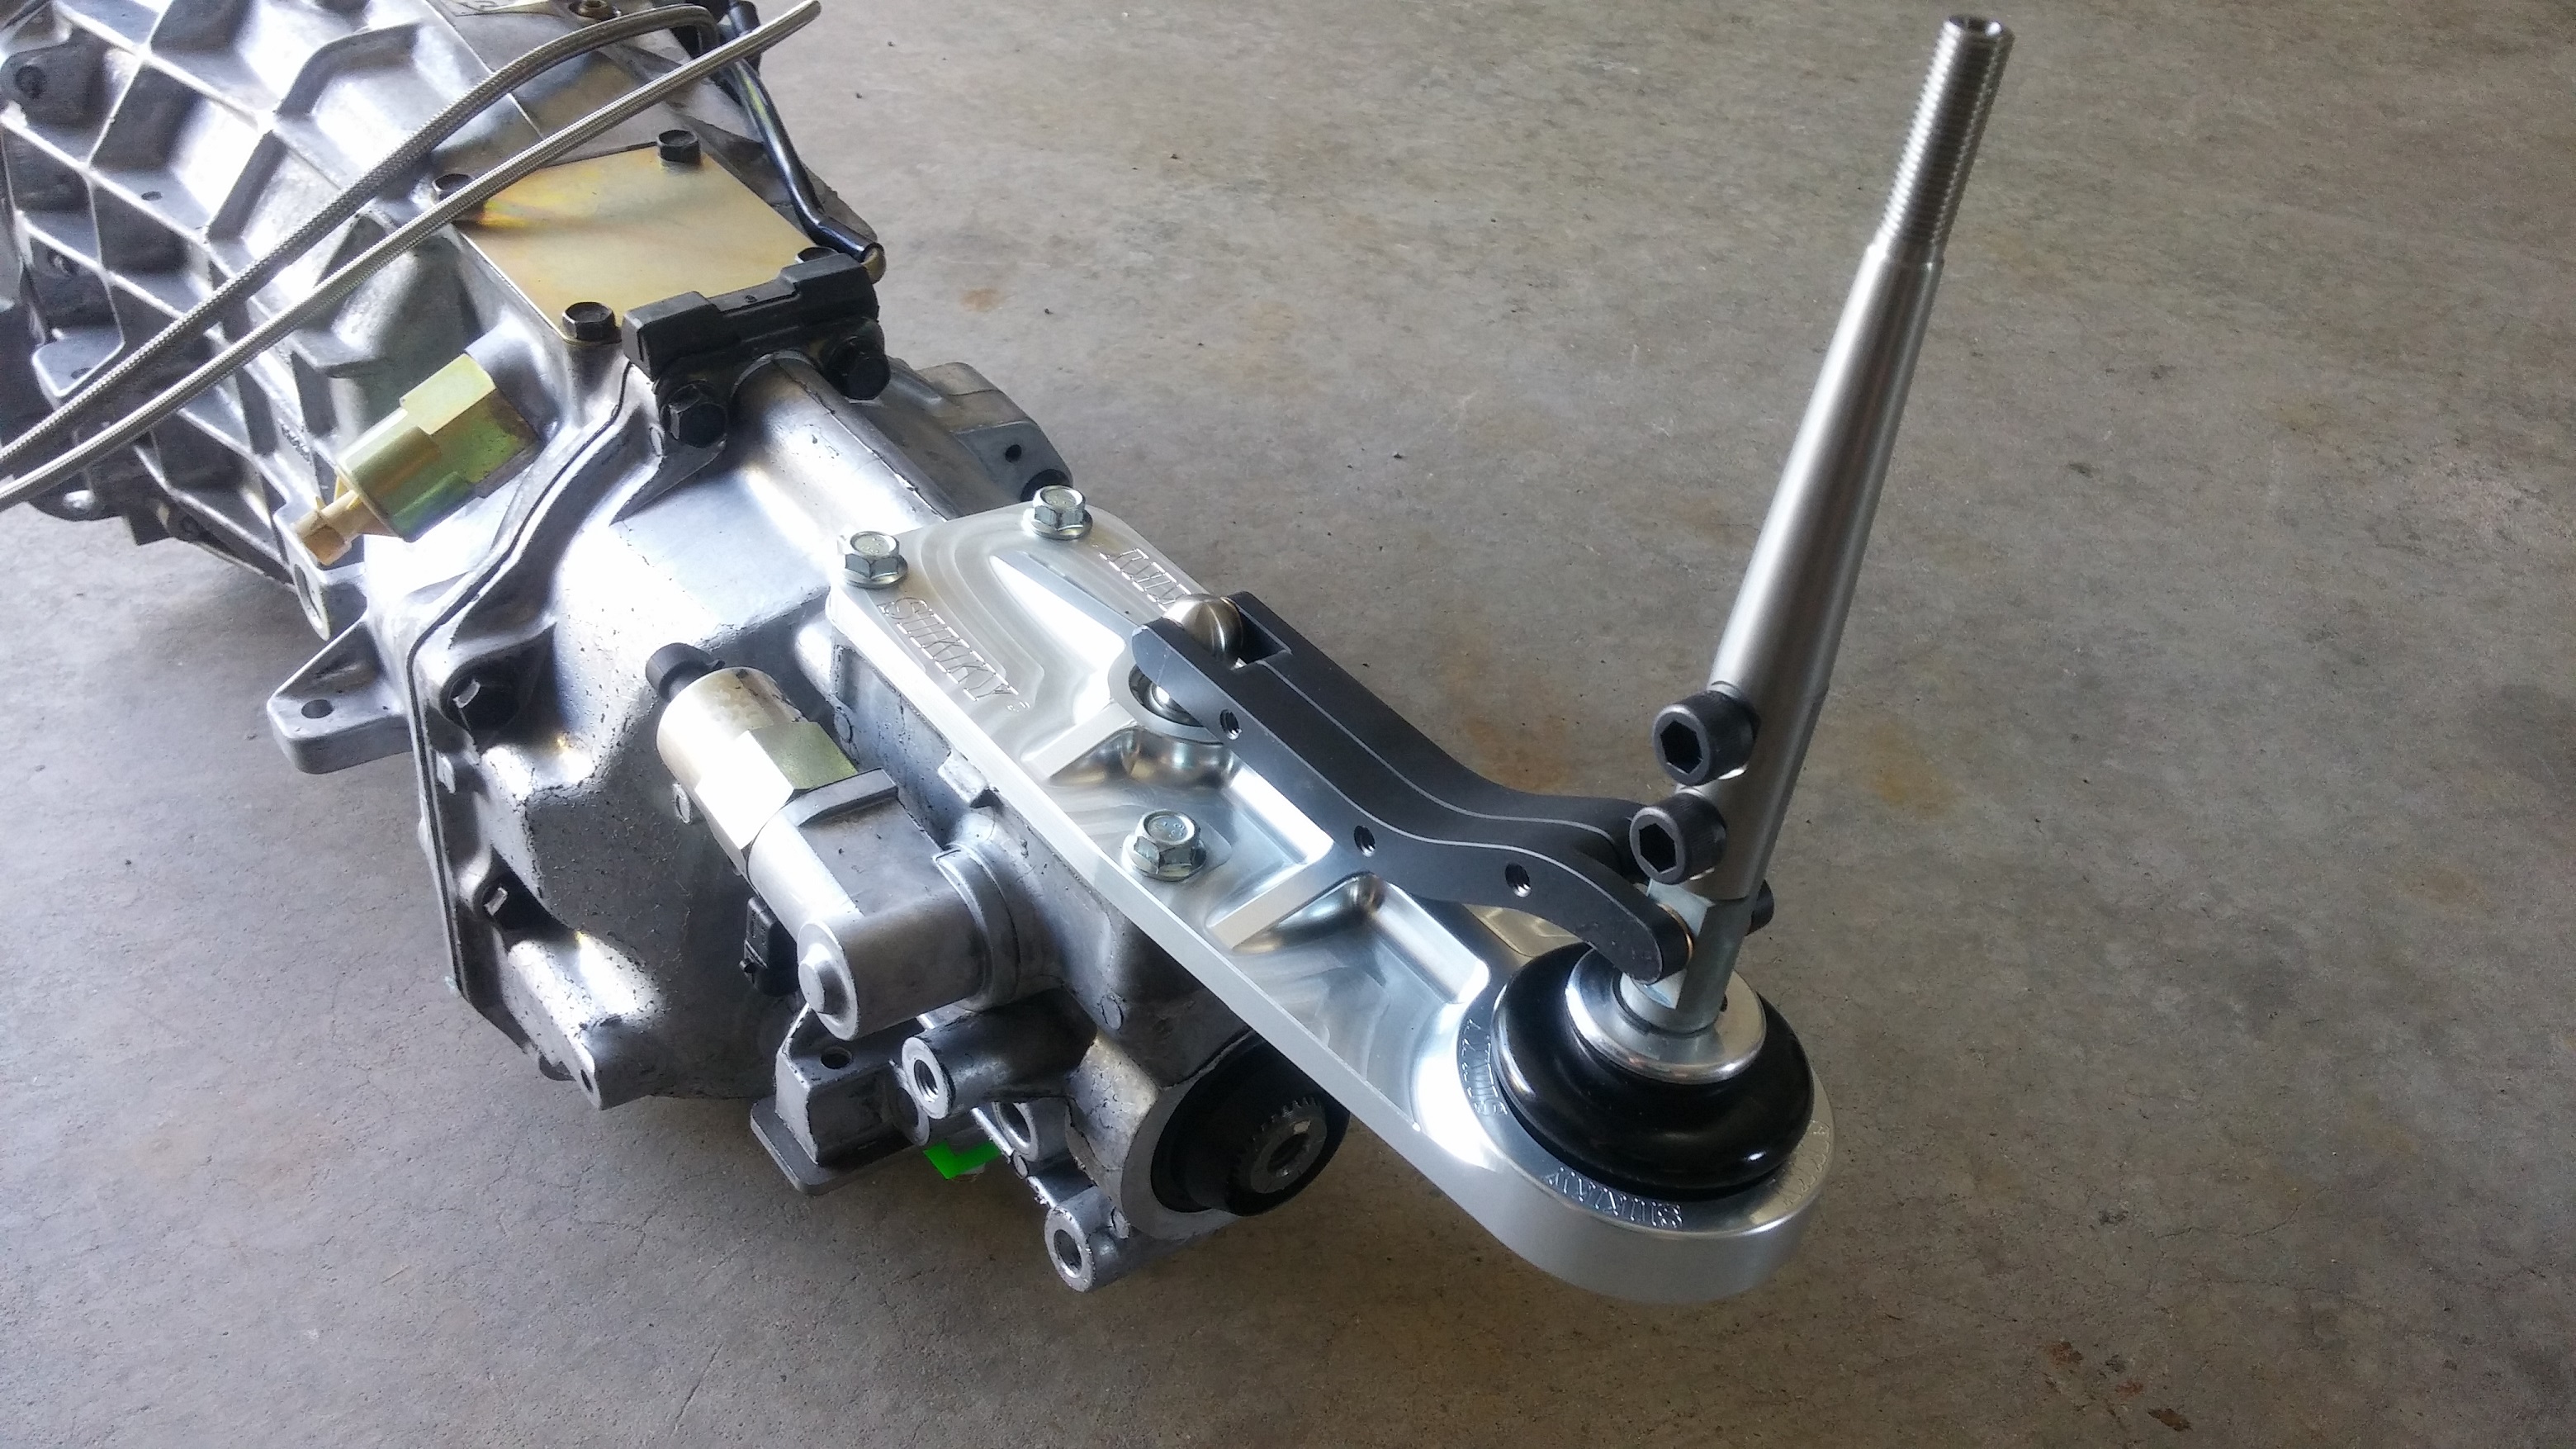
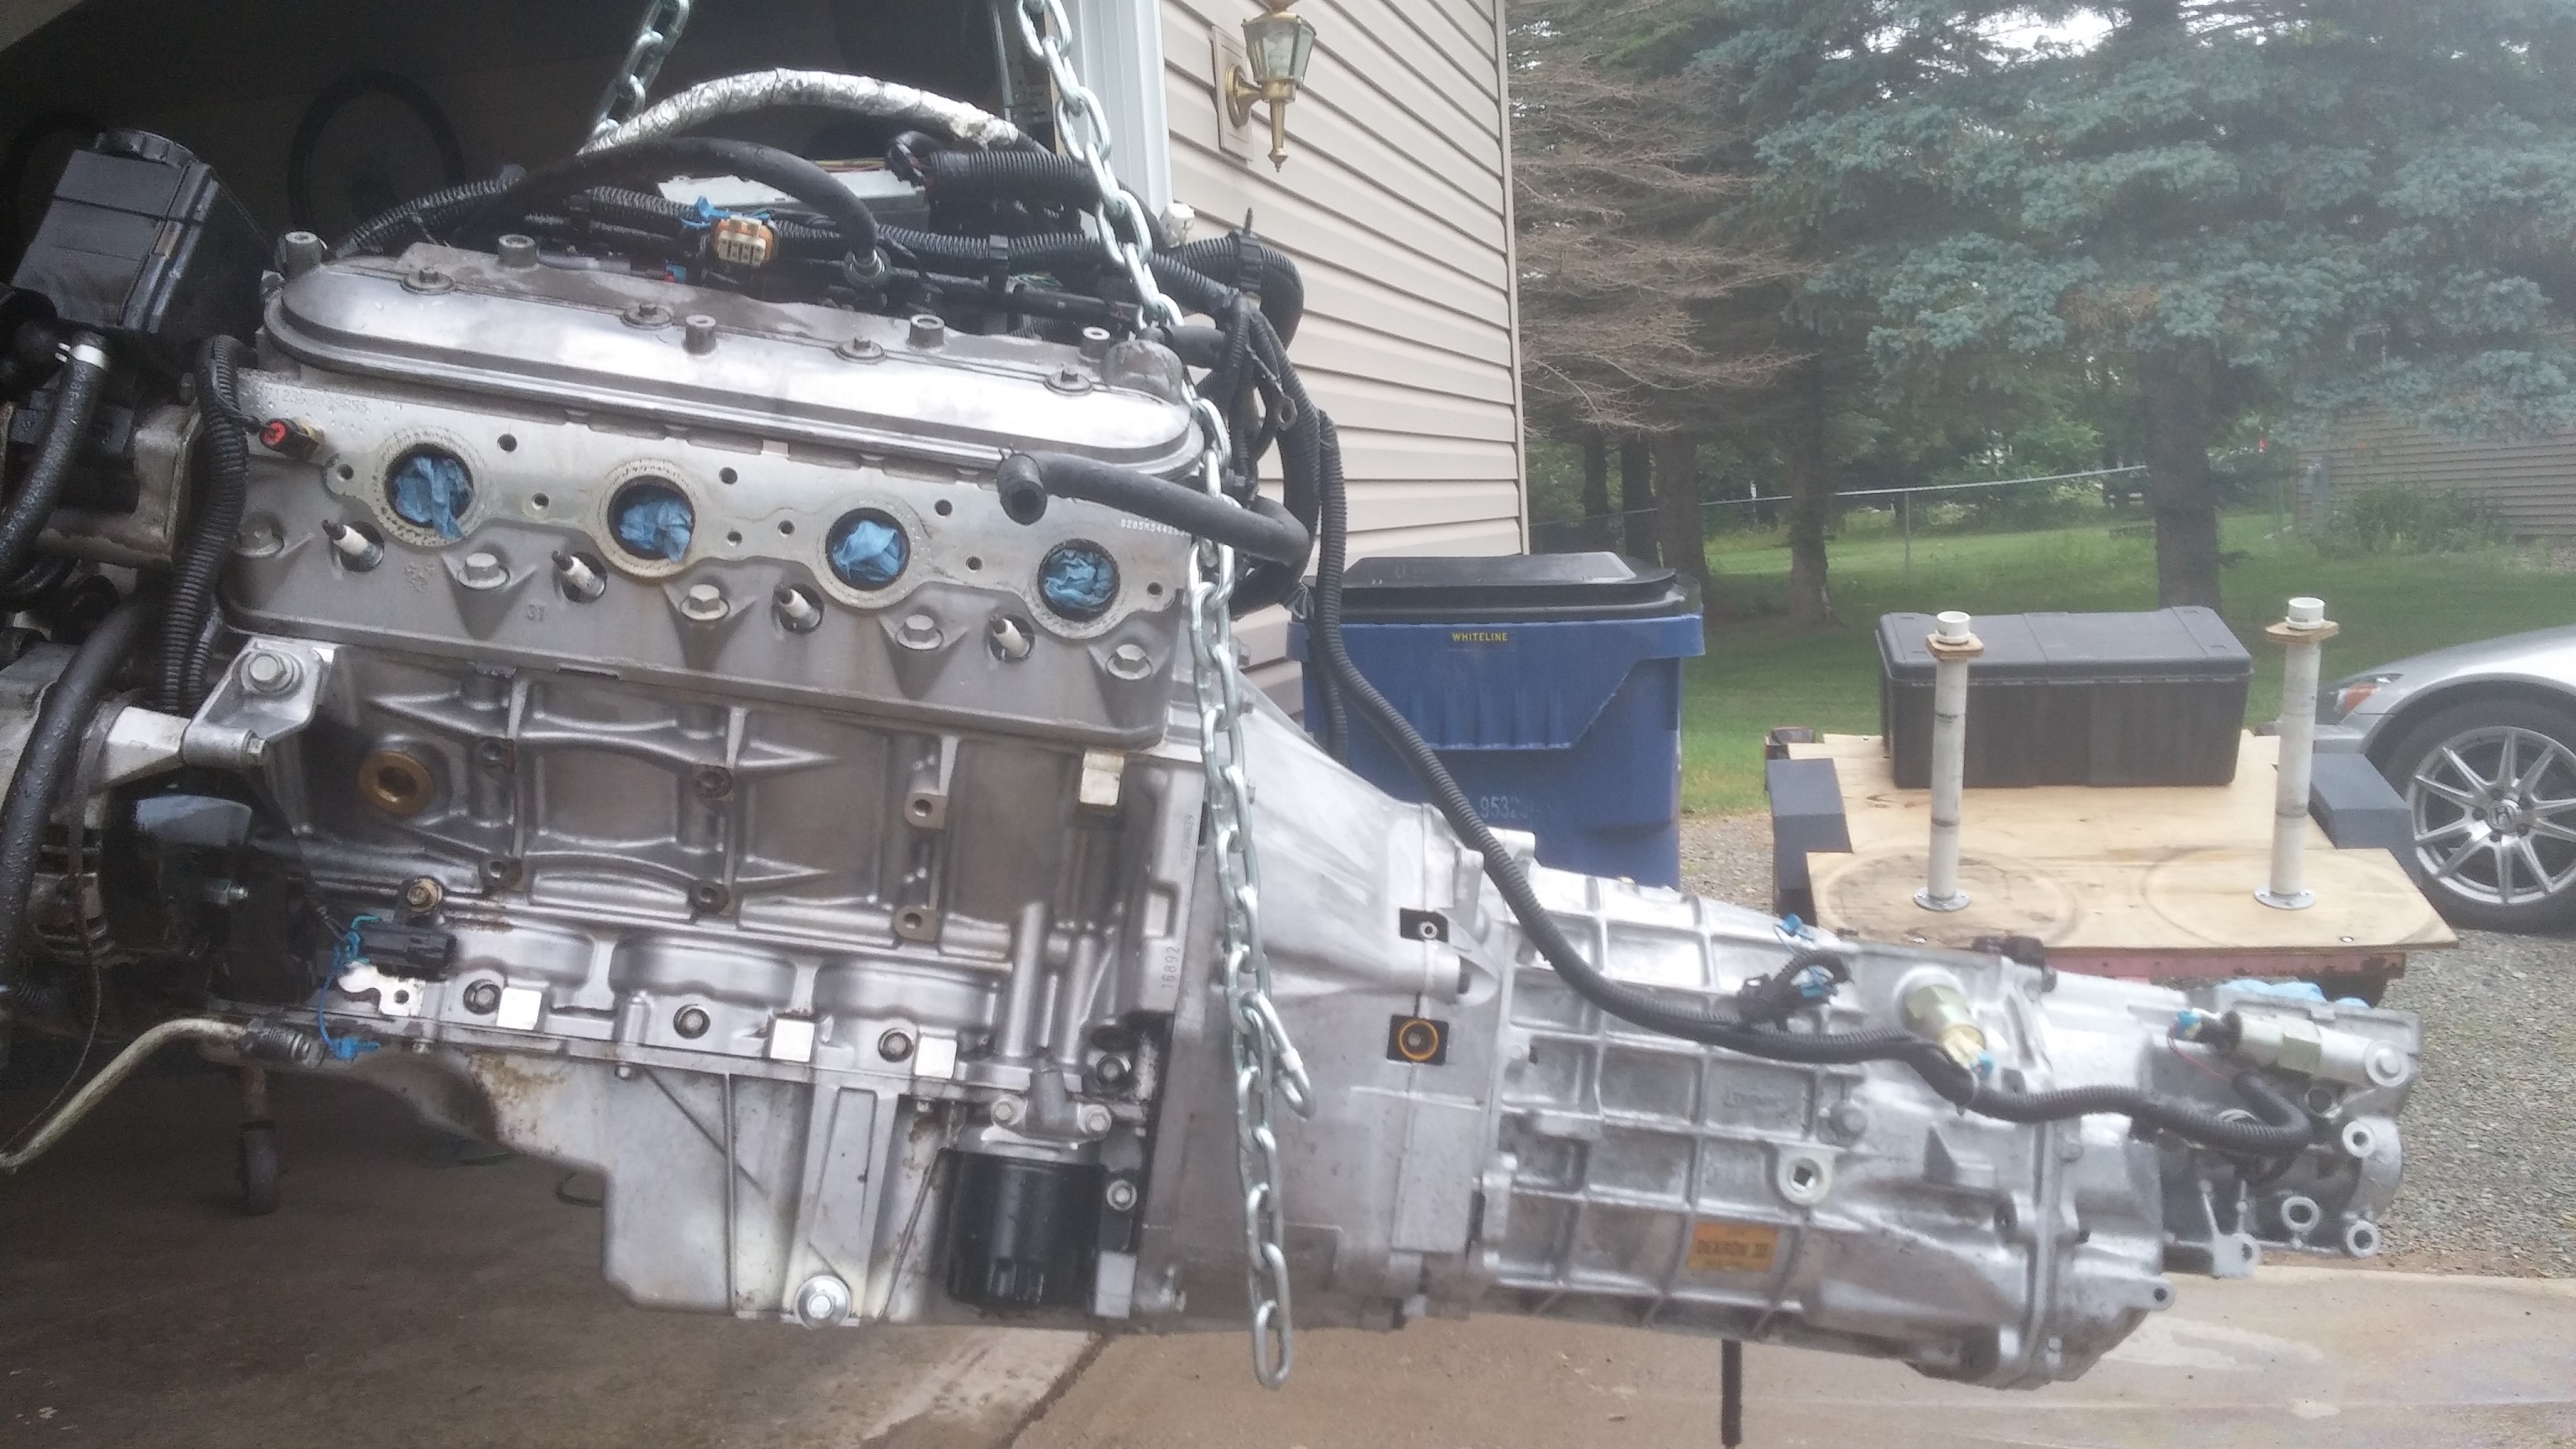
And there we have it.  An LS1 motor and T56 transmission ready for its new home!

20150725_202755

To be continued….


Welcome to Part 2 of the LS-Z saga.  Time to source parts!

(Just a note, my camera phone lens was cracked for the pictures at the start of this project, so bare with me on the glare in a lot of the first pictures. It gets better I promise)

41FPxe8kutL

Obviously the most important piece of this puzzle is the motor and transmission.  If you’re not a Chevy LS motor connoisseur, the LS world can be a bit confusing.  LS1, LS2, LS6, L76, LQ9, and on and on it goes.  Lots of choices to choose from.  Thanks, to all these people these days LS-Swapping everything (yeah, I know), even your base LS1, stock motors aren’t the cheapest.  The best part of these motors though, is if you start with any of them, you get to swap parts from all the motors and just keep adding power! (Not always that easy, but you get the idea)  Outgrow your horsepower goals with an LS1, throw in a LS3 and start making more power with the motor bolting right in.

I knew I wanted an aluminum block motor due to weight.  Difference in weight from steel block to aluminum block is somewhere around 80-100 lbs depending on where you look.  That’s a pretty big deal in a time trial/road race car, so that decision was easy to make for me.  Most people that go iron block motors are probably going to be adding some of those funny twirly things at some point, and the iron blocks are known to hold in excessive of 1000+ hp in those applications.  Much more than I want or can afford at this point.

After some searching and looking, an LS1 motor was the only motor that was really in my price range at this time.  I wanted a stock running motor that I knew would be as trouble free as possible, as I didn’t want to be chasing motor problems when the swap itself is an undertaking in itself.  My plan is that once the car is up and running properly to start adding the fun motor parts.  “Stock” the car will be in the 300 rwhp range.  Upper limits of a bolt on LS1 are about 425 rwhp.  These figures more than satisfy my needs at this point.

The motor and T56 6-speed transmission for this project comes from a 1999 Pontiac Trans Am (for the non-LS connoisseurs, an LS1 is from 98-02 Camaros/Firebirds, and 97-04 C5 Corvettes) I was able to find the motor fairly close to home.  An early morning drive down to Milwaukee, WI with Megan on July 4th was all the further I needed to travel.  So one week after purchasing the car I already had the motor and trans at home.  This is exciting!

20150704_125802

The next important step was to figure out which complete swap kit I wanted to use for the project.  There are two major players in the LS swap 350Z world.  Sikky Manufacturing (www.sikky.com) and Fueled Racing.  Both kits offer all the same components.  The Sikky kit will run you a few hundred dollars less.  There are a few slight differences in the kits, but the main difference is engine placement within the 350Z engine bay.  The Sikky kit requres zero modifications to anything in the engine bay to put the motor in.  The FR kit places the motor back an inch or so further (an advantage of that kit for sure).  Because of this it is almost a requirement to remove the false firewall that the 350Z has.  In the picture below, the false firewall is what houses the Battery and Brake areas that are under those covers on the top left and top right.  I like the look of the hidden compartments, as it helps keep the engine bay “clean” looking and wanted to keep this feature.  I also wasn’t a fan of the idea of having to chop off and remove the false firewall.

0405_06z+nissan_nismo_350z+full_engine_bay_view


After making this decision, I contacted Sikky to just talk about the kit, the process, and just get a feel for the company.  Justin is the main sales guy when you call them up and he was extremely helpful and knowledgeable.  We talked about the swap and the intentions of the car.  We got to talking about GridLife, Optima, and other Time Attack type events.  They immediately expressed interest in a possible sponsorship of 365Racing.  Sikky currently has some drag and drift guys they sponsor (LS swapped drift cars below) and are looking to get more exposure into the Time Attack world.  What better way than to get on board with 365Racing!


110-900x600

We are proud to have Sikky Manufacturing part of the 365Racing family!  Be sure to check out their website and give their Facebook page a Like!

39aec4f

As we worked out details of all the parts I needed for the kit, I pulled the stock motor and trans from the 350Z  (Motor is for sale! Who needs a 350Z motor? :) )

received_bWVzc2FnZV9ibG9iX2F0dGFjaG1lbnQ6MTAxMDA3MTkyODg1NTM2MjI

20150708_225142

Cleaned the 100k miles worth of dirt and dust off the LS1 and T56 and waited for the Sikky swap kit to arrive.

20150706_184954


The wait was worth it.  Check out these beautiful parts!

received_10152897063511881

Custom oil pan
20150724_160054

LS billet aluminum motor mounts20150724_213743

Ceramic coated headers!  (test fit)received_bWVzc2FnZV9ibG9iX2F0dGFjaG1lbnQ6MTAxMDA3MzMwNDExNzMyNjI


To be continued…

Coming in a few days:  Part 3 – Motor and Trans Prep


Visit Us On FacebookVisit Us On YoutubeVisit Us On Twitter